… Assign a Material#
In this example, we assign a material to an imported Wavefront .OBJ file from here: Utah teapot
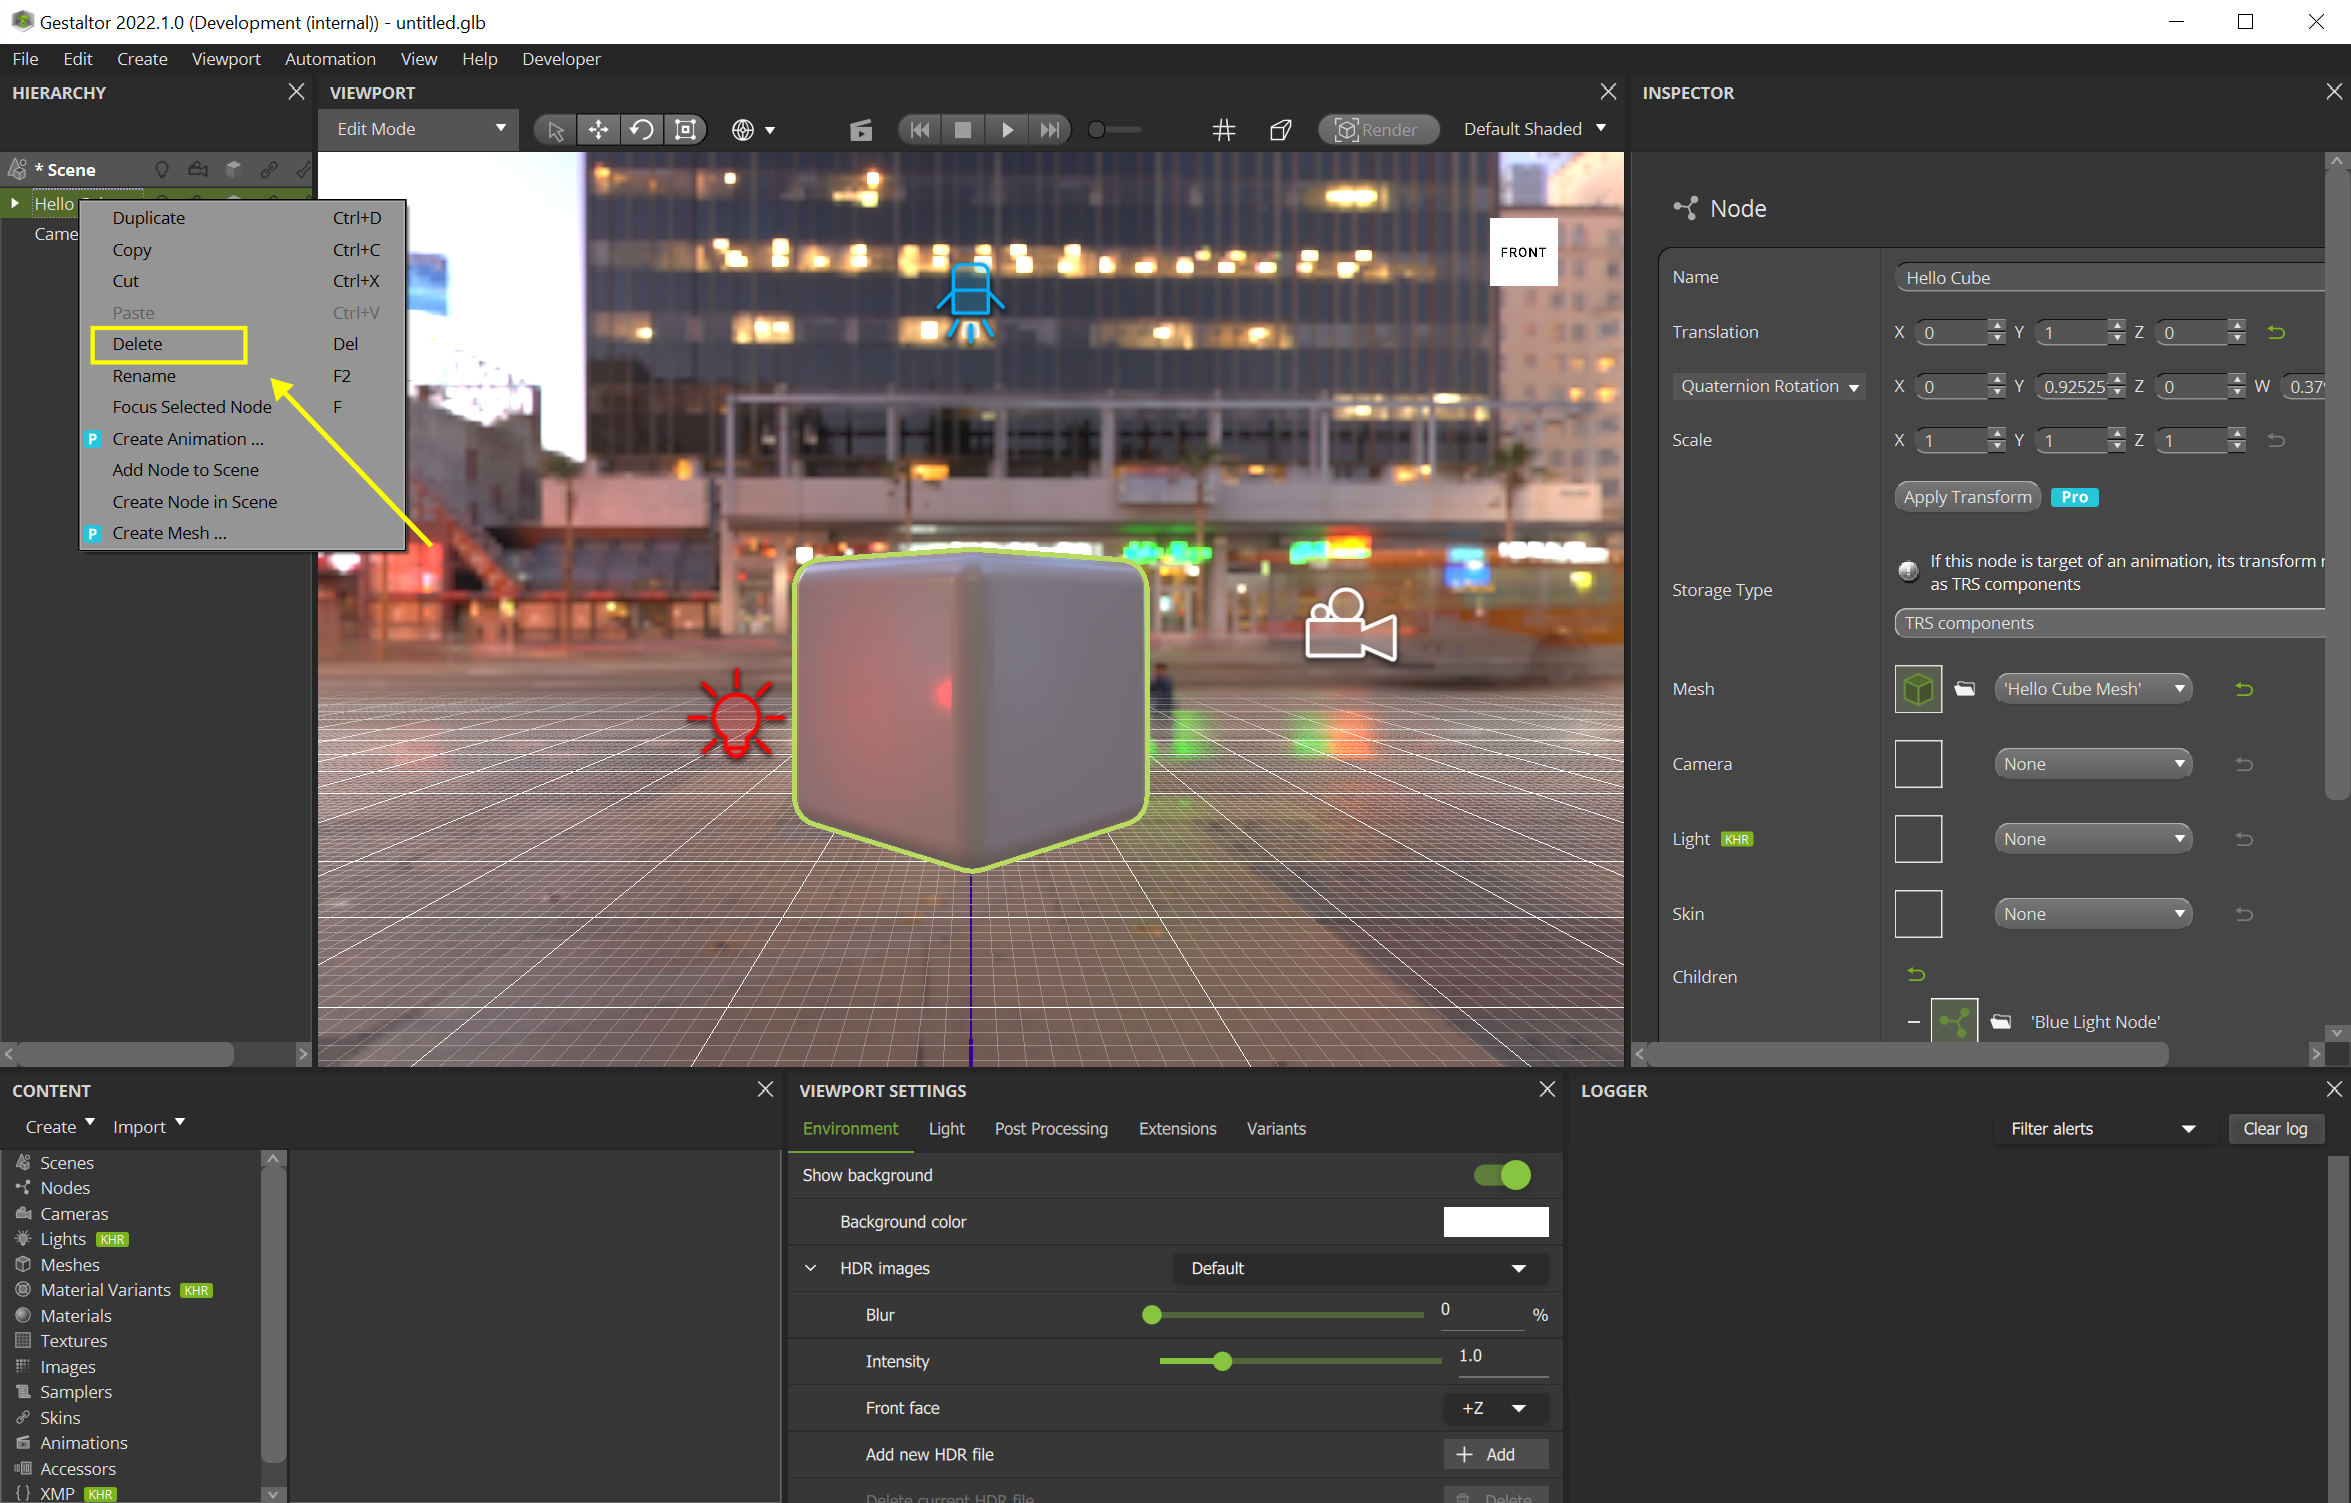
Start Gestaltor and remove all elements from the Hierarchy widget:
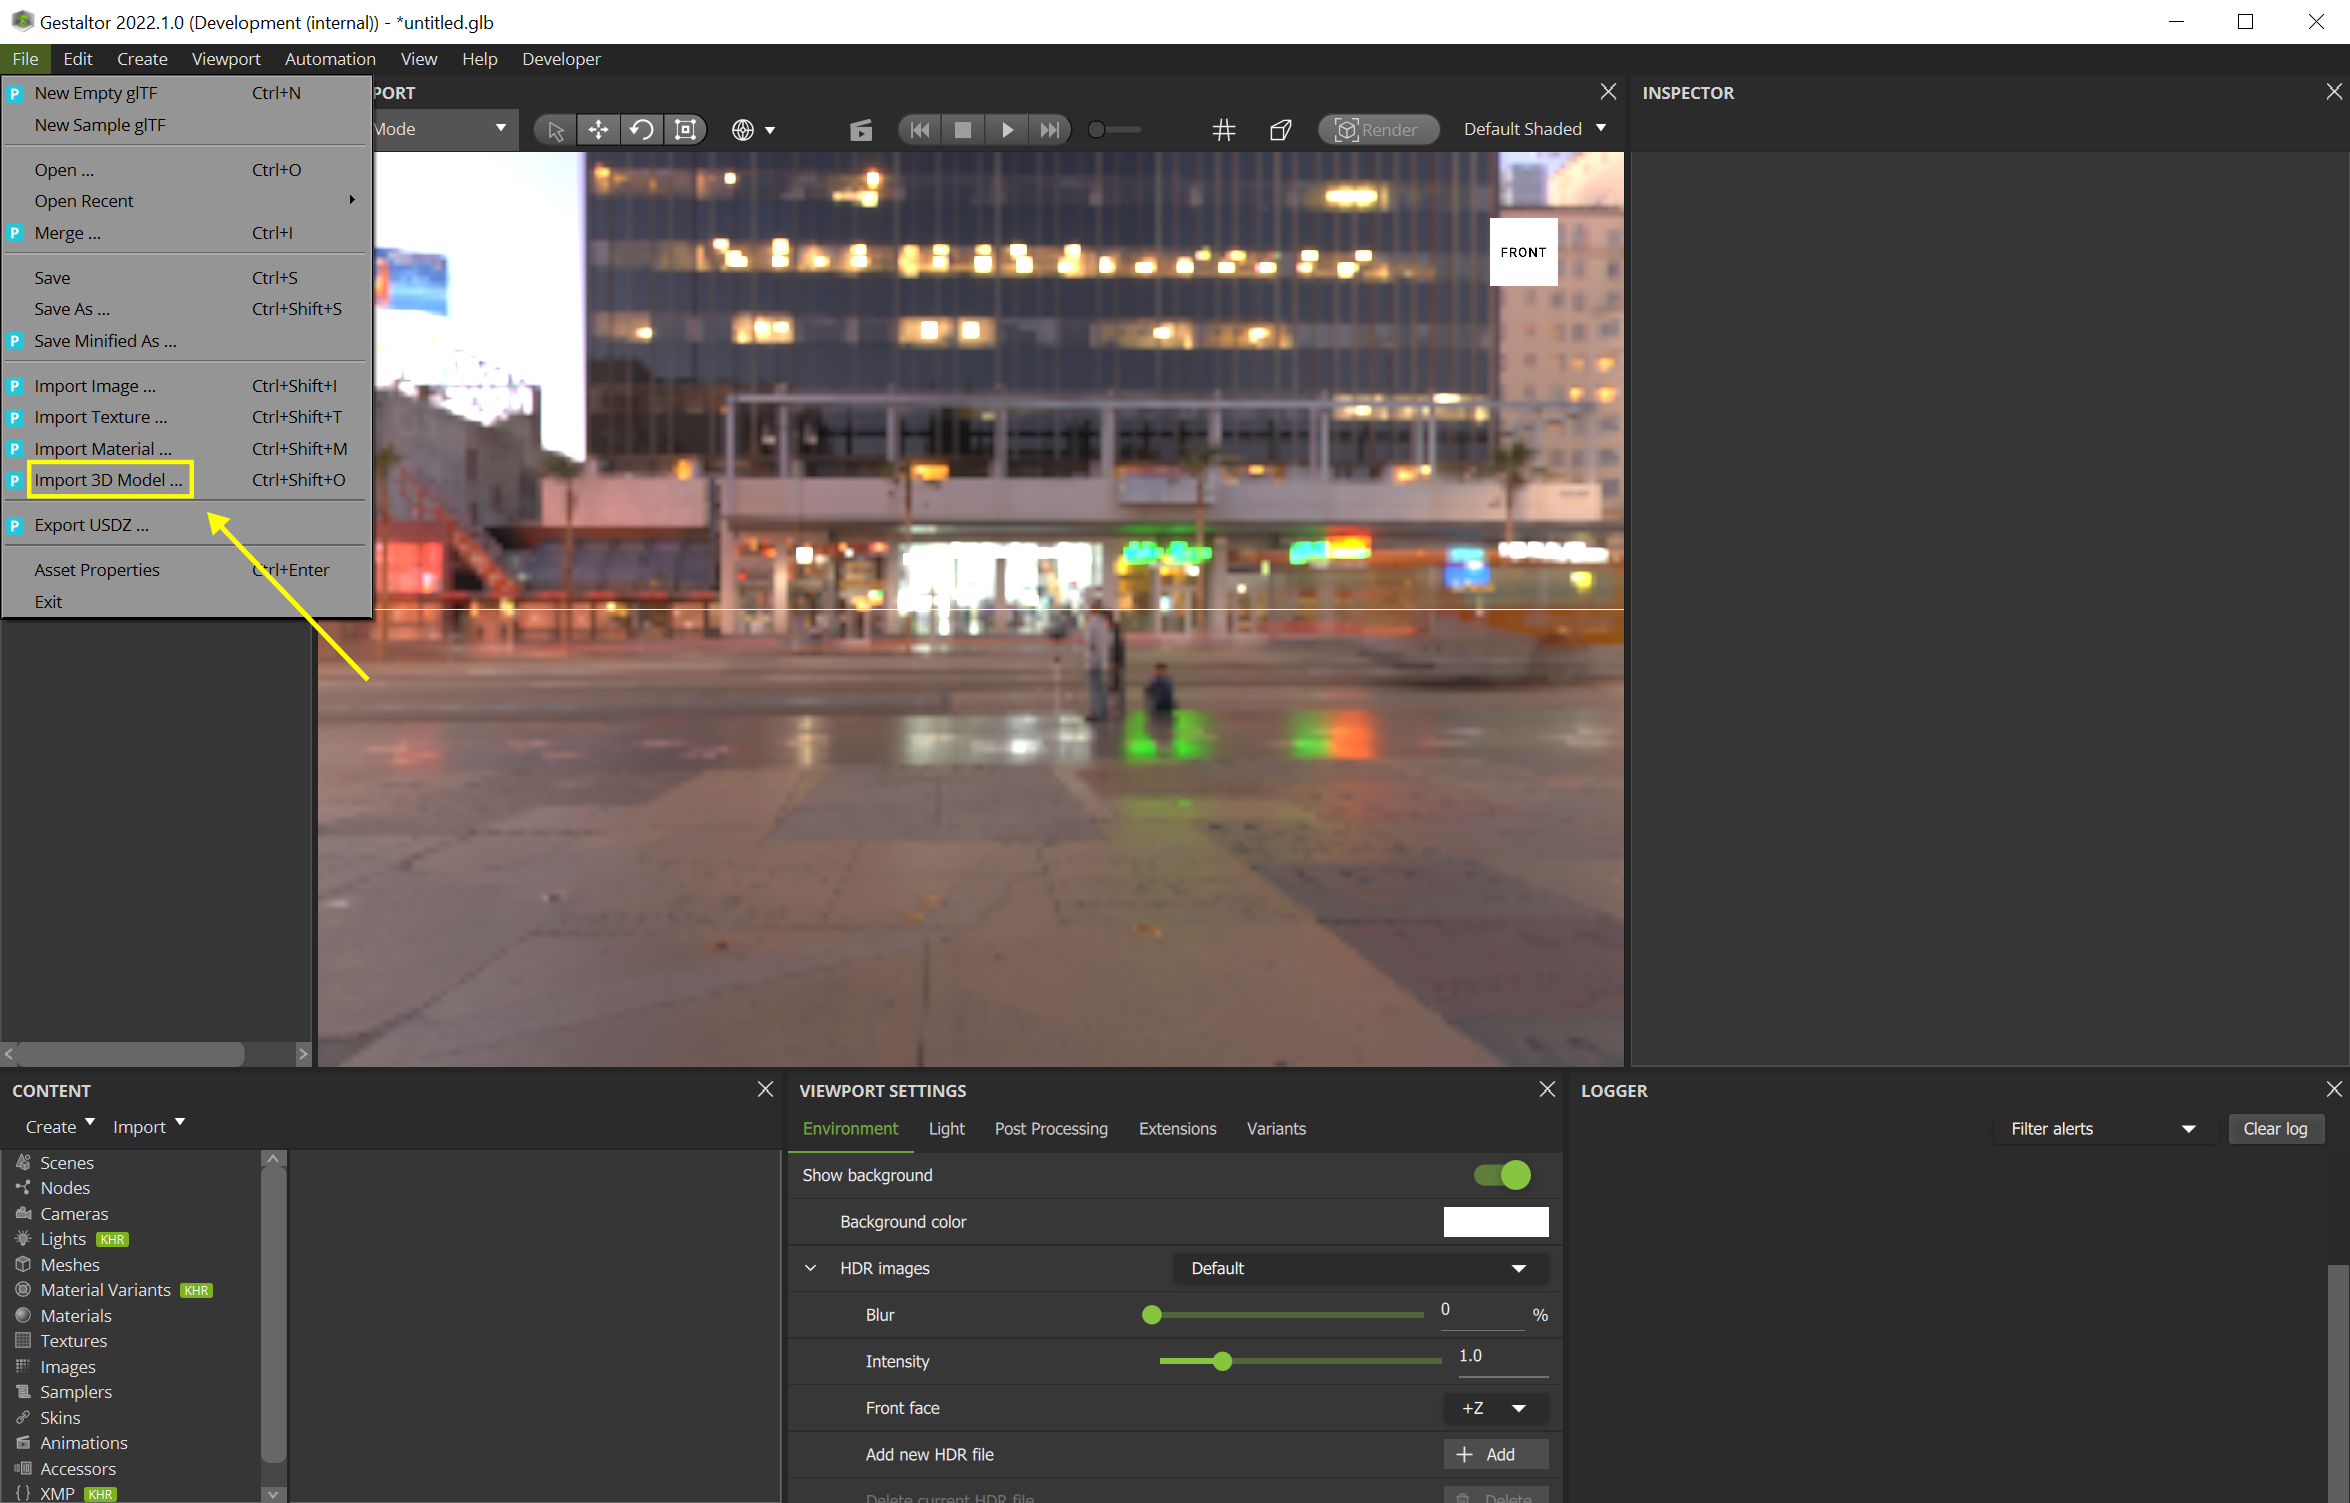
Import an .obj file using the menu bar File > Import 3D Model .
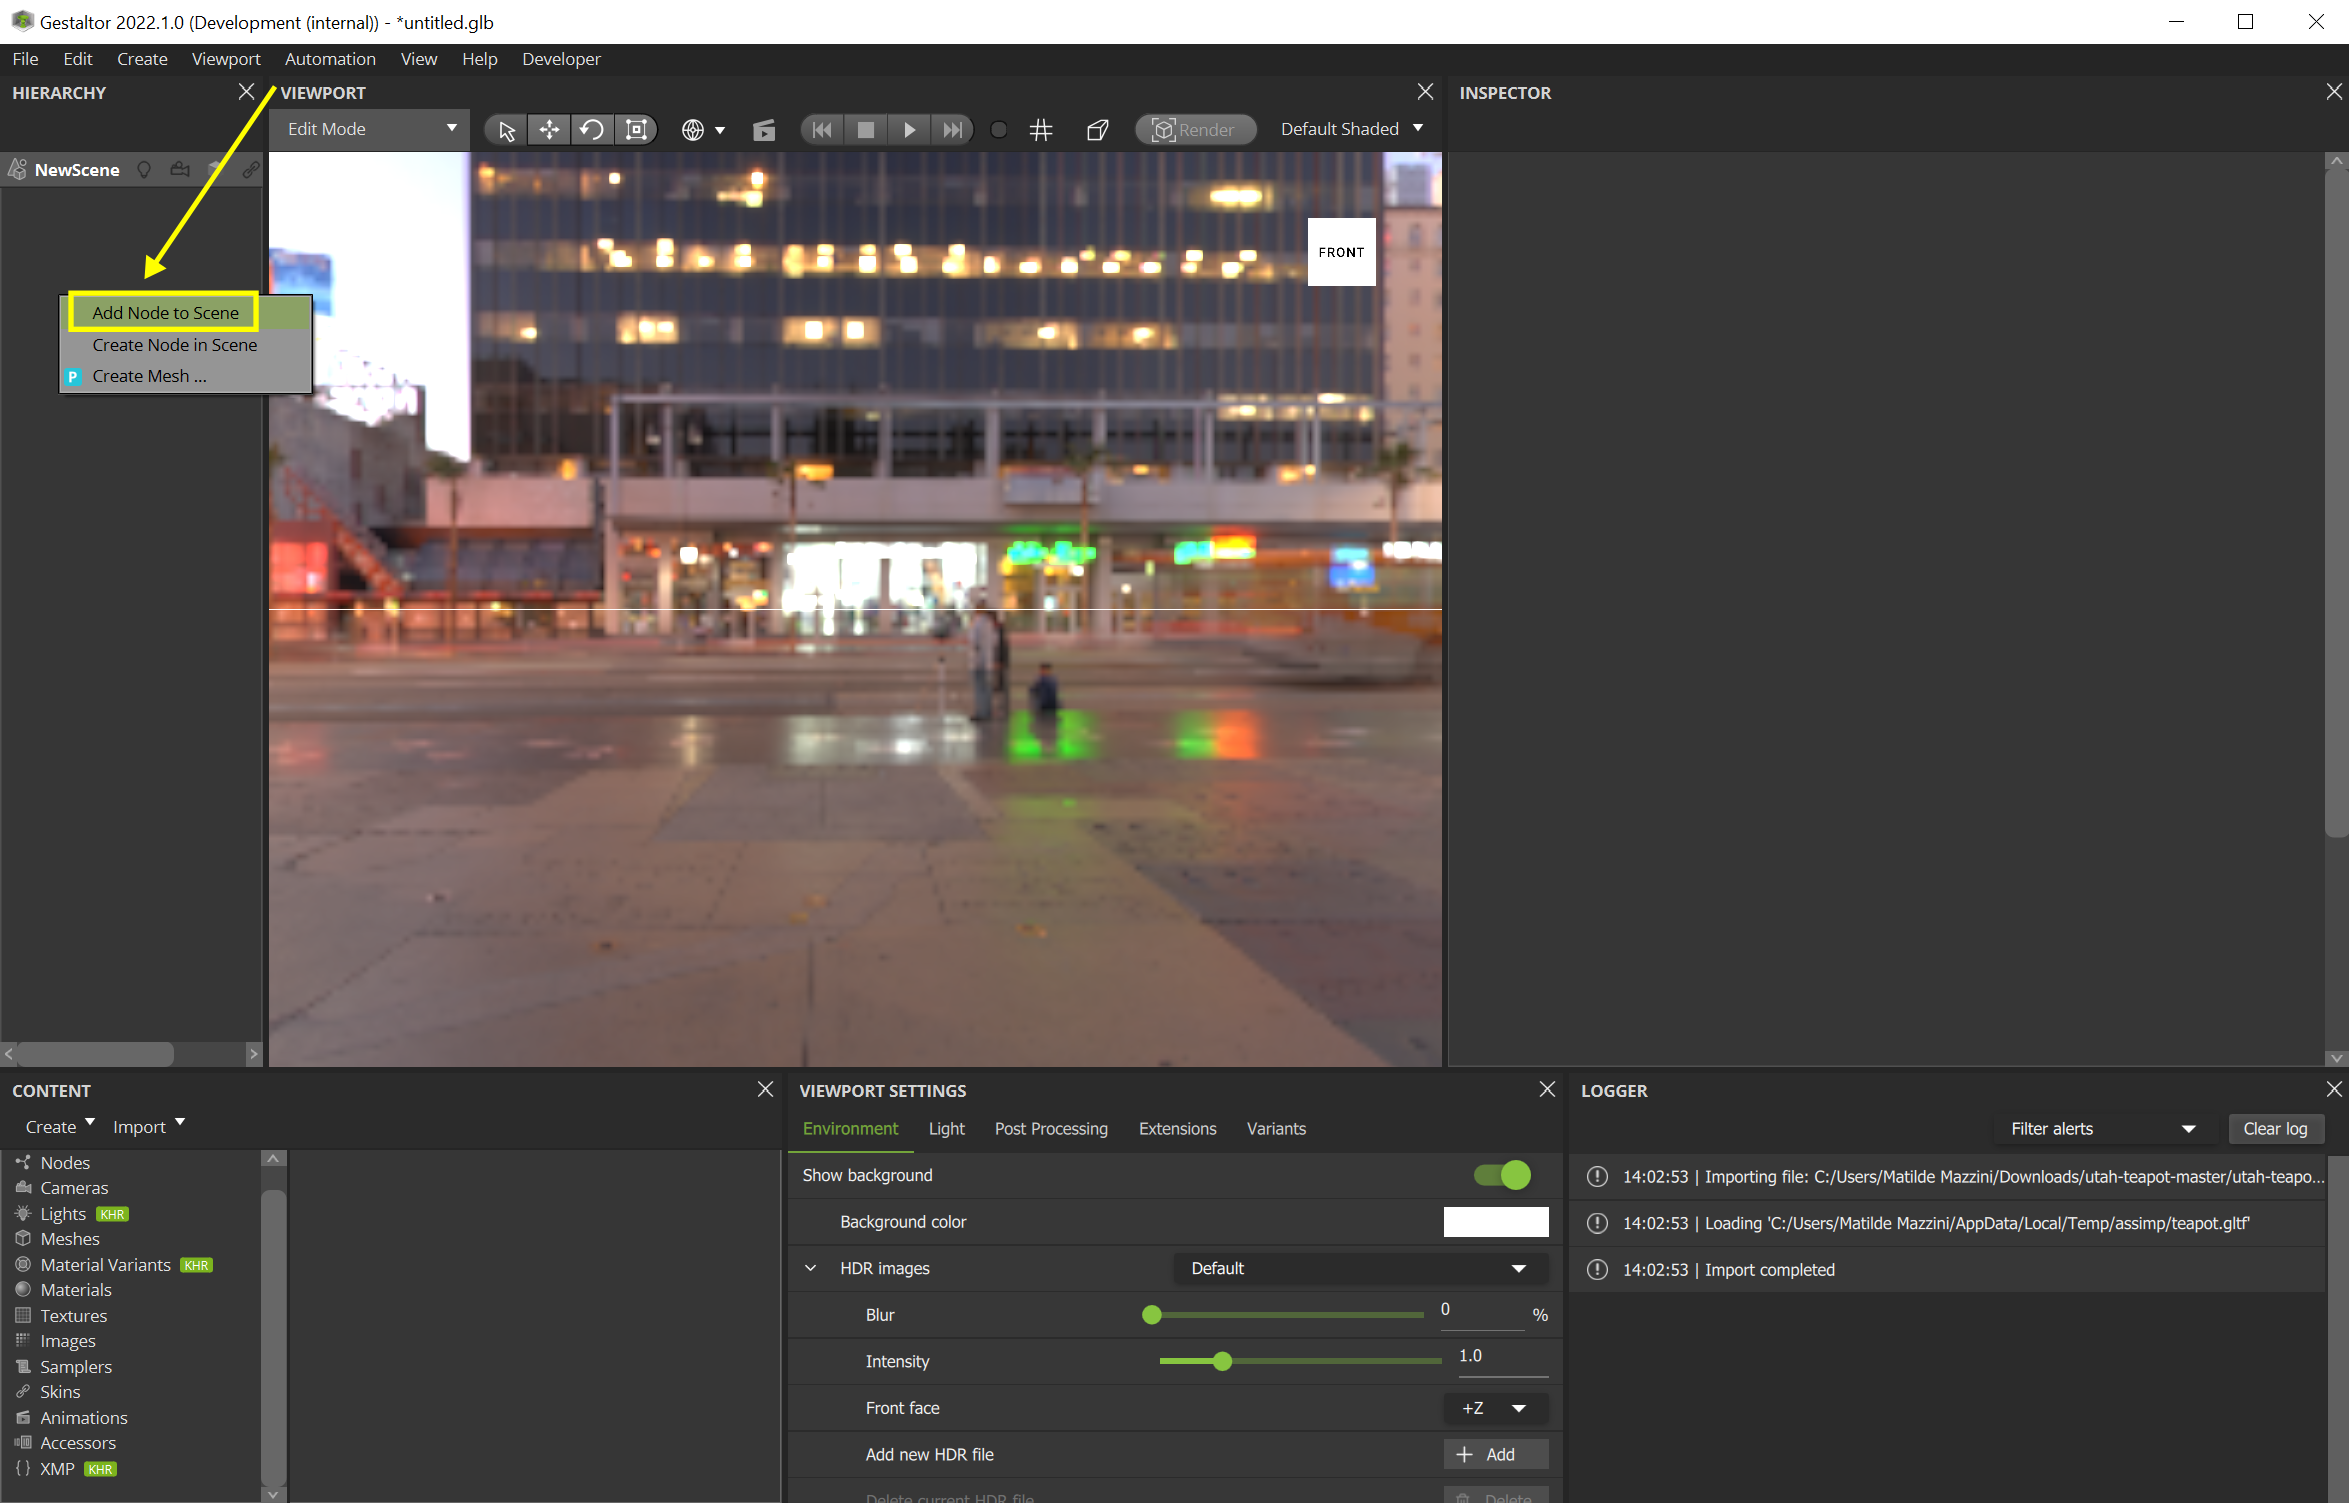
In the Hierarchy widget, add the node “teapot.obj”.
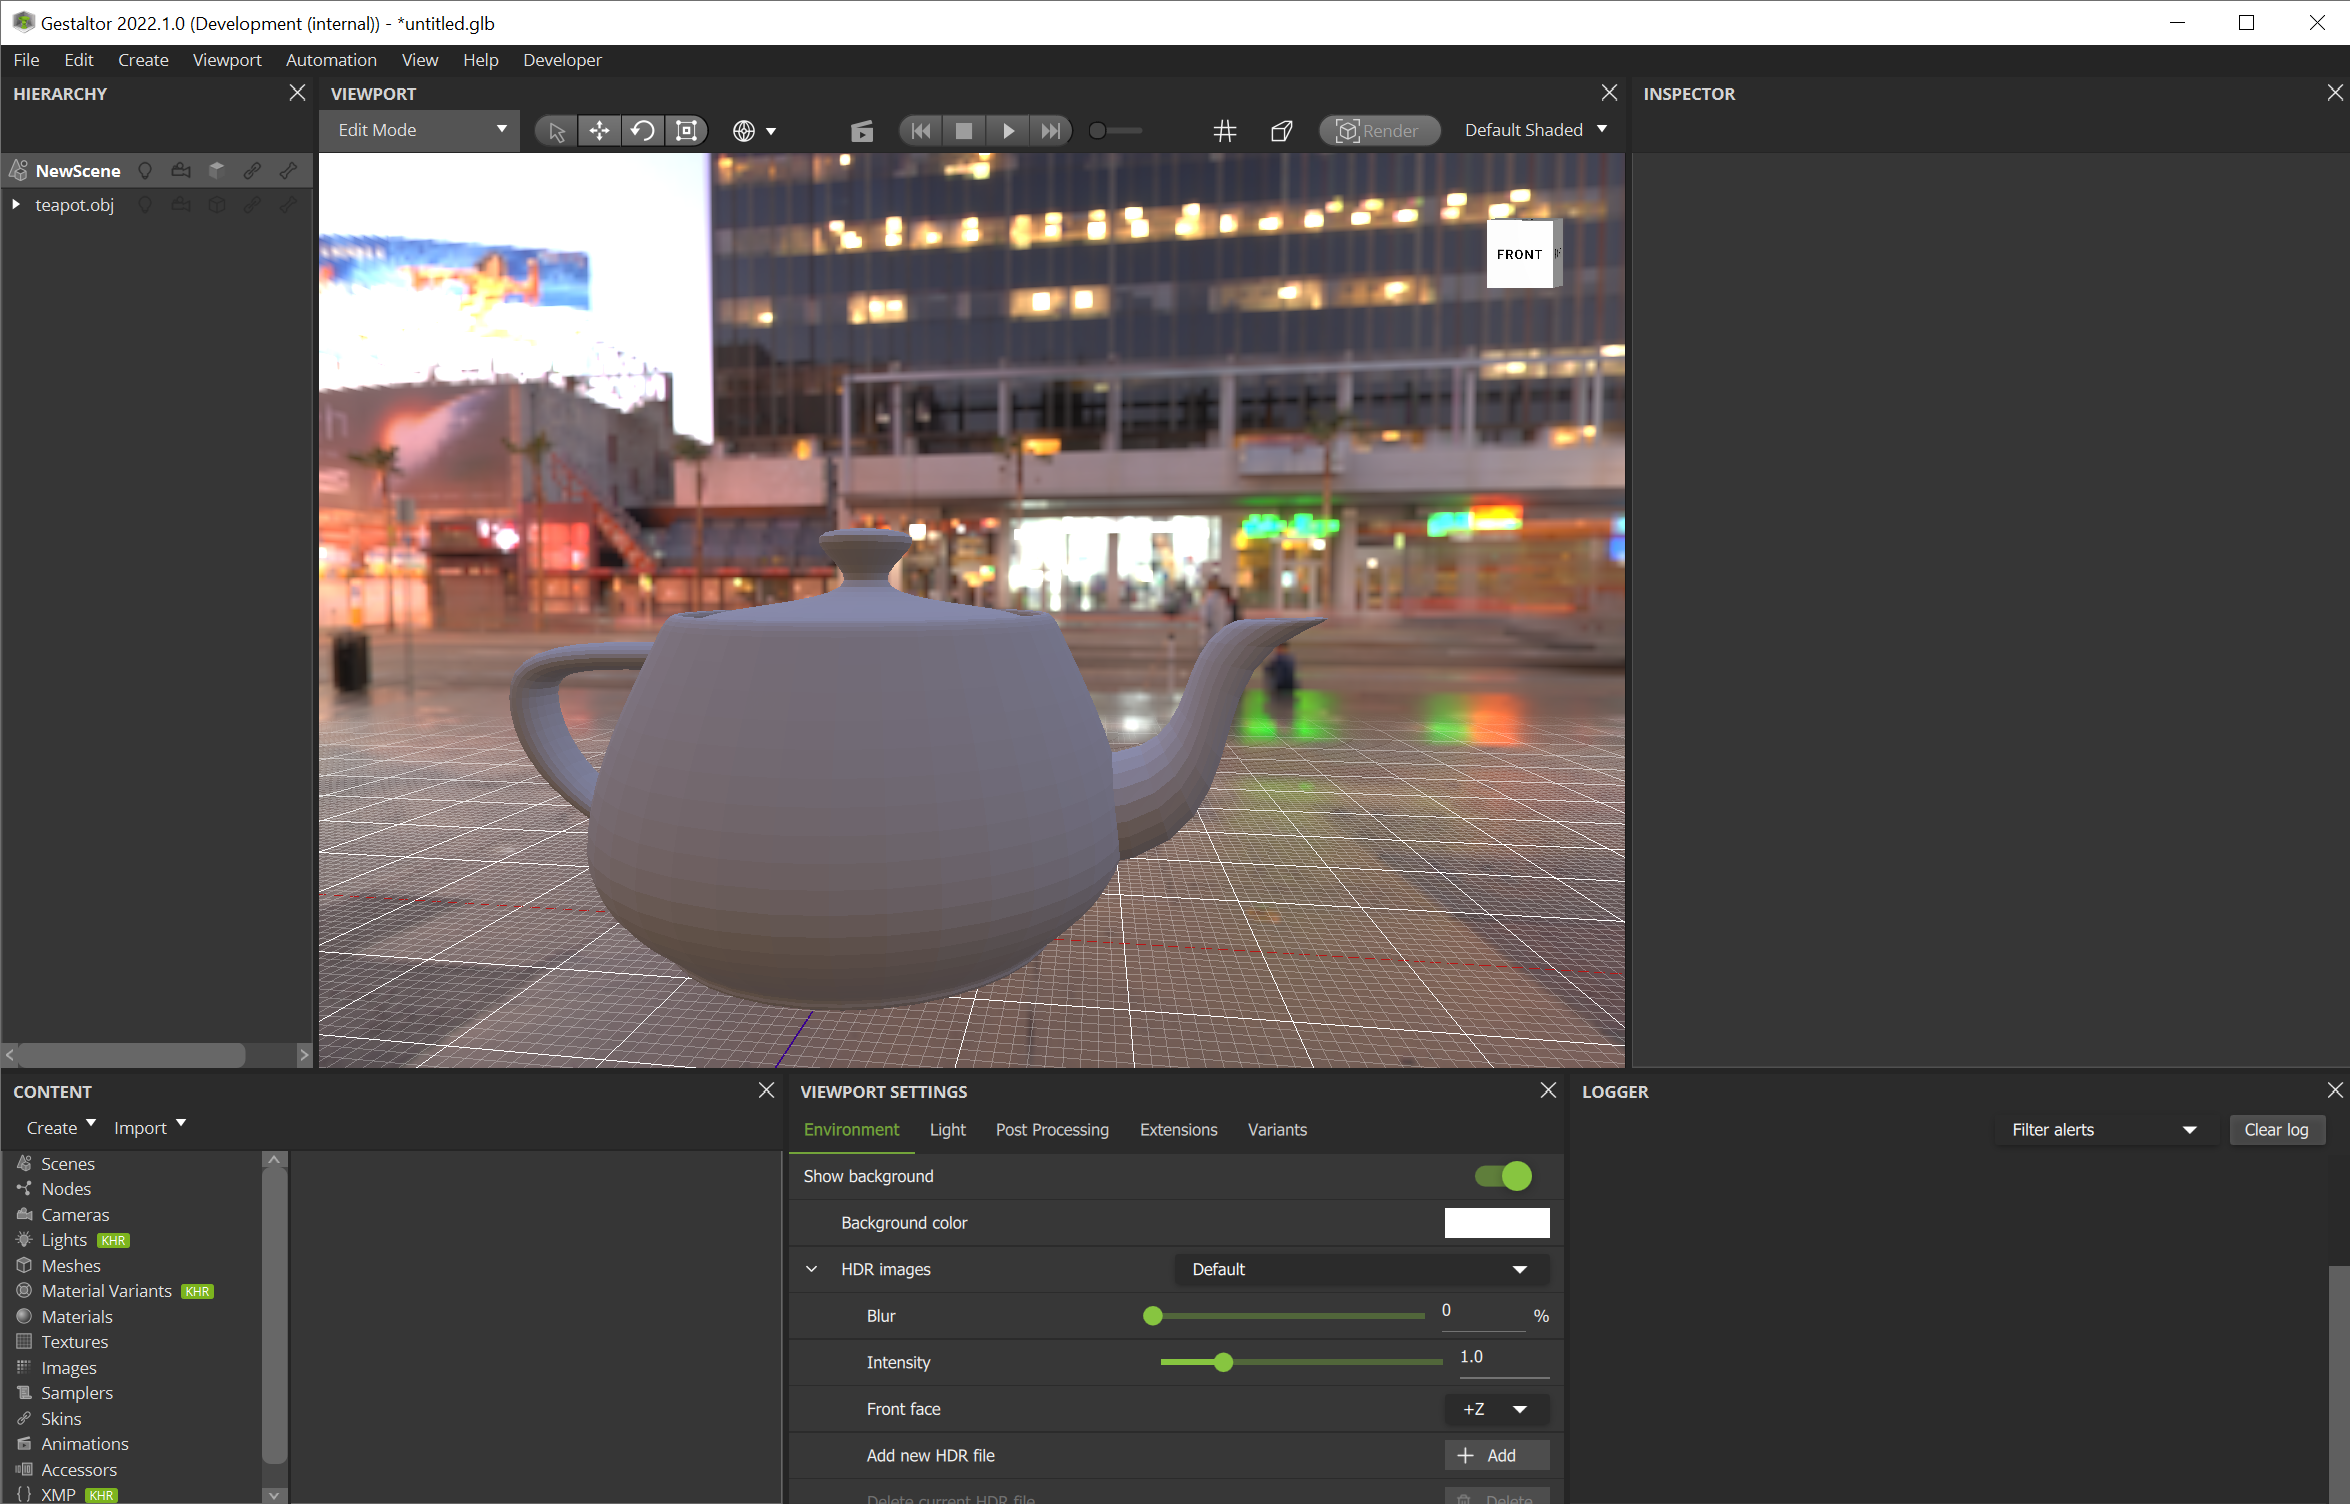
The Utah teapot is now visible:
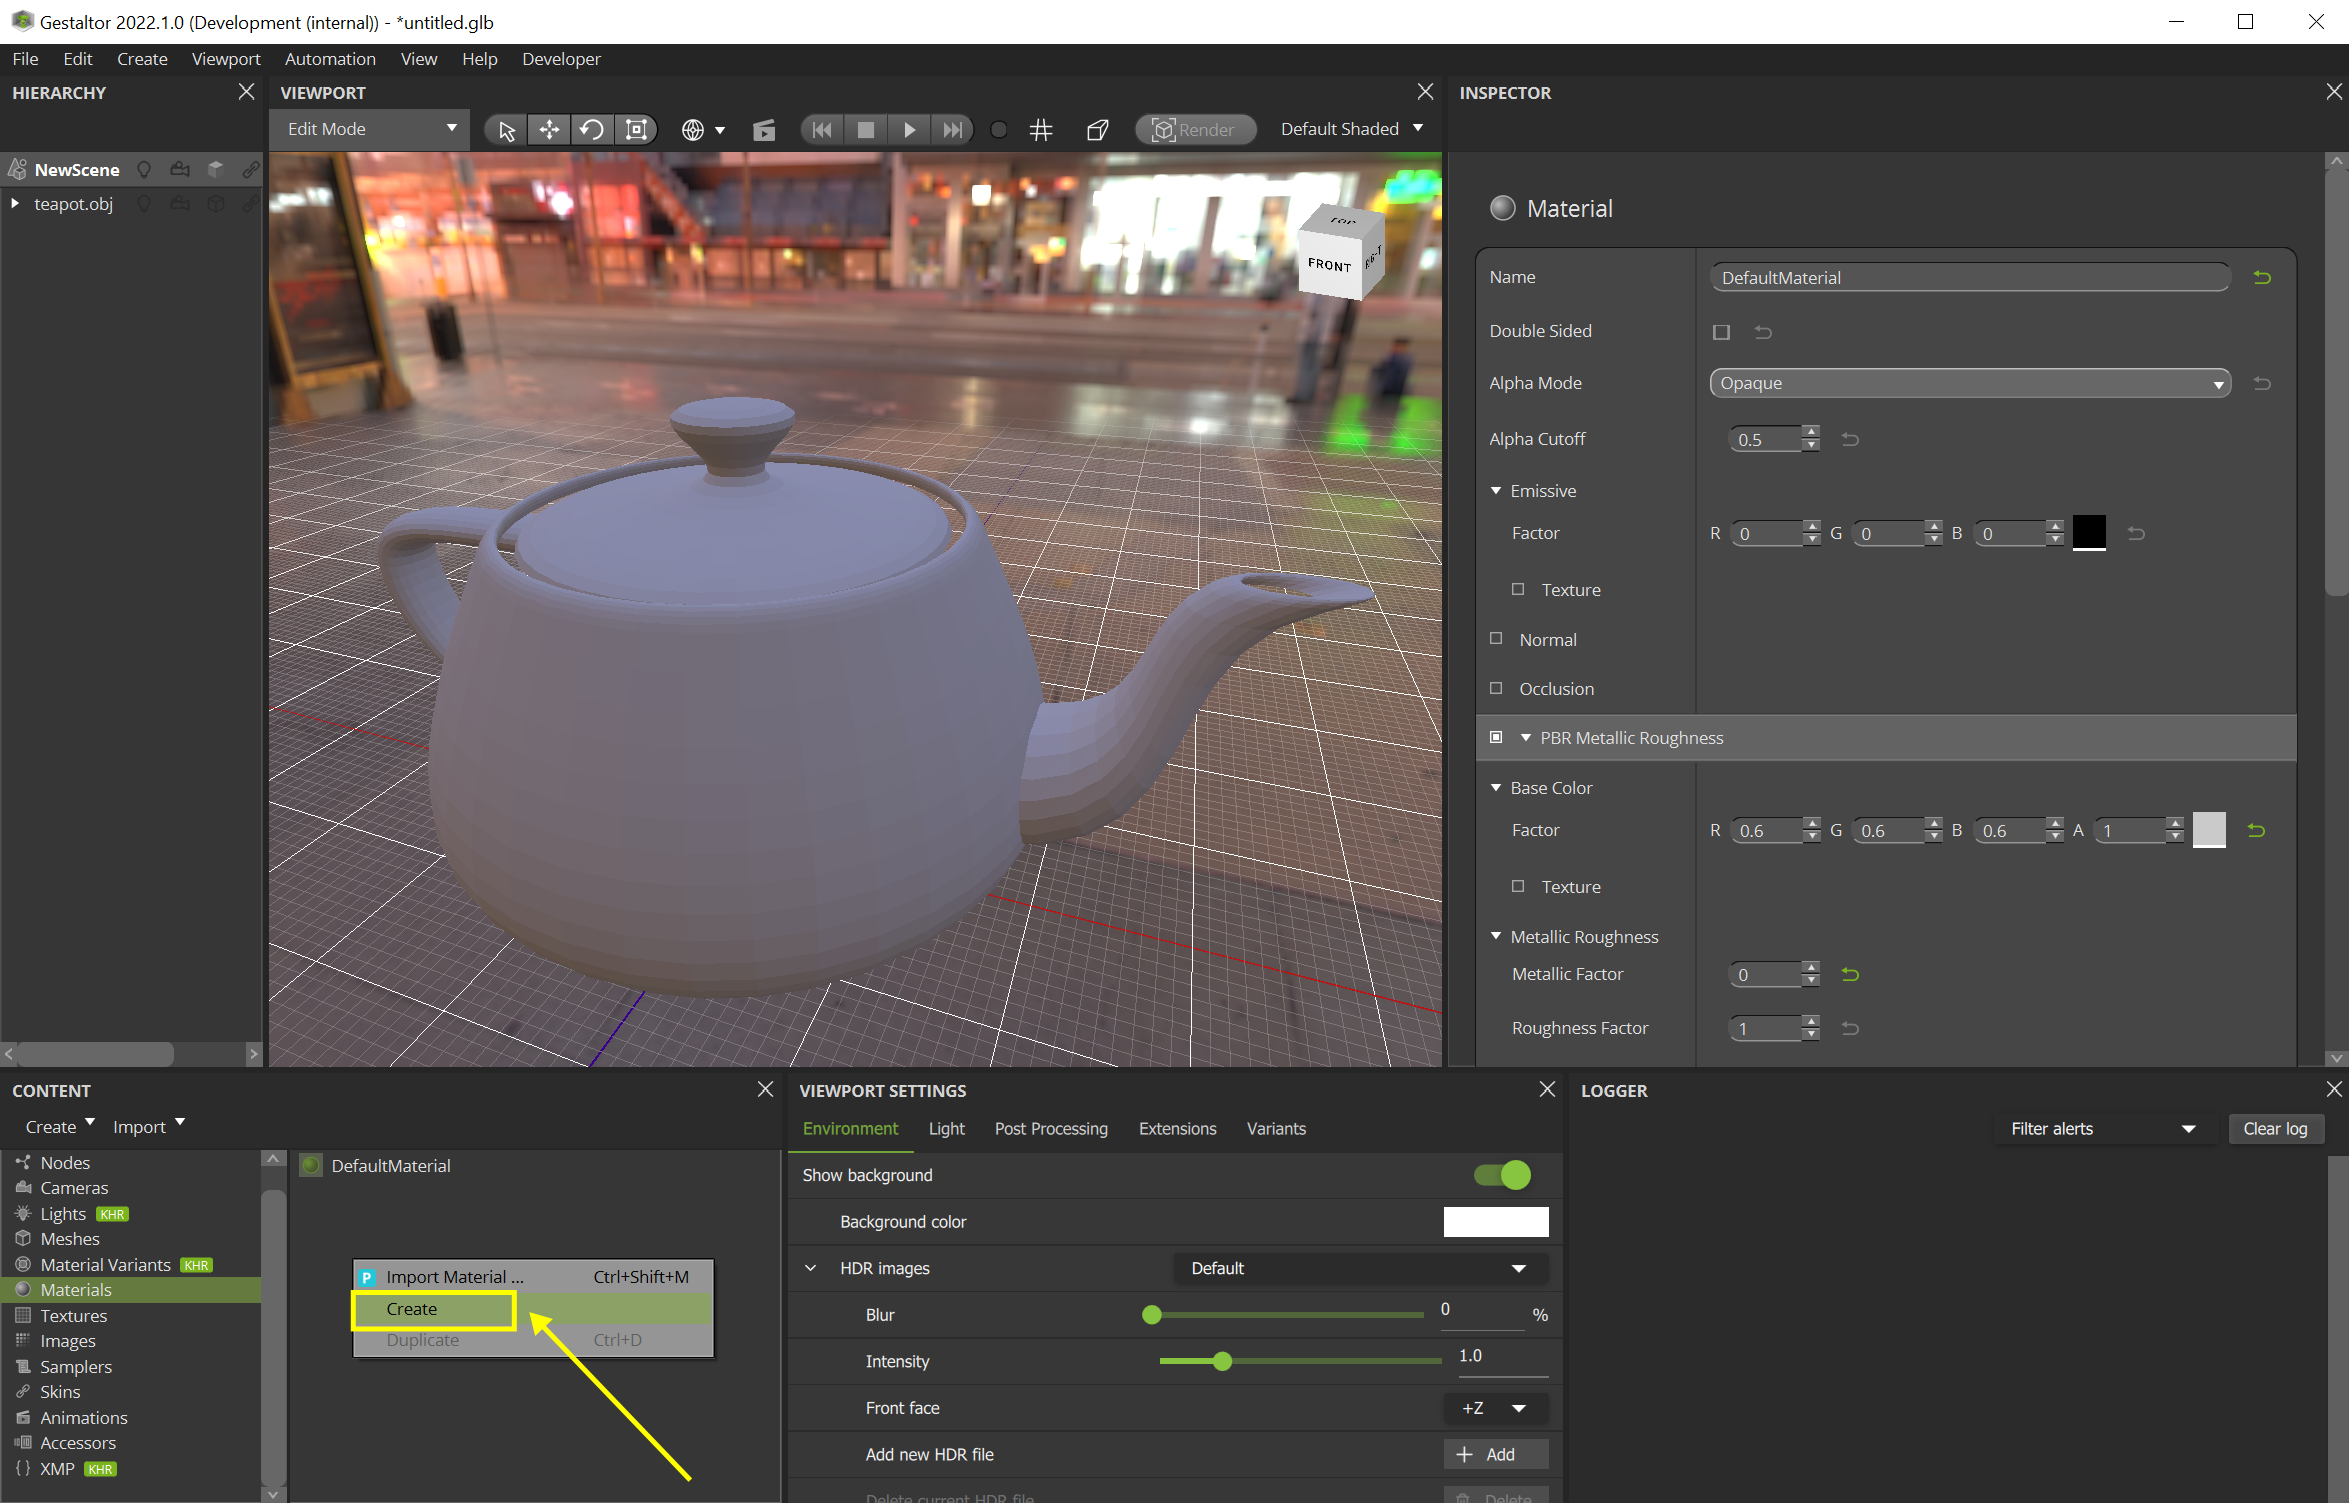
The Utah teapot contains the default glTF material. Let’s assign another material to the cup.
In the Content widget, right click in the Materials section and select Create new material. It will be named “Unnamed Material 1” by default.
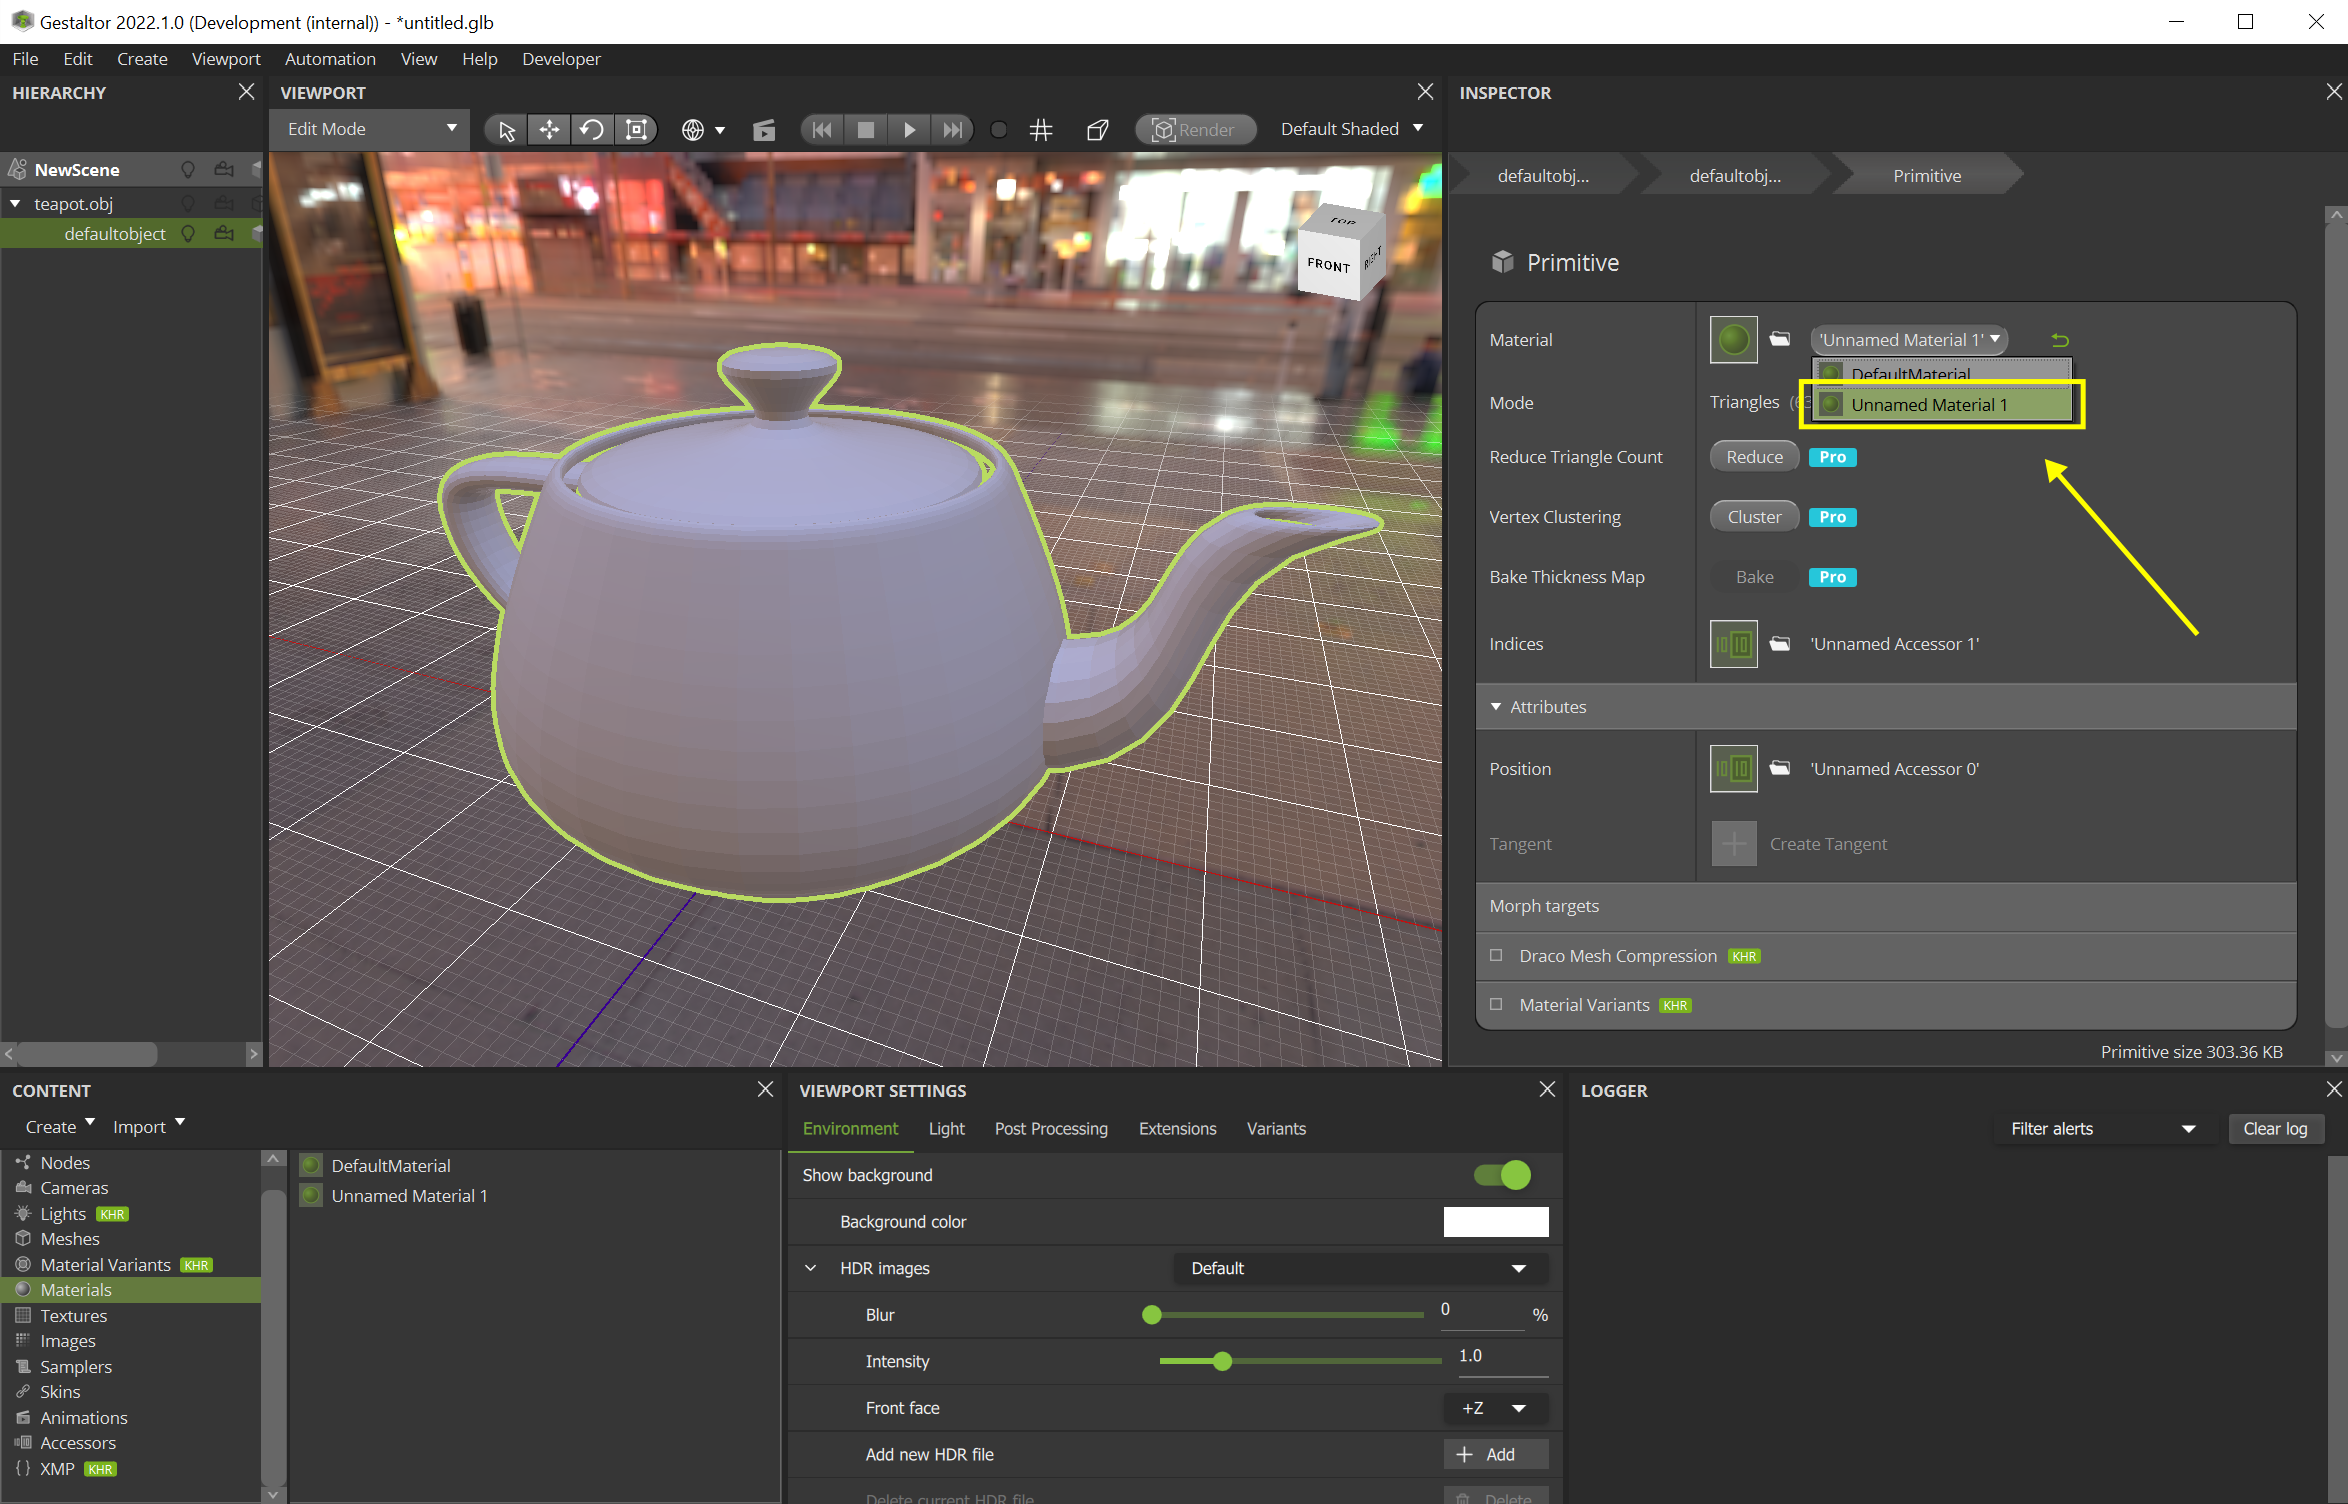
In the Viewport widget, select the cup. In the Inspector widget, click the Mesh and then the Primitive icon.
In the material drop down list, assign the material “Unnamed Material 1”.
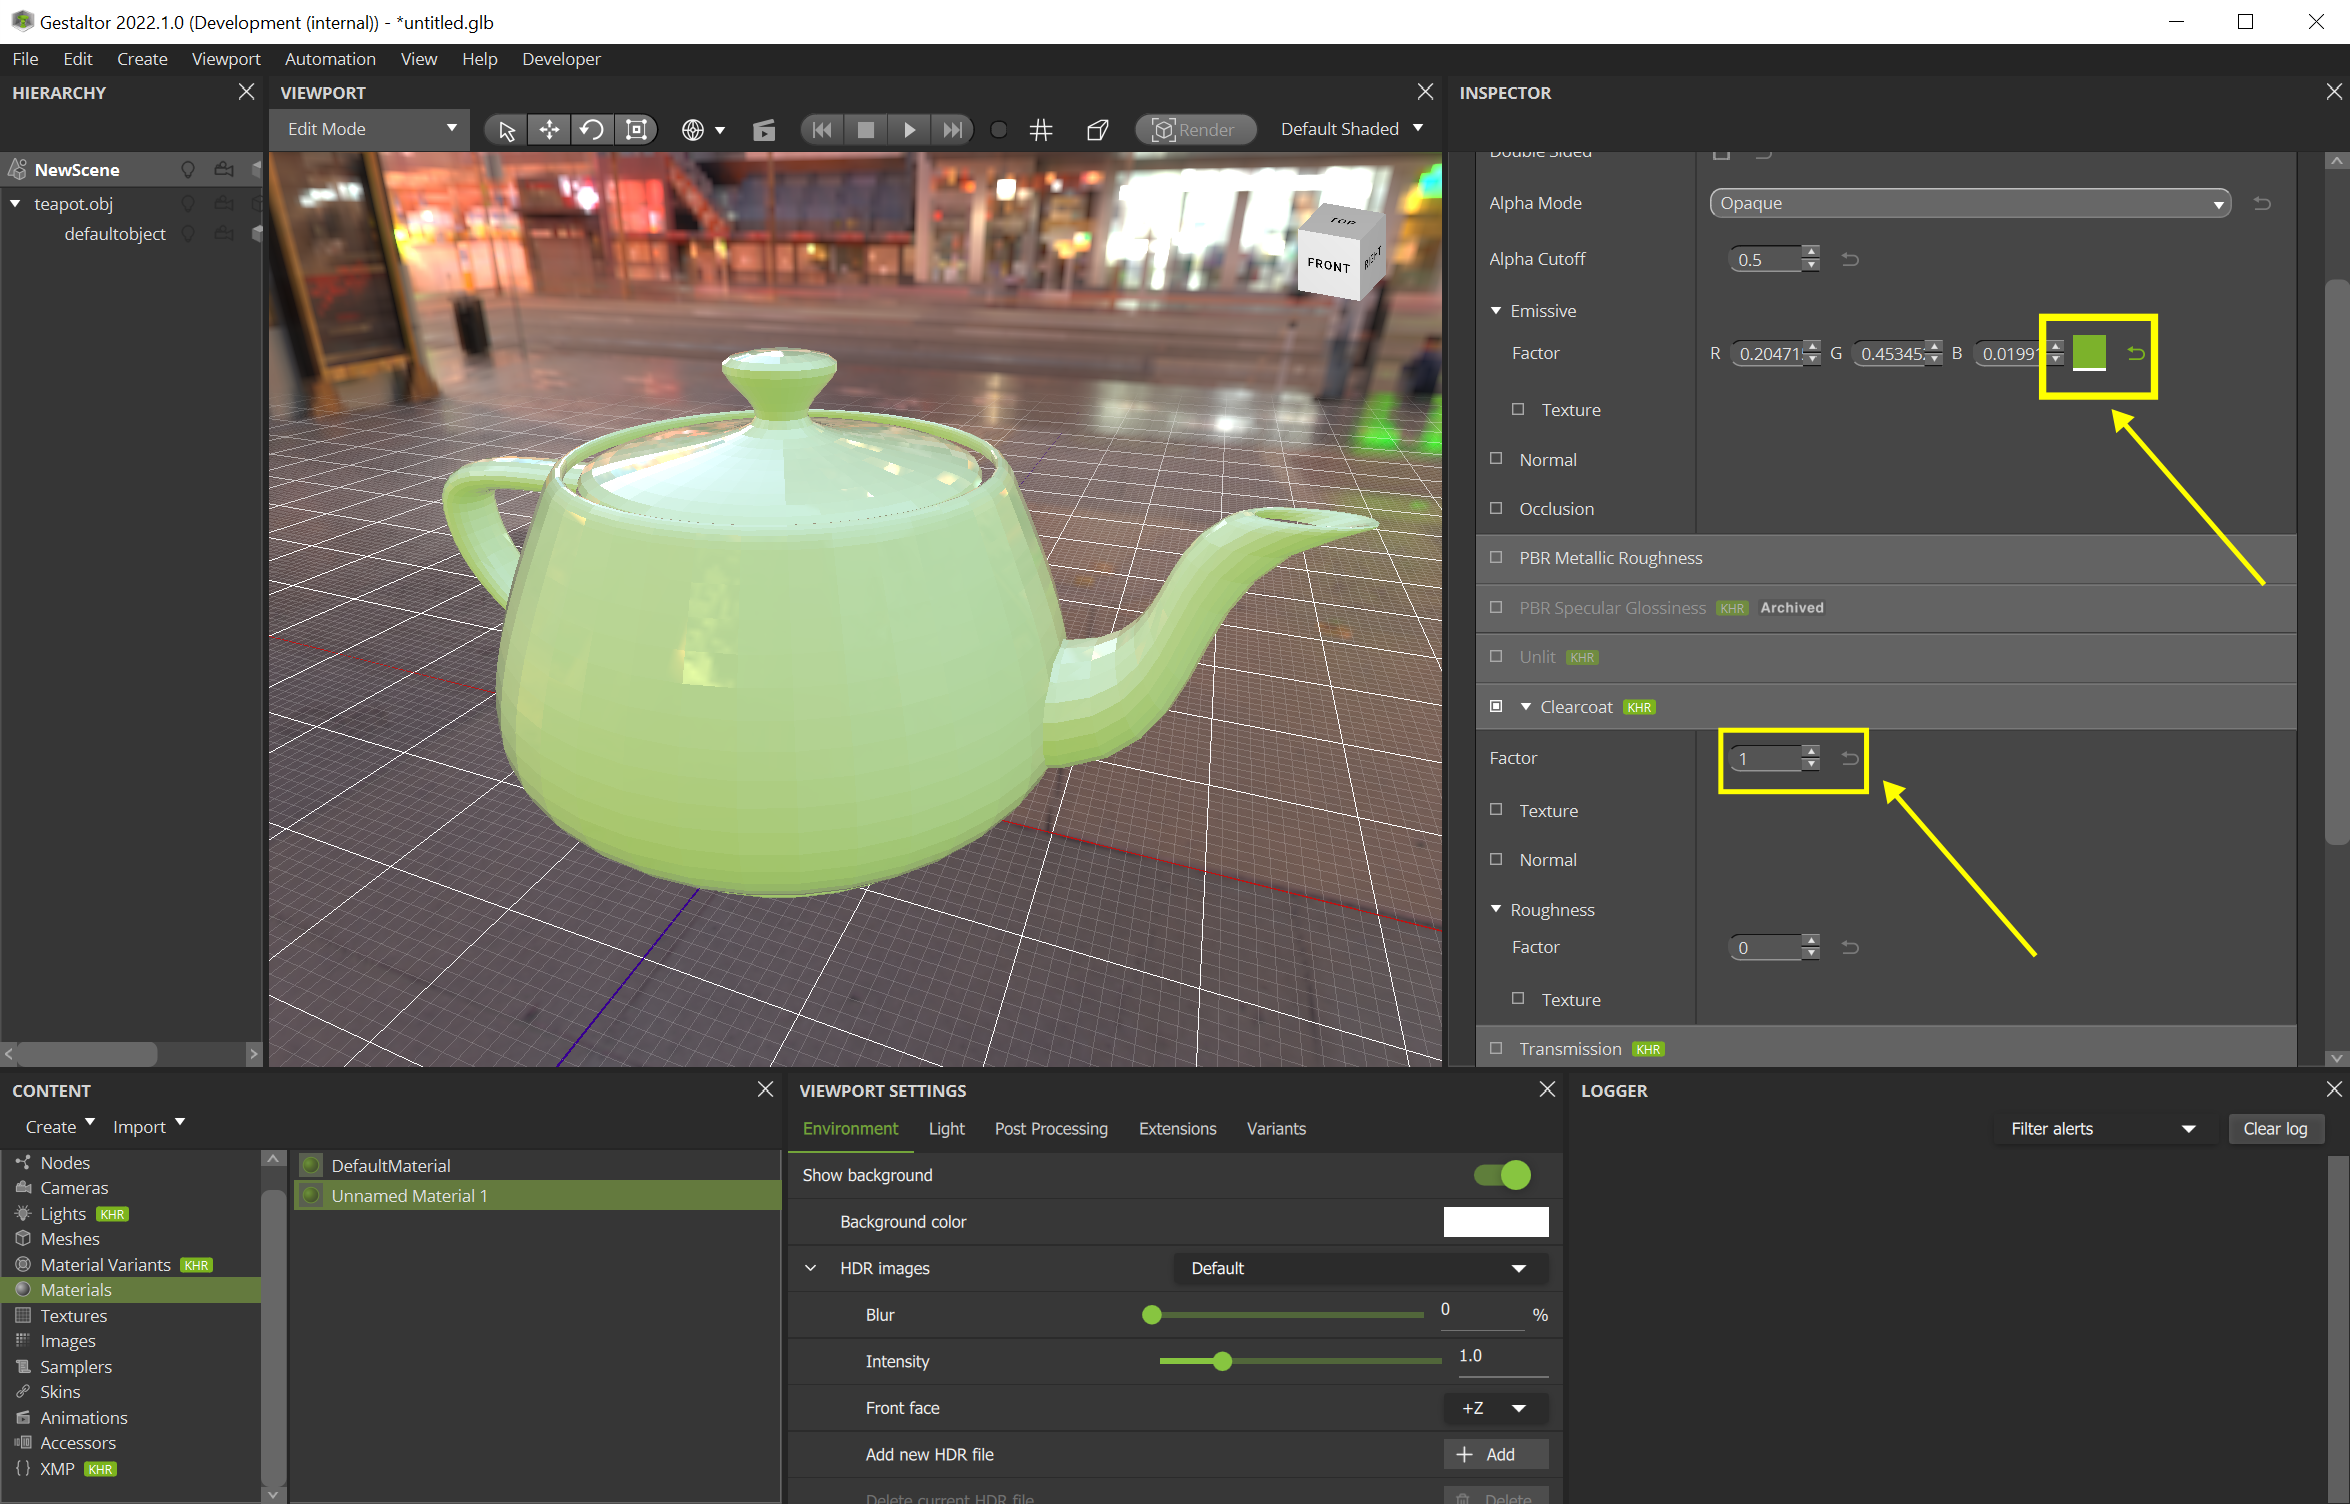
Click on the Material icon and e.g. change the base color and add a clear coat effect:
Either delete unused elements manually or press Ctrl-Shift-C (Professional only) to remove them automatically.