… Create a Simple Drop Shadow Using an Orthographic Camera#
Open a glTF File > Open… in the menu bar. E.g. Fish.
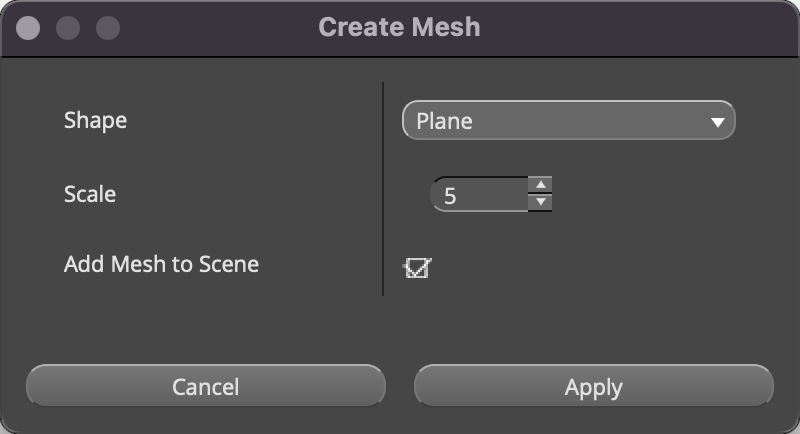
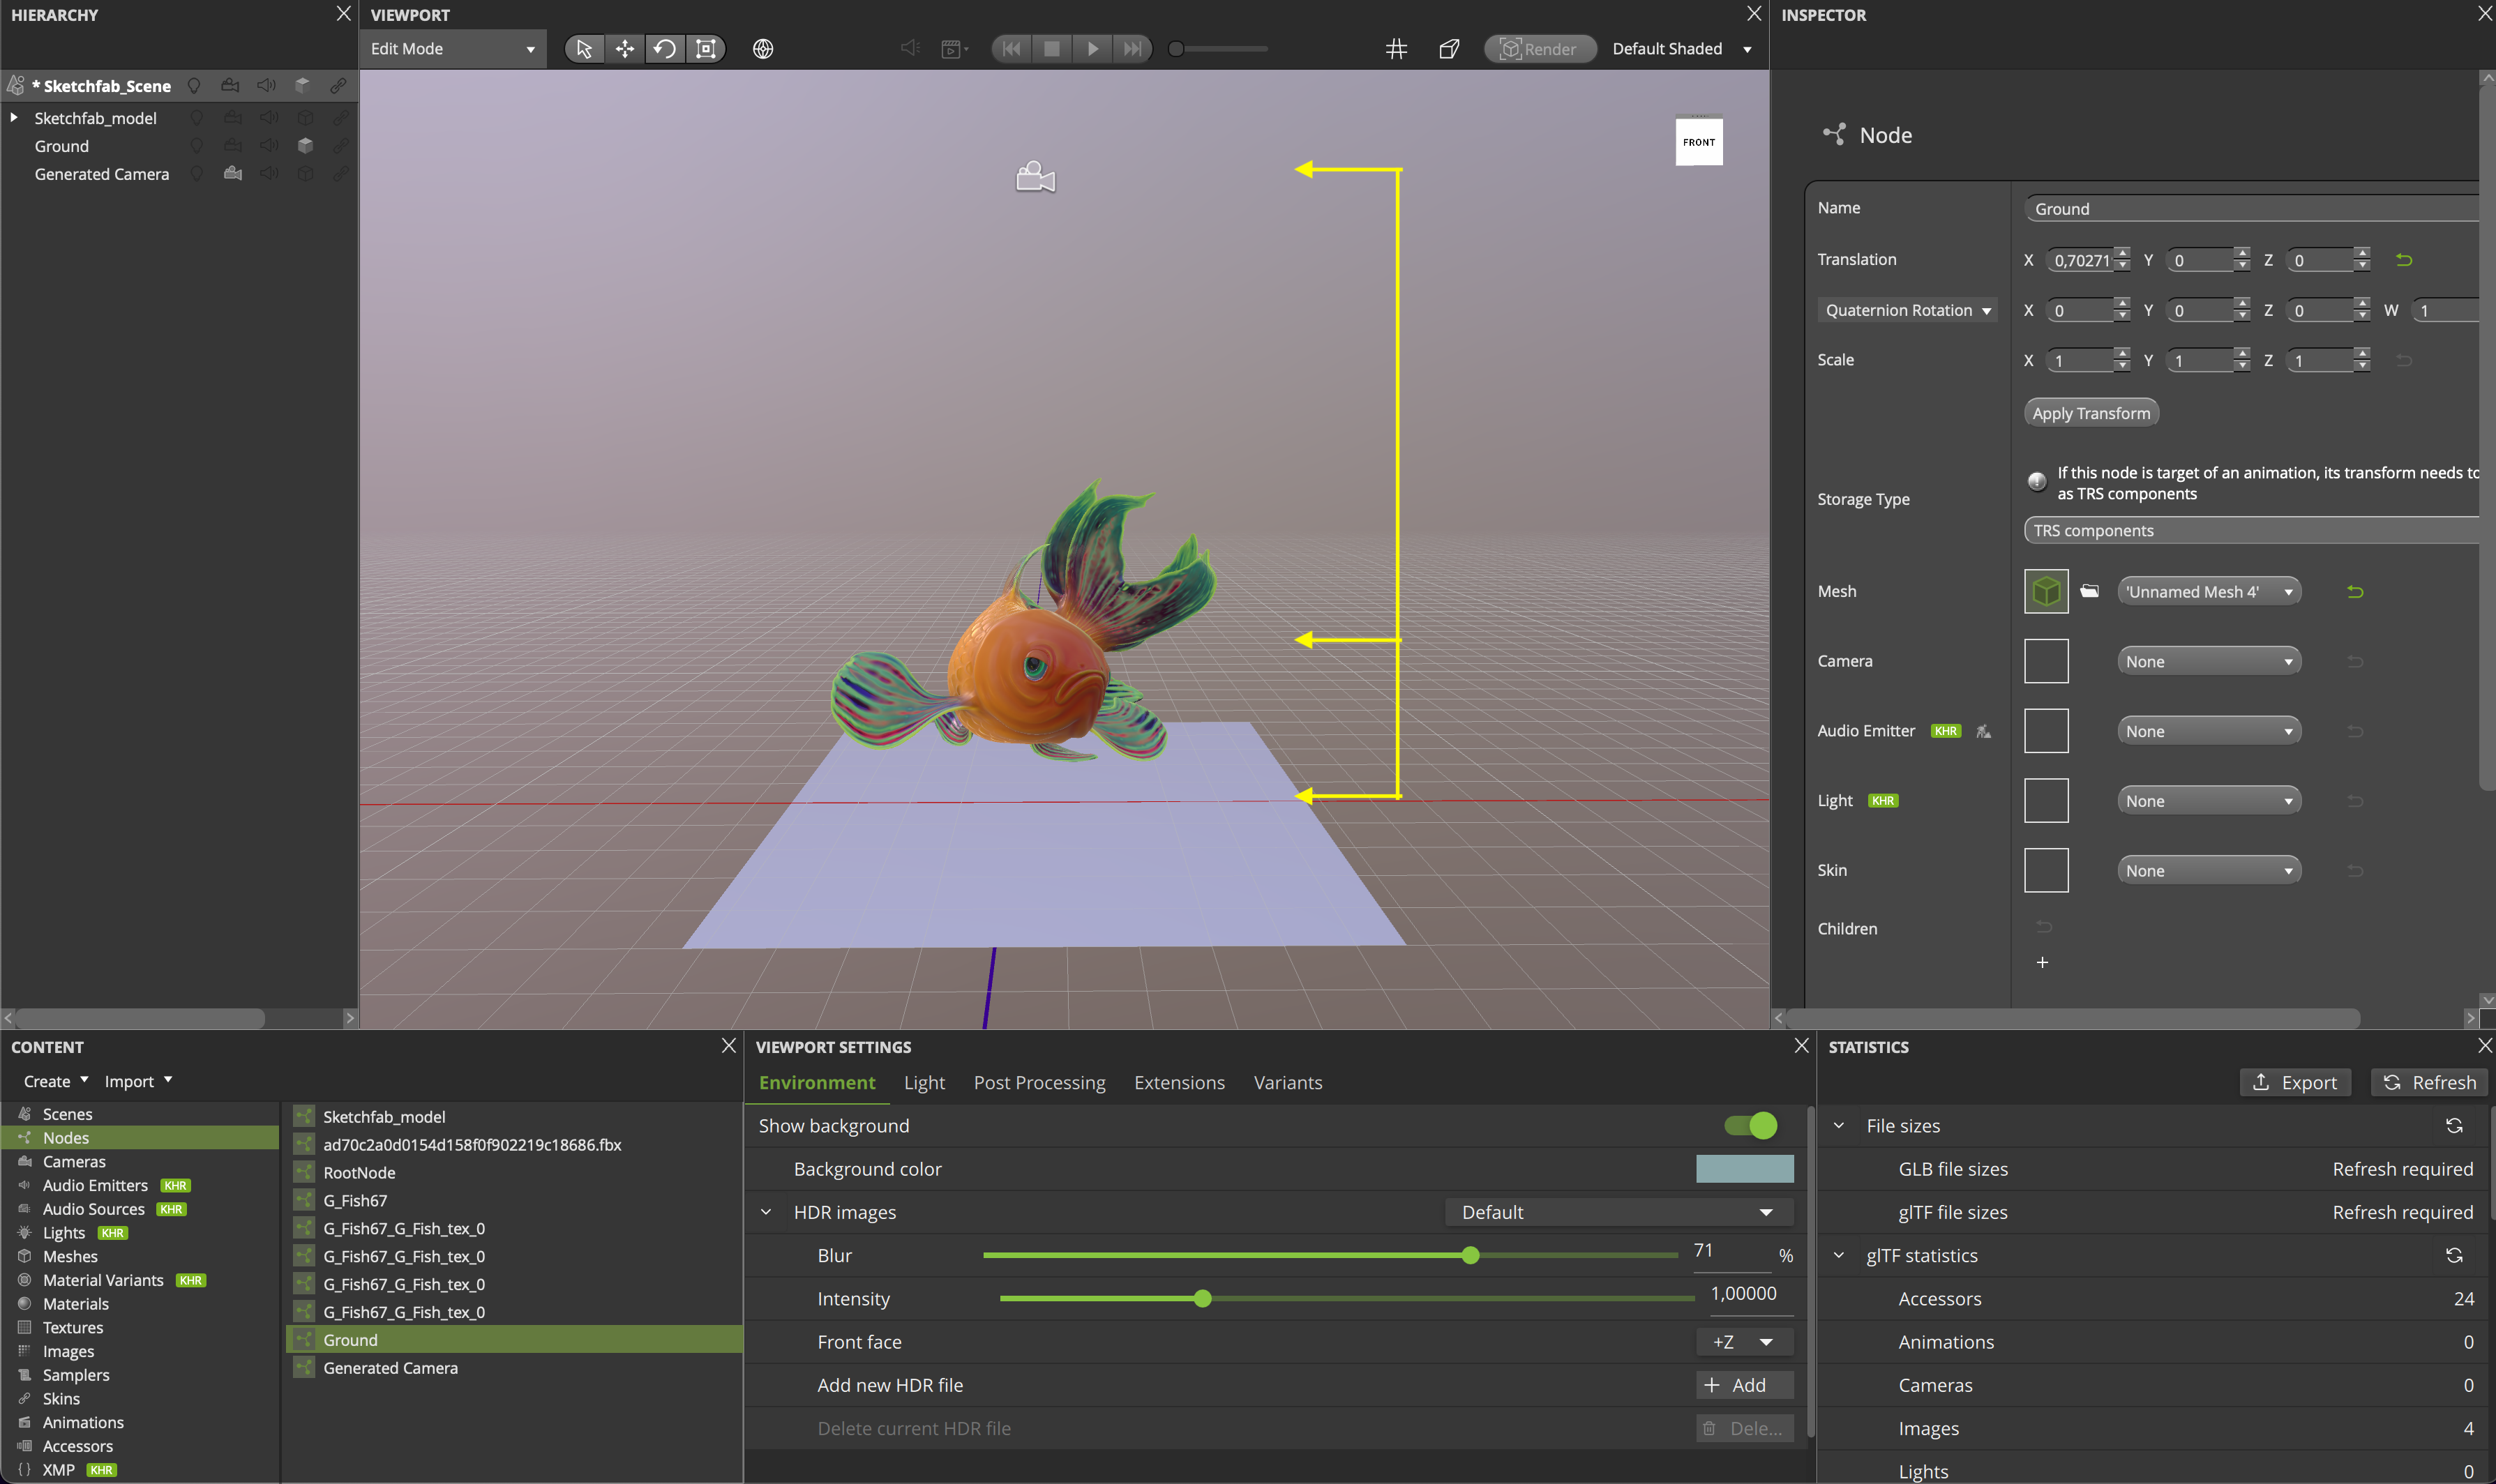
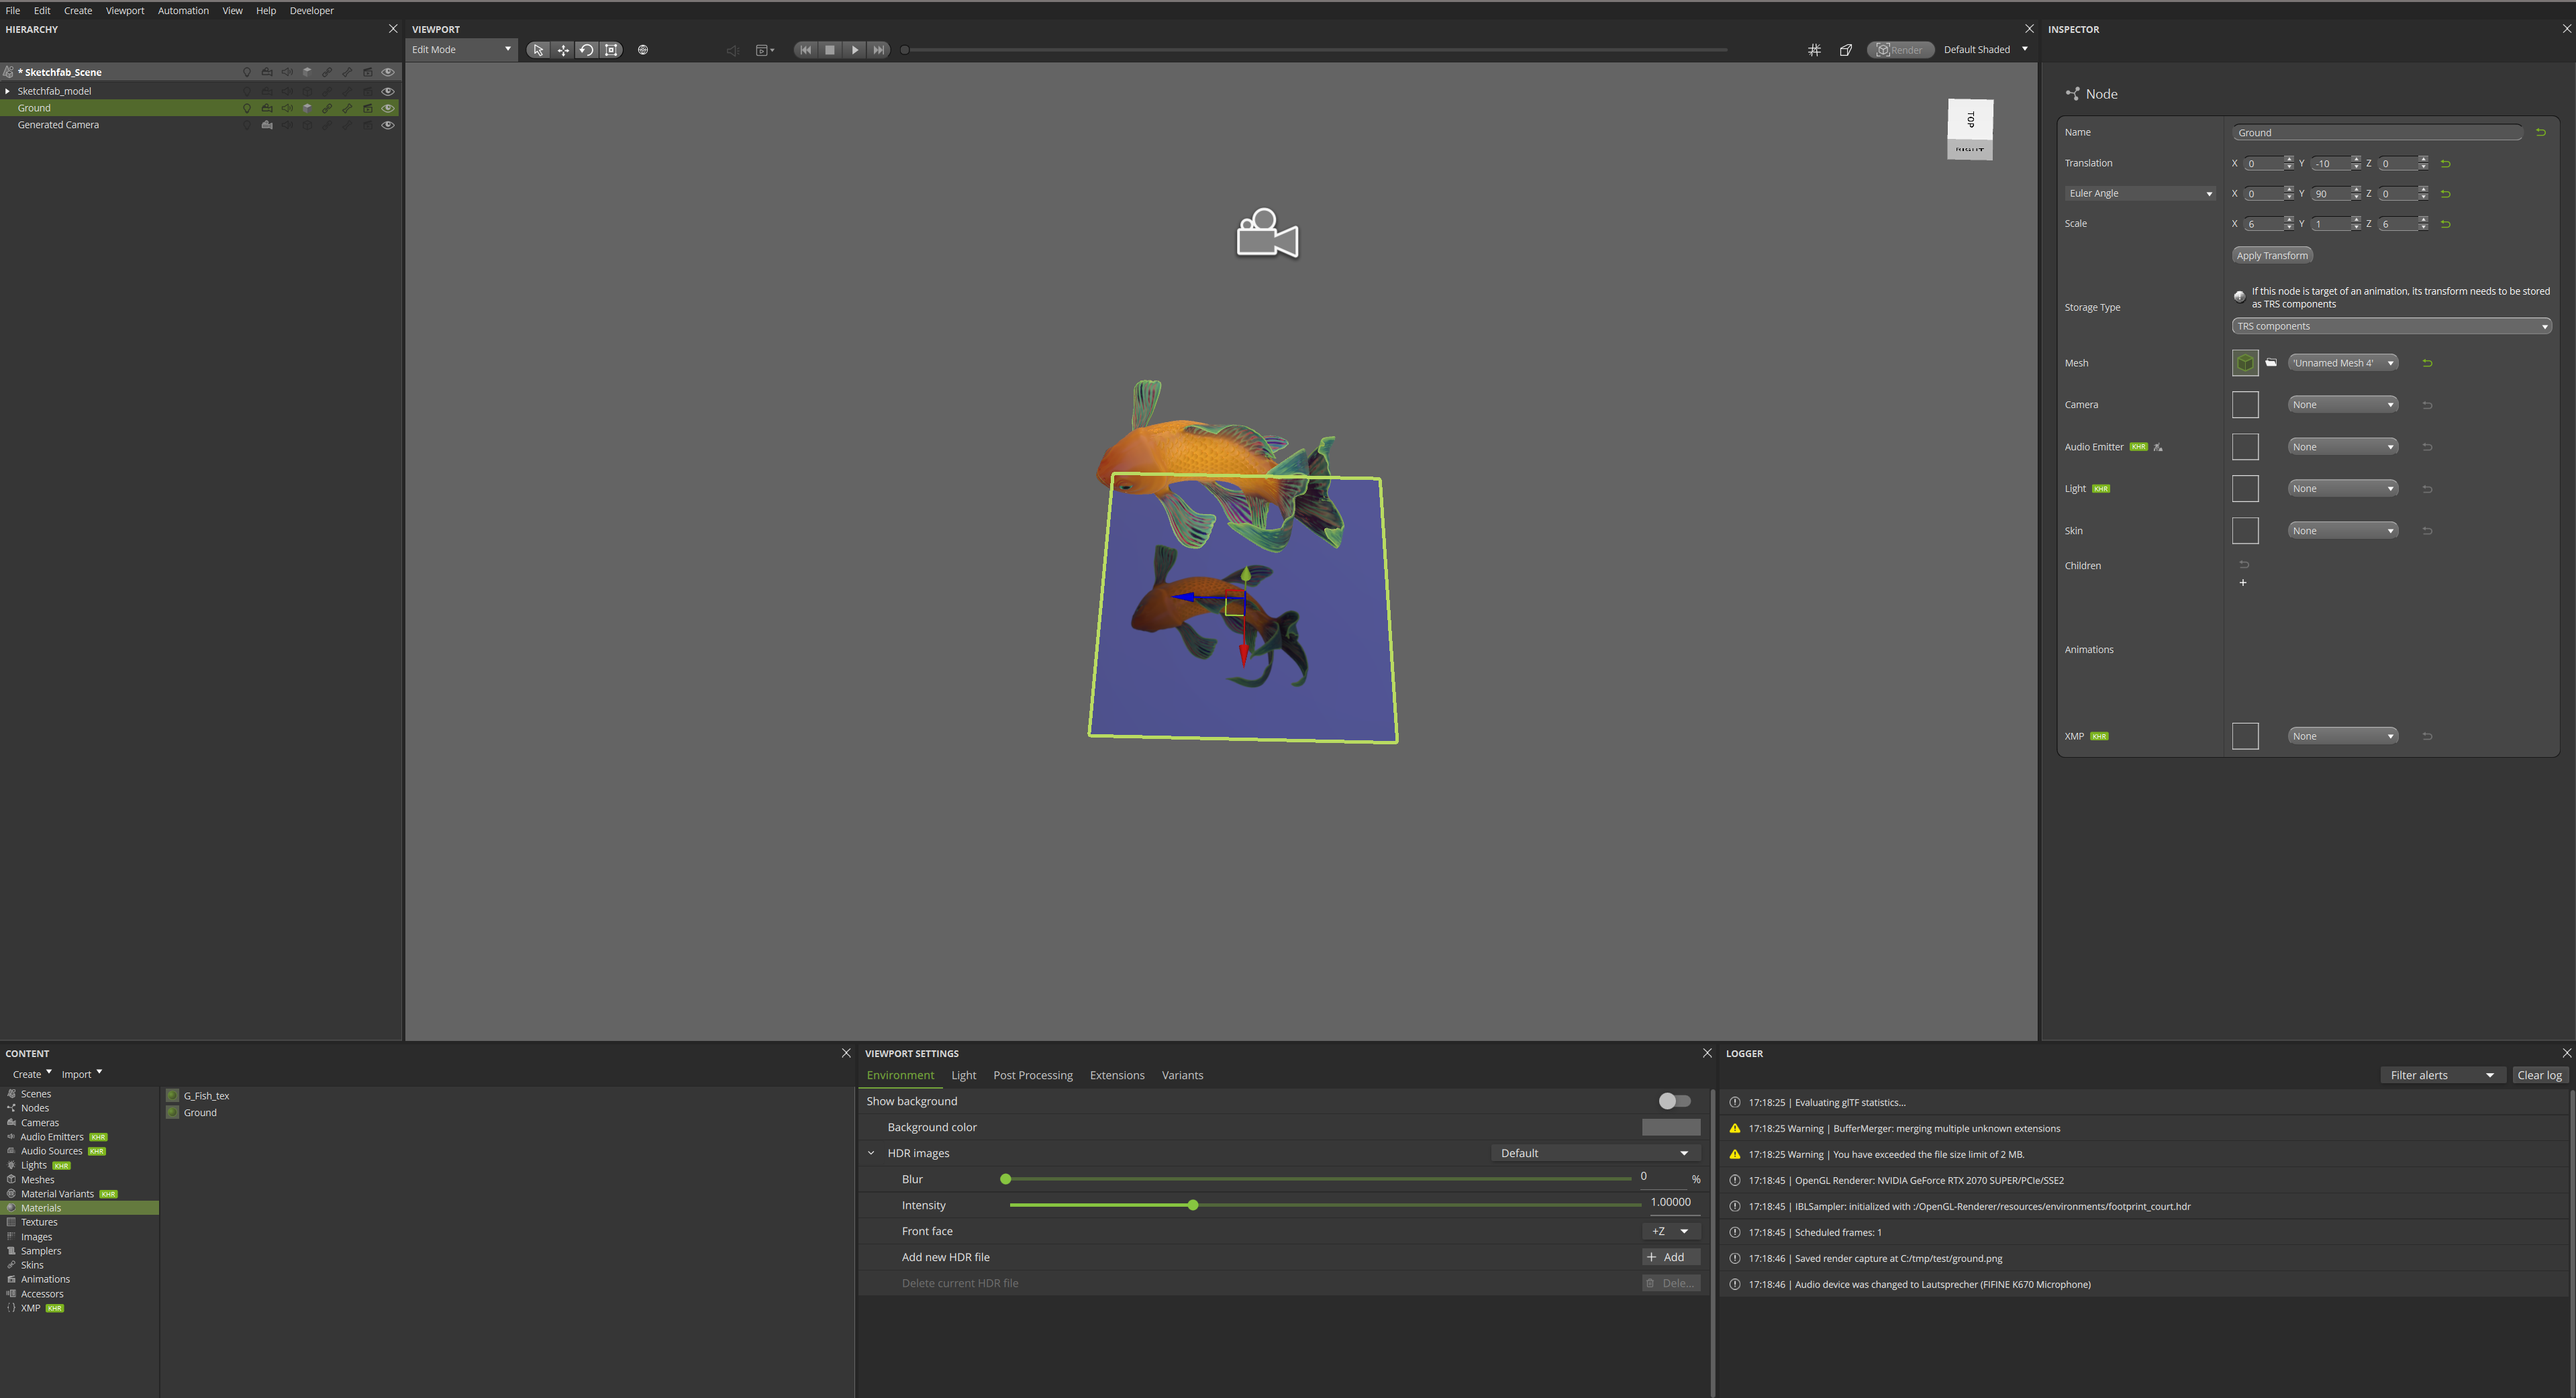
Execute in the menu bar Create > Mesh to create a plane mesh below the fish mesh. Let’s name it ‘Ground’.
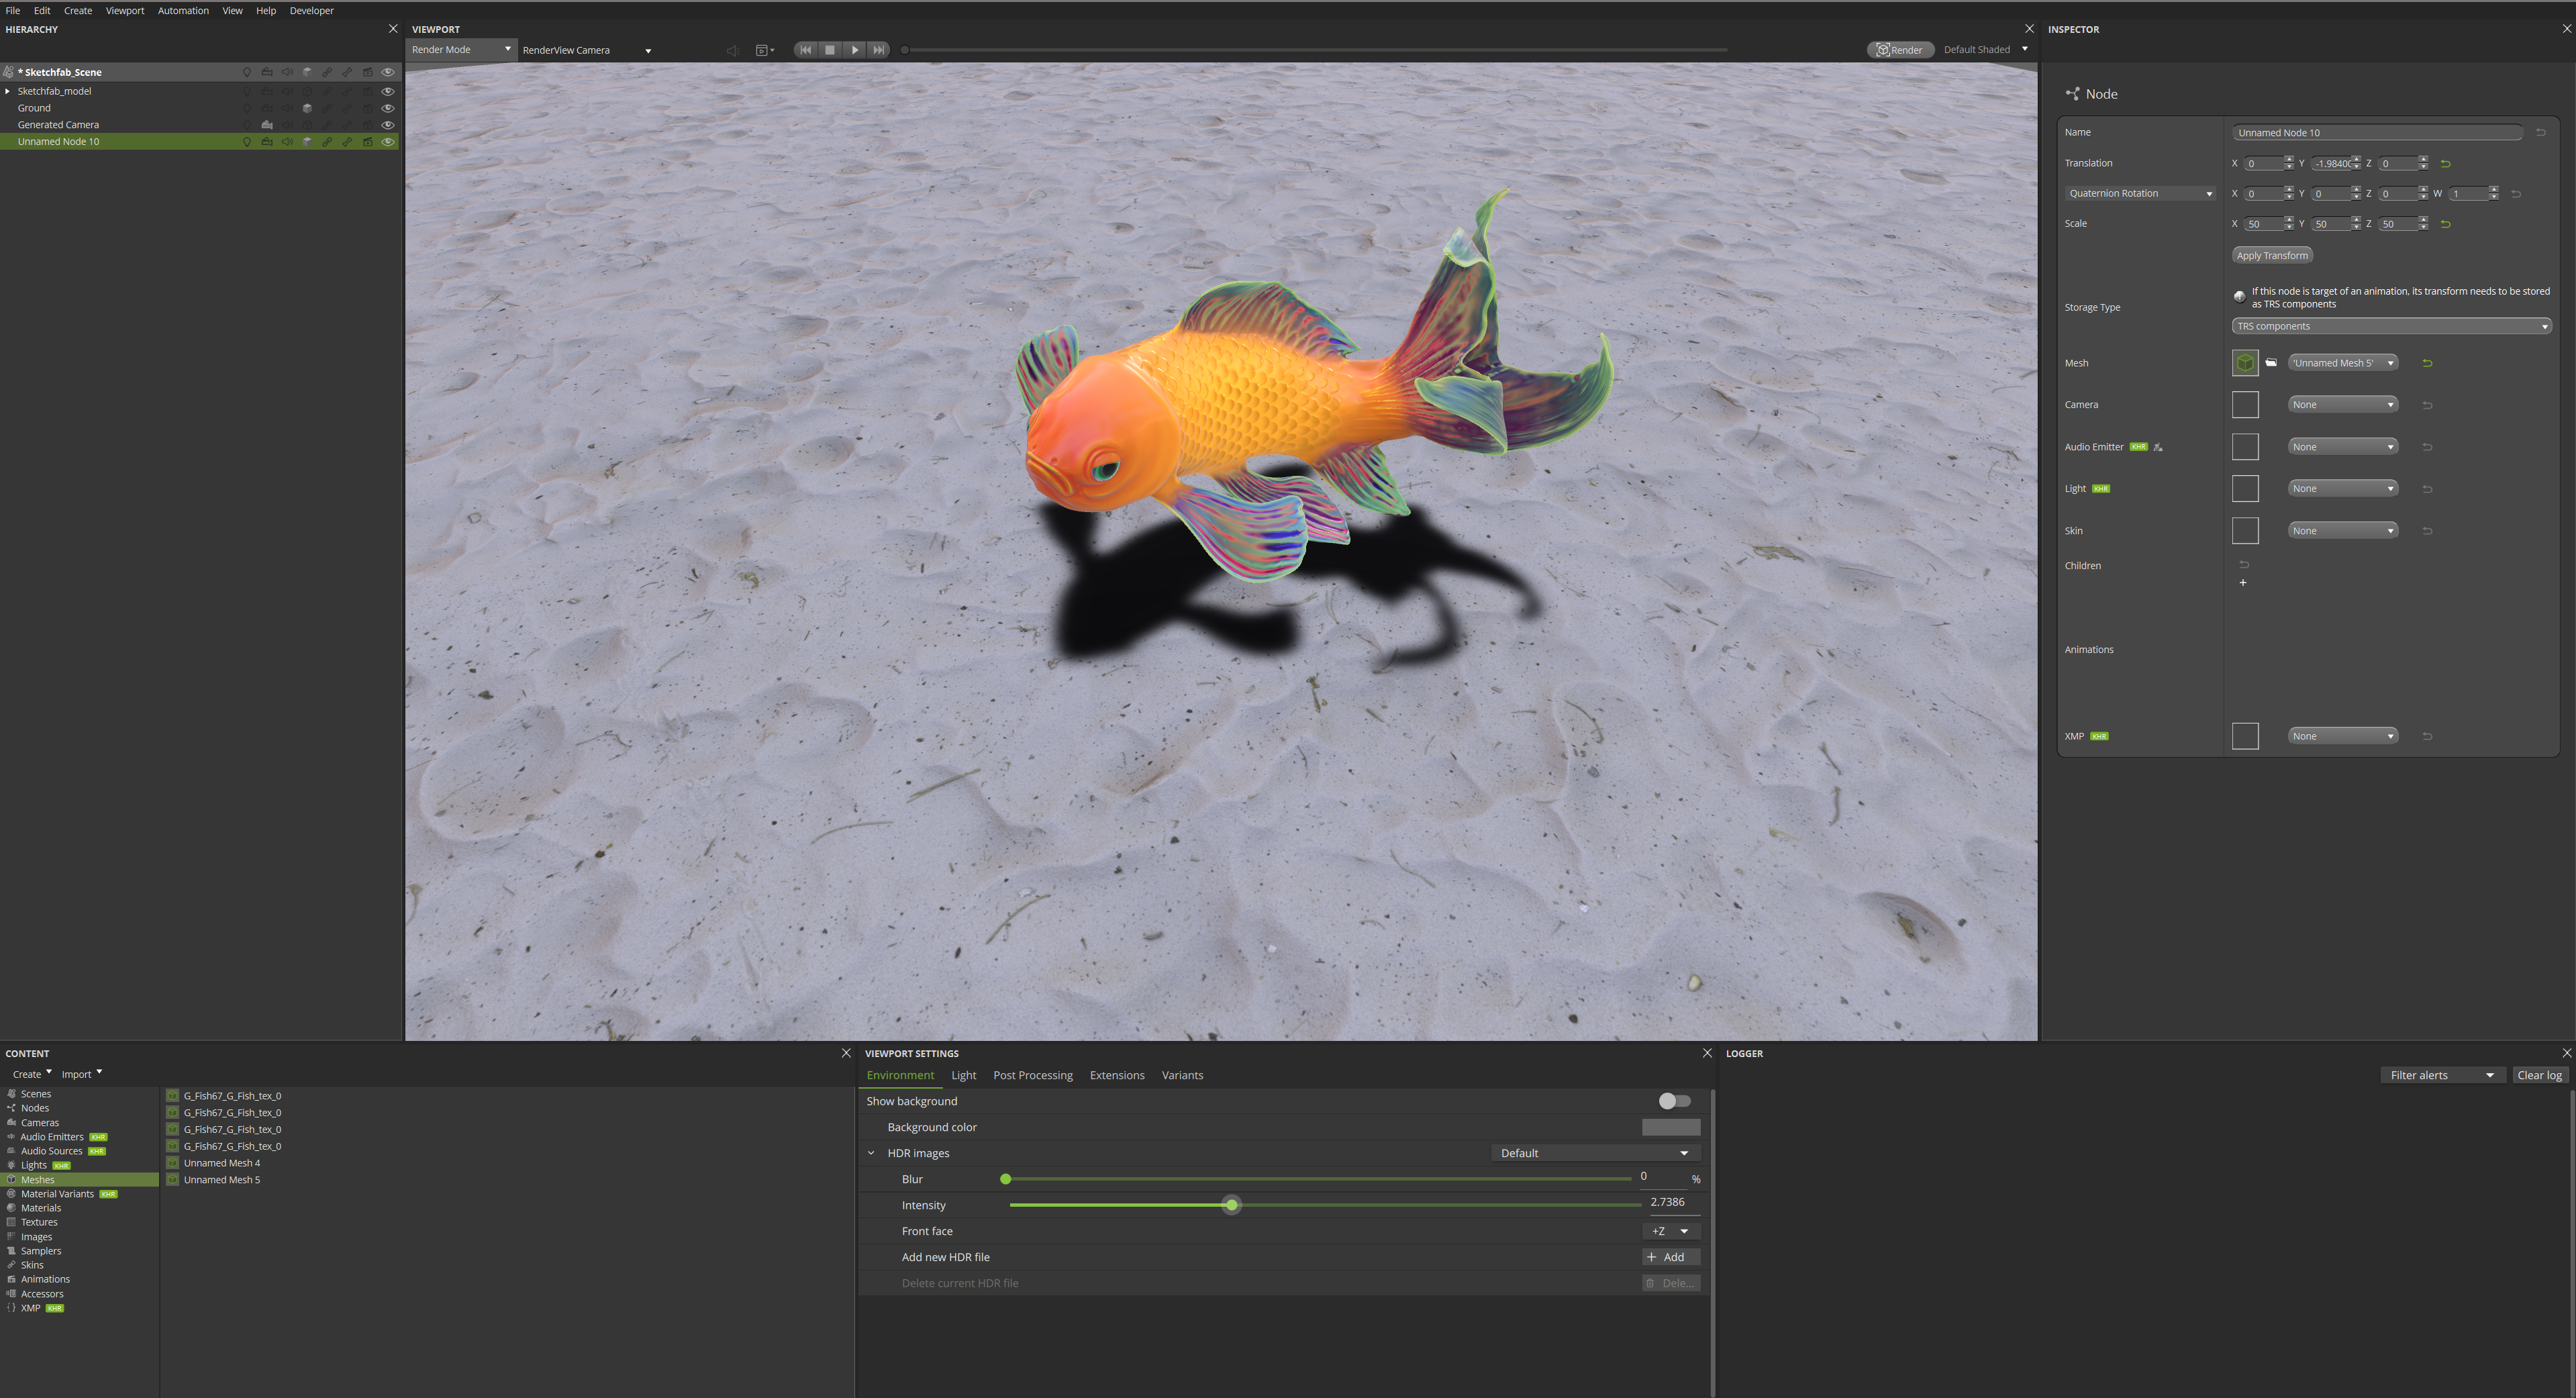
Position the viewport camera above the ‘fish’ and ‘Ground’ to achieve the angle below.
Execute in the menu bar Create > Add Camera From View to create a camera.
Switch the viewport to render mode to prepare image rendering and to show a preview of the resulting image.
Open the camera inspector panel and set the camera type to orthographic.
Furthermore, set xmag and ymag values manually in such a way that the camera perfectly fits to the size of the ‘Ground’ plane as shown in the screenshot below.
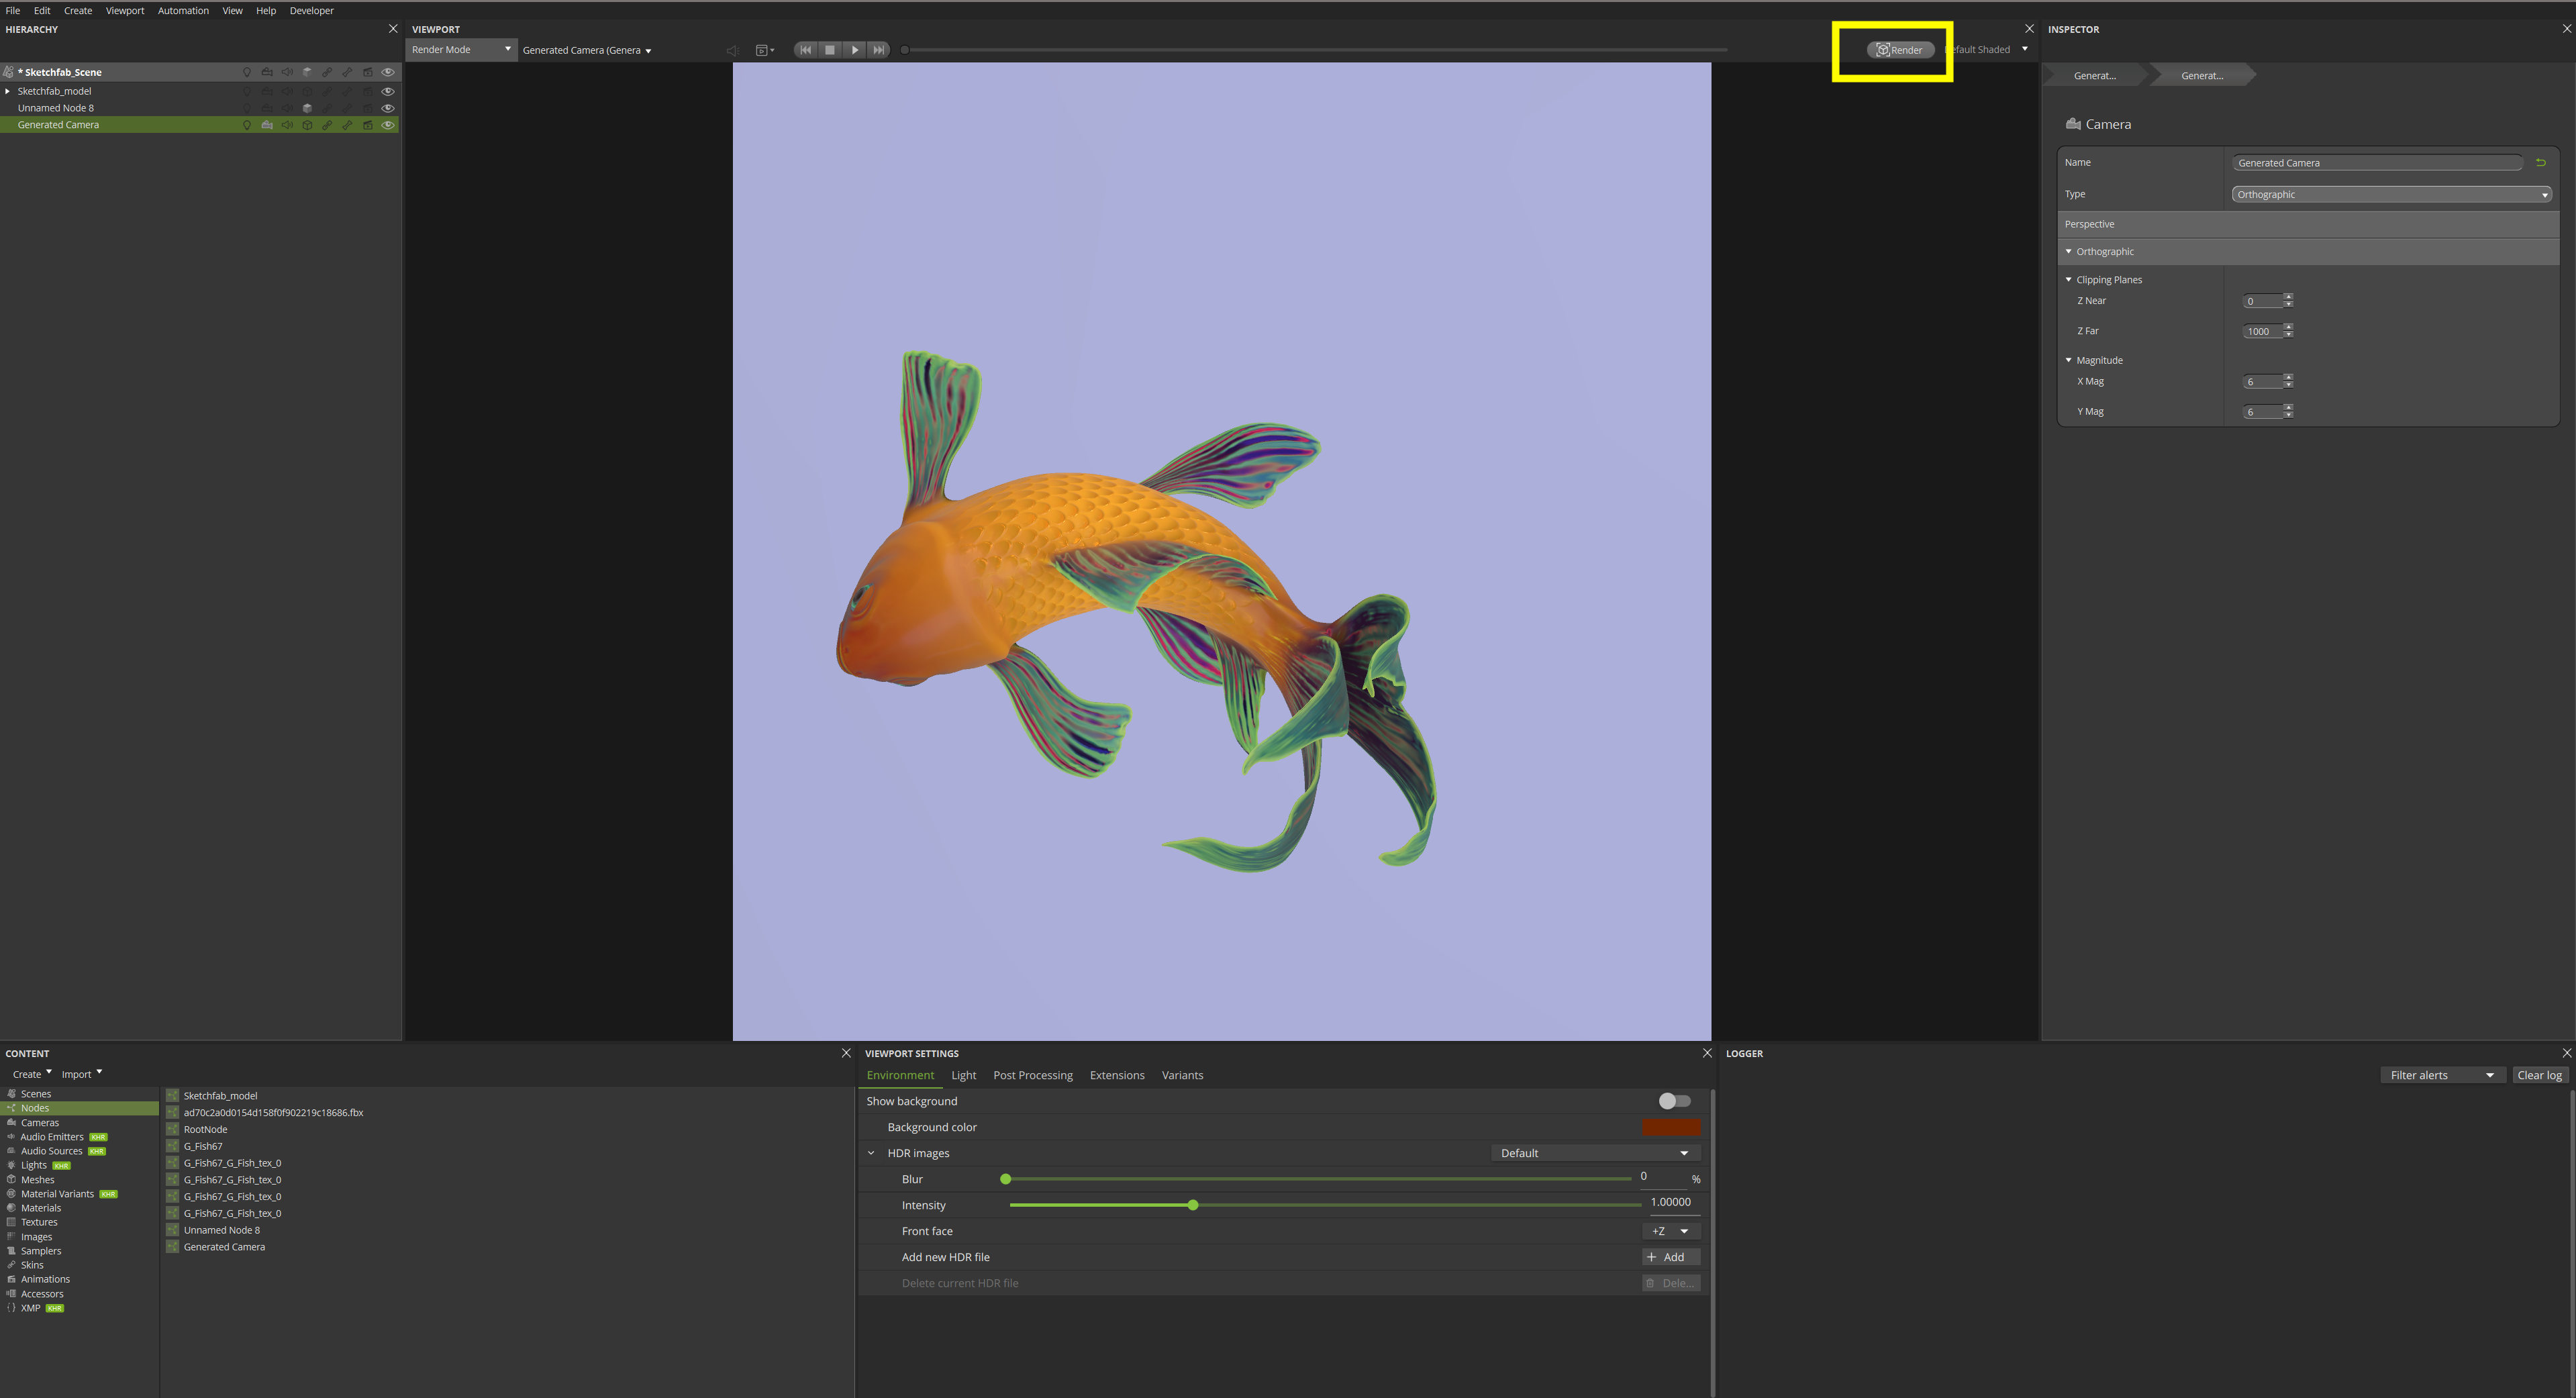
Render the image.
Import the rendered image as a texture in the content panel.
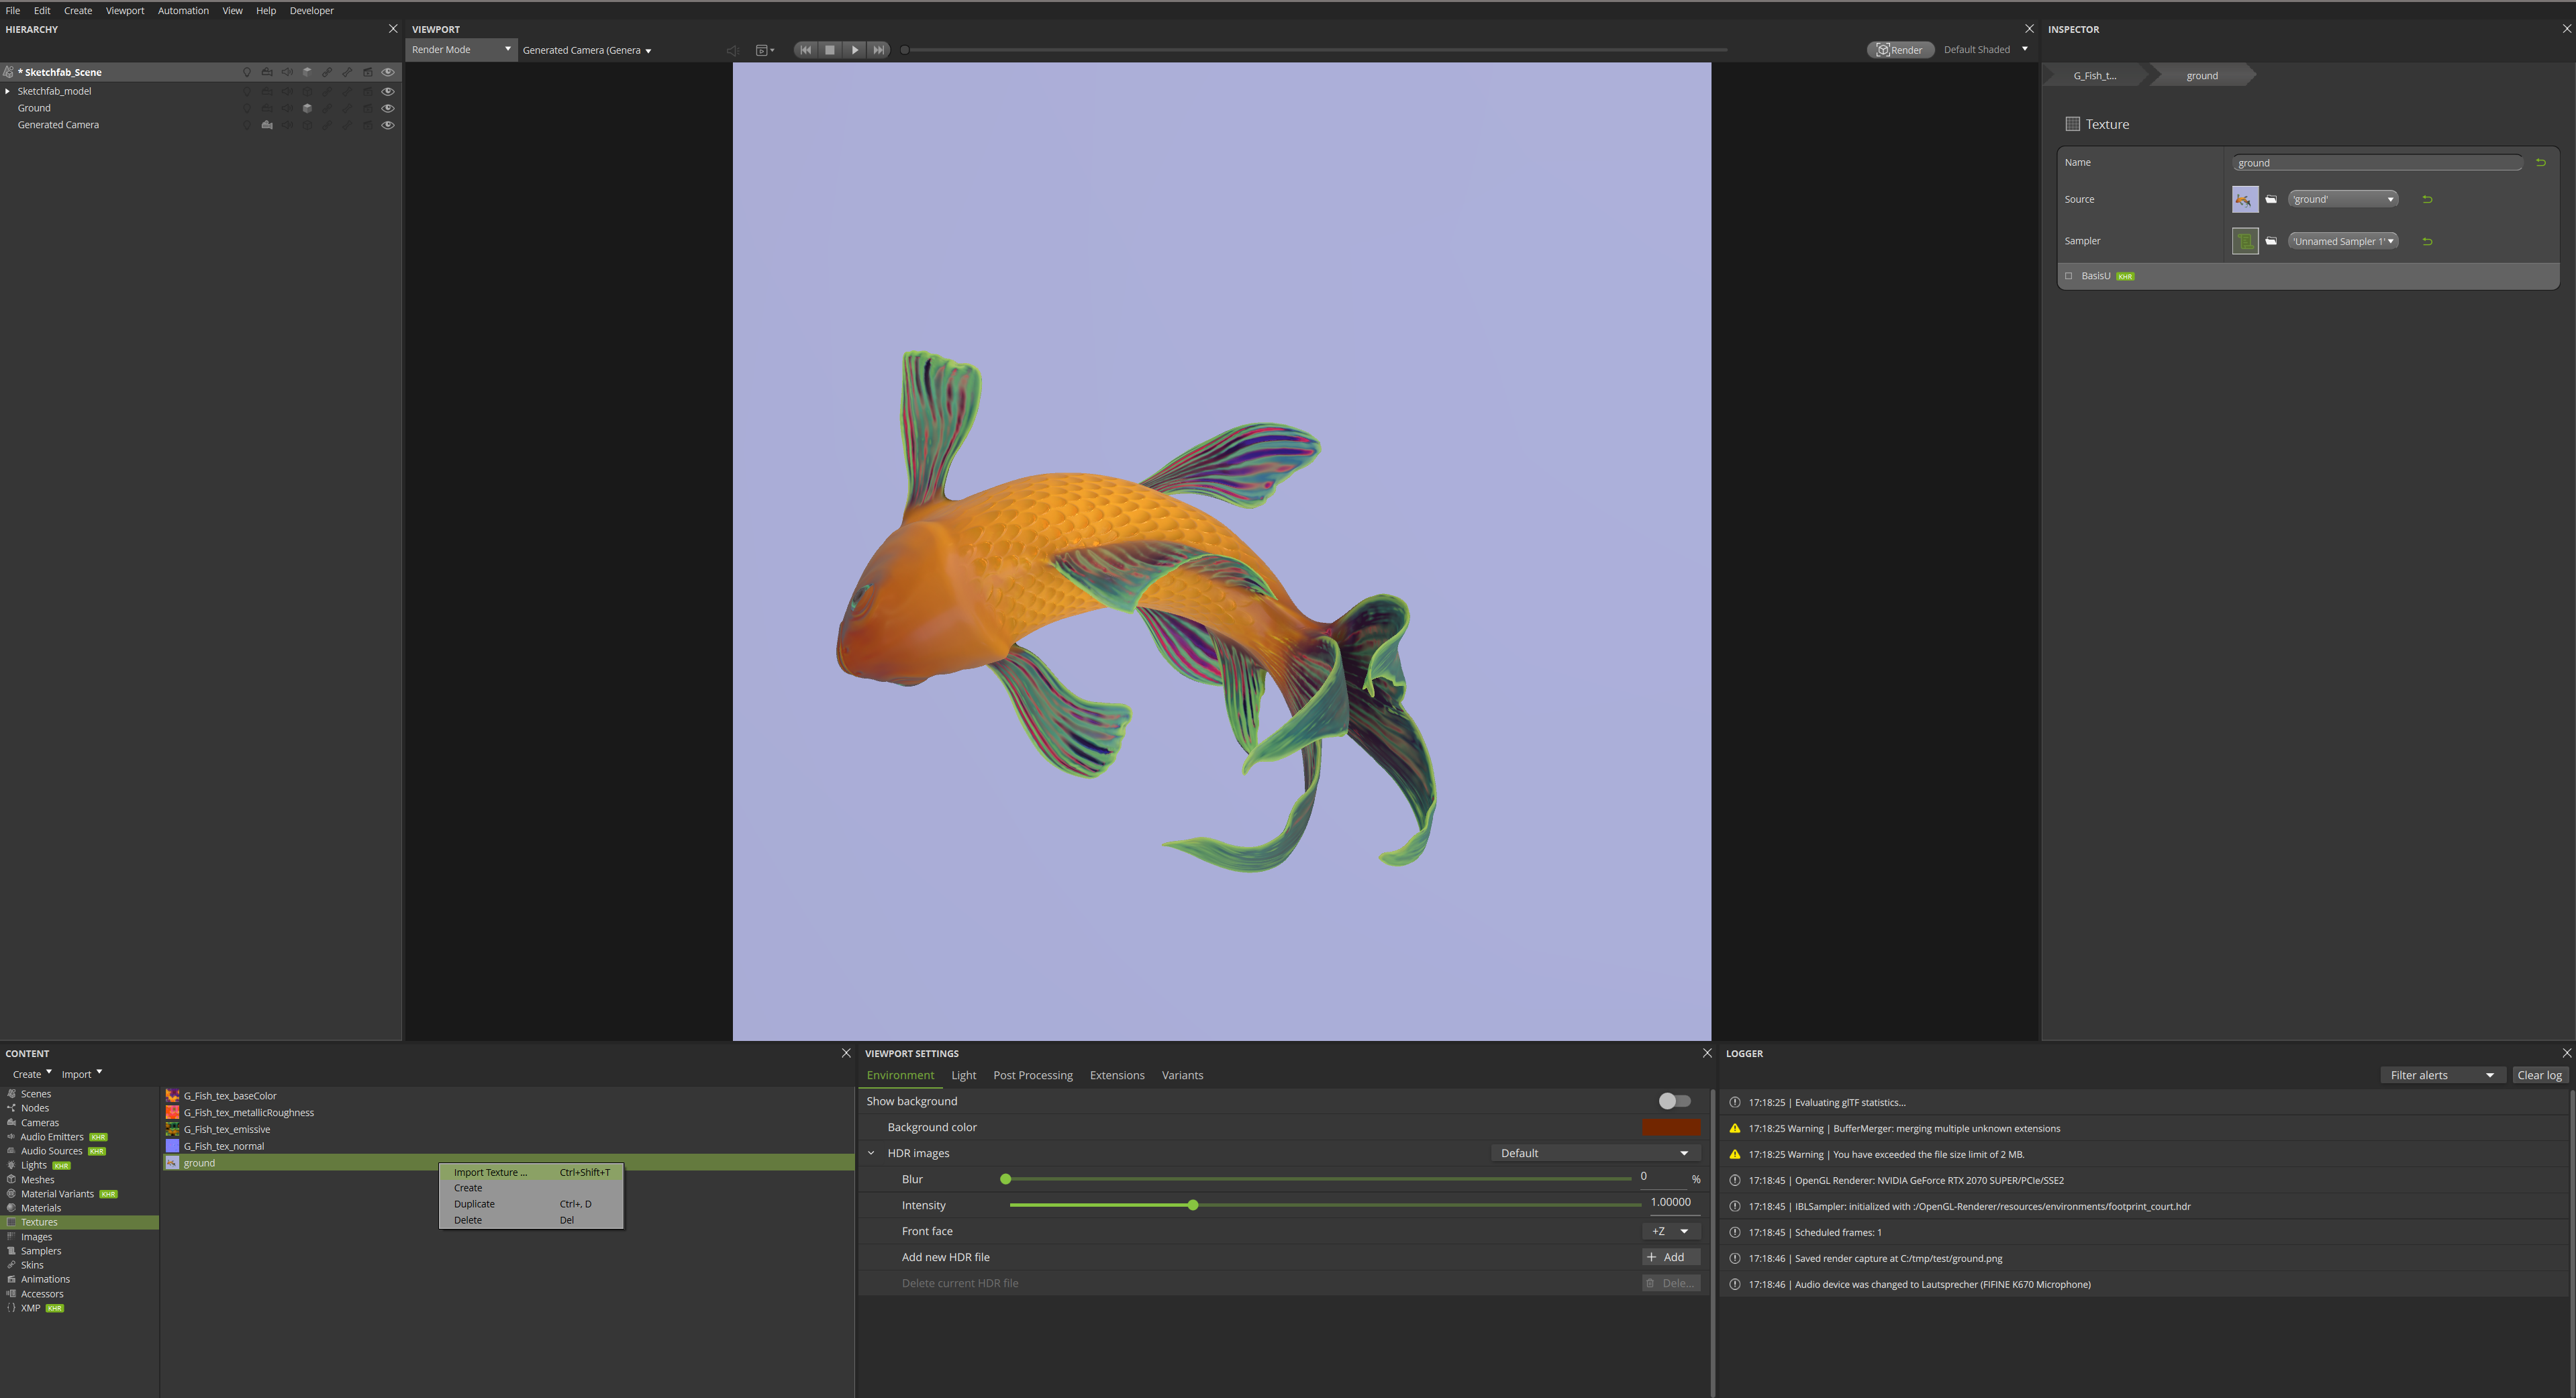
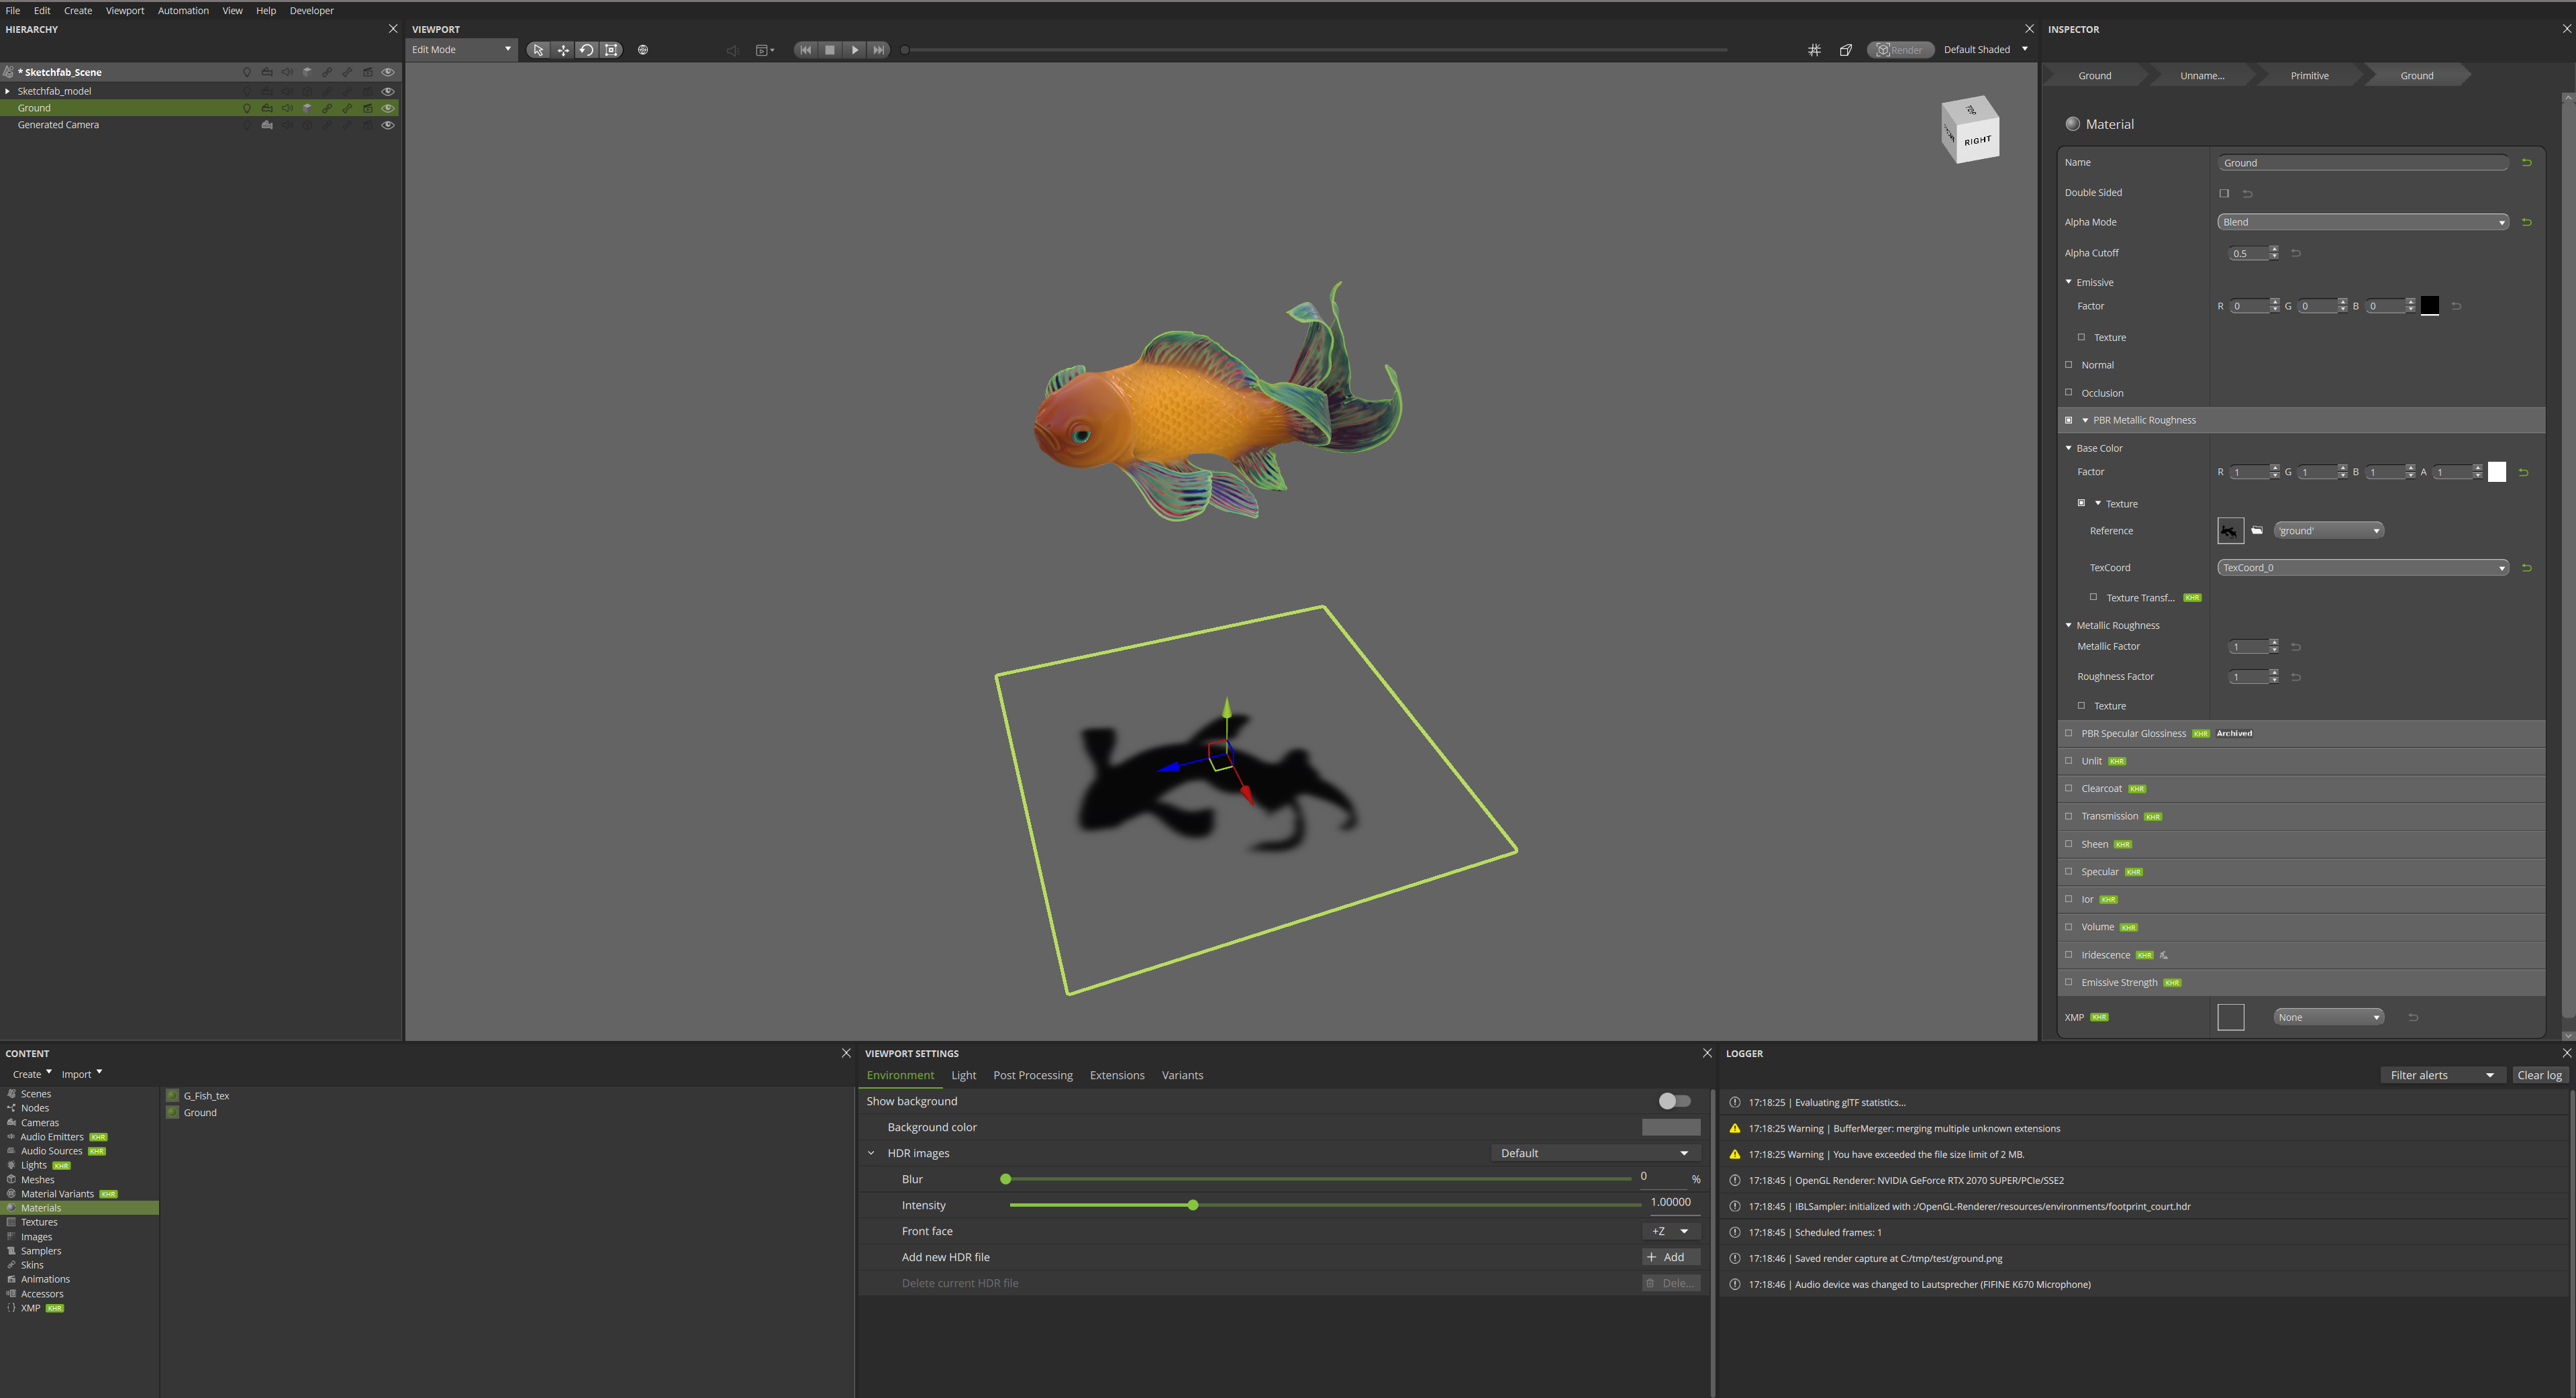
Assign the created texture as a base color of the associated ‘Ground’ material in the material inspector.
Image 1
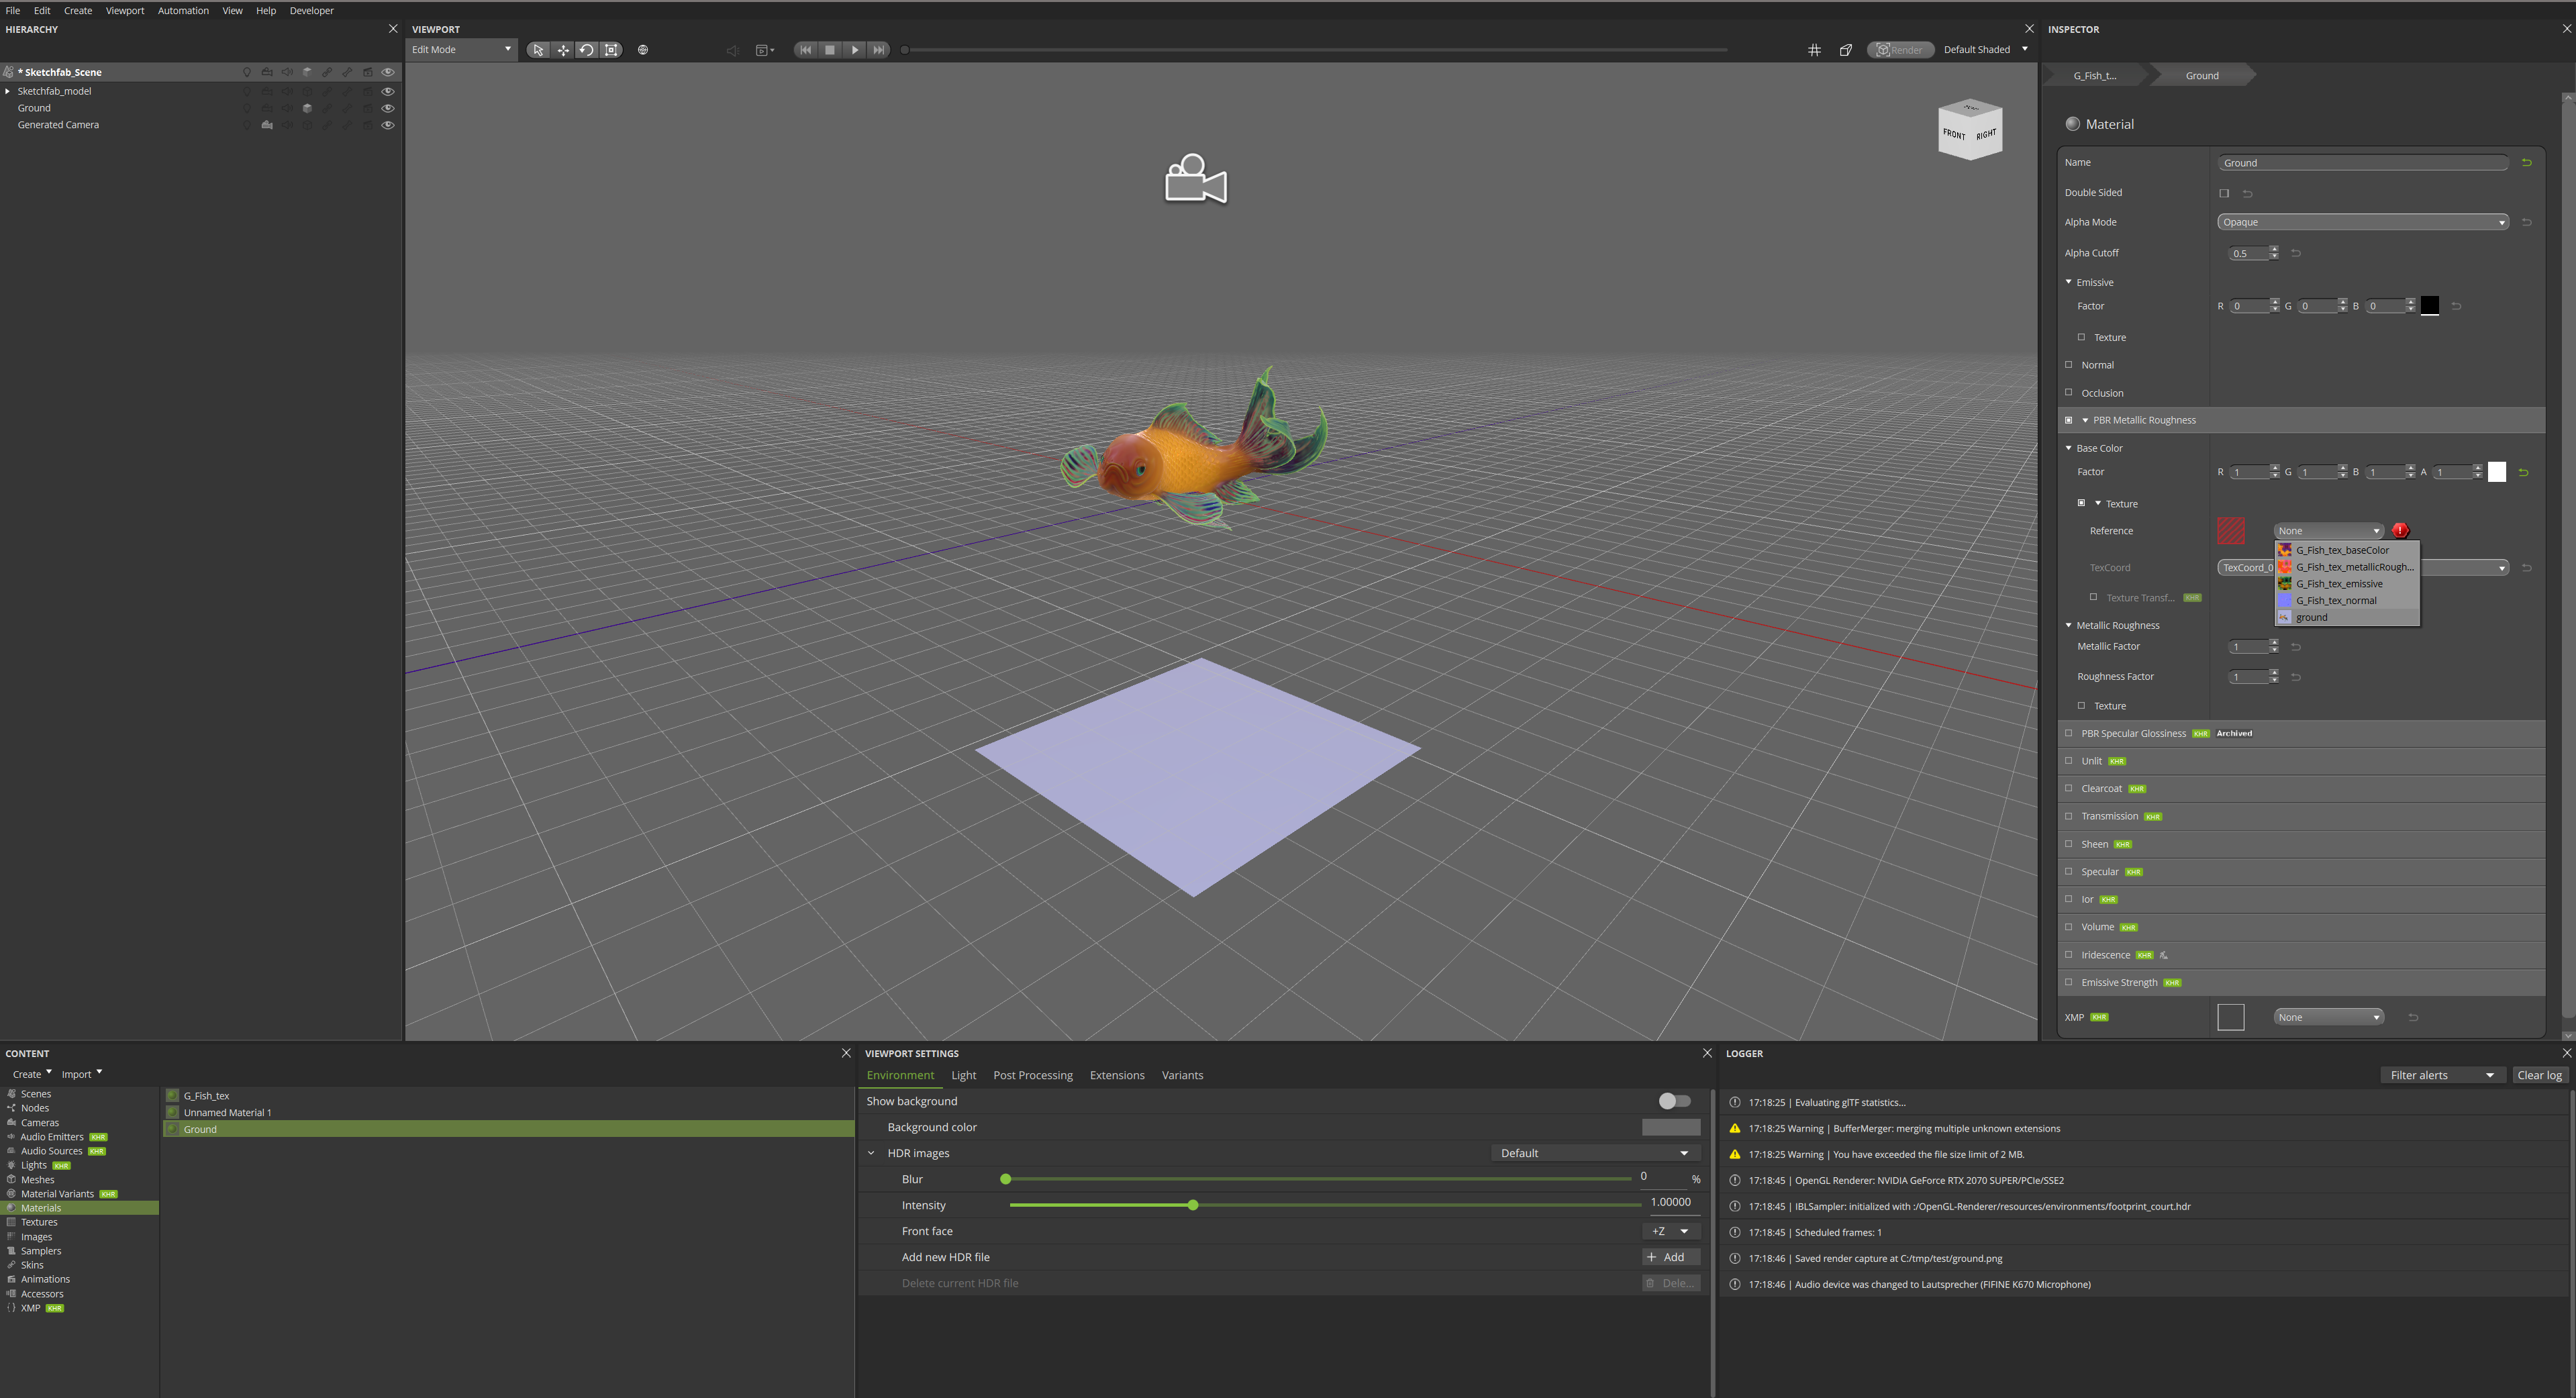
Image 2
You have successfully created an orthographic projection of your model.
Now, let’s make this texture look more like a shadow by using Gestaltor’s “Edit” feature that connects your favorite image editing tool in the image inspector.
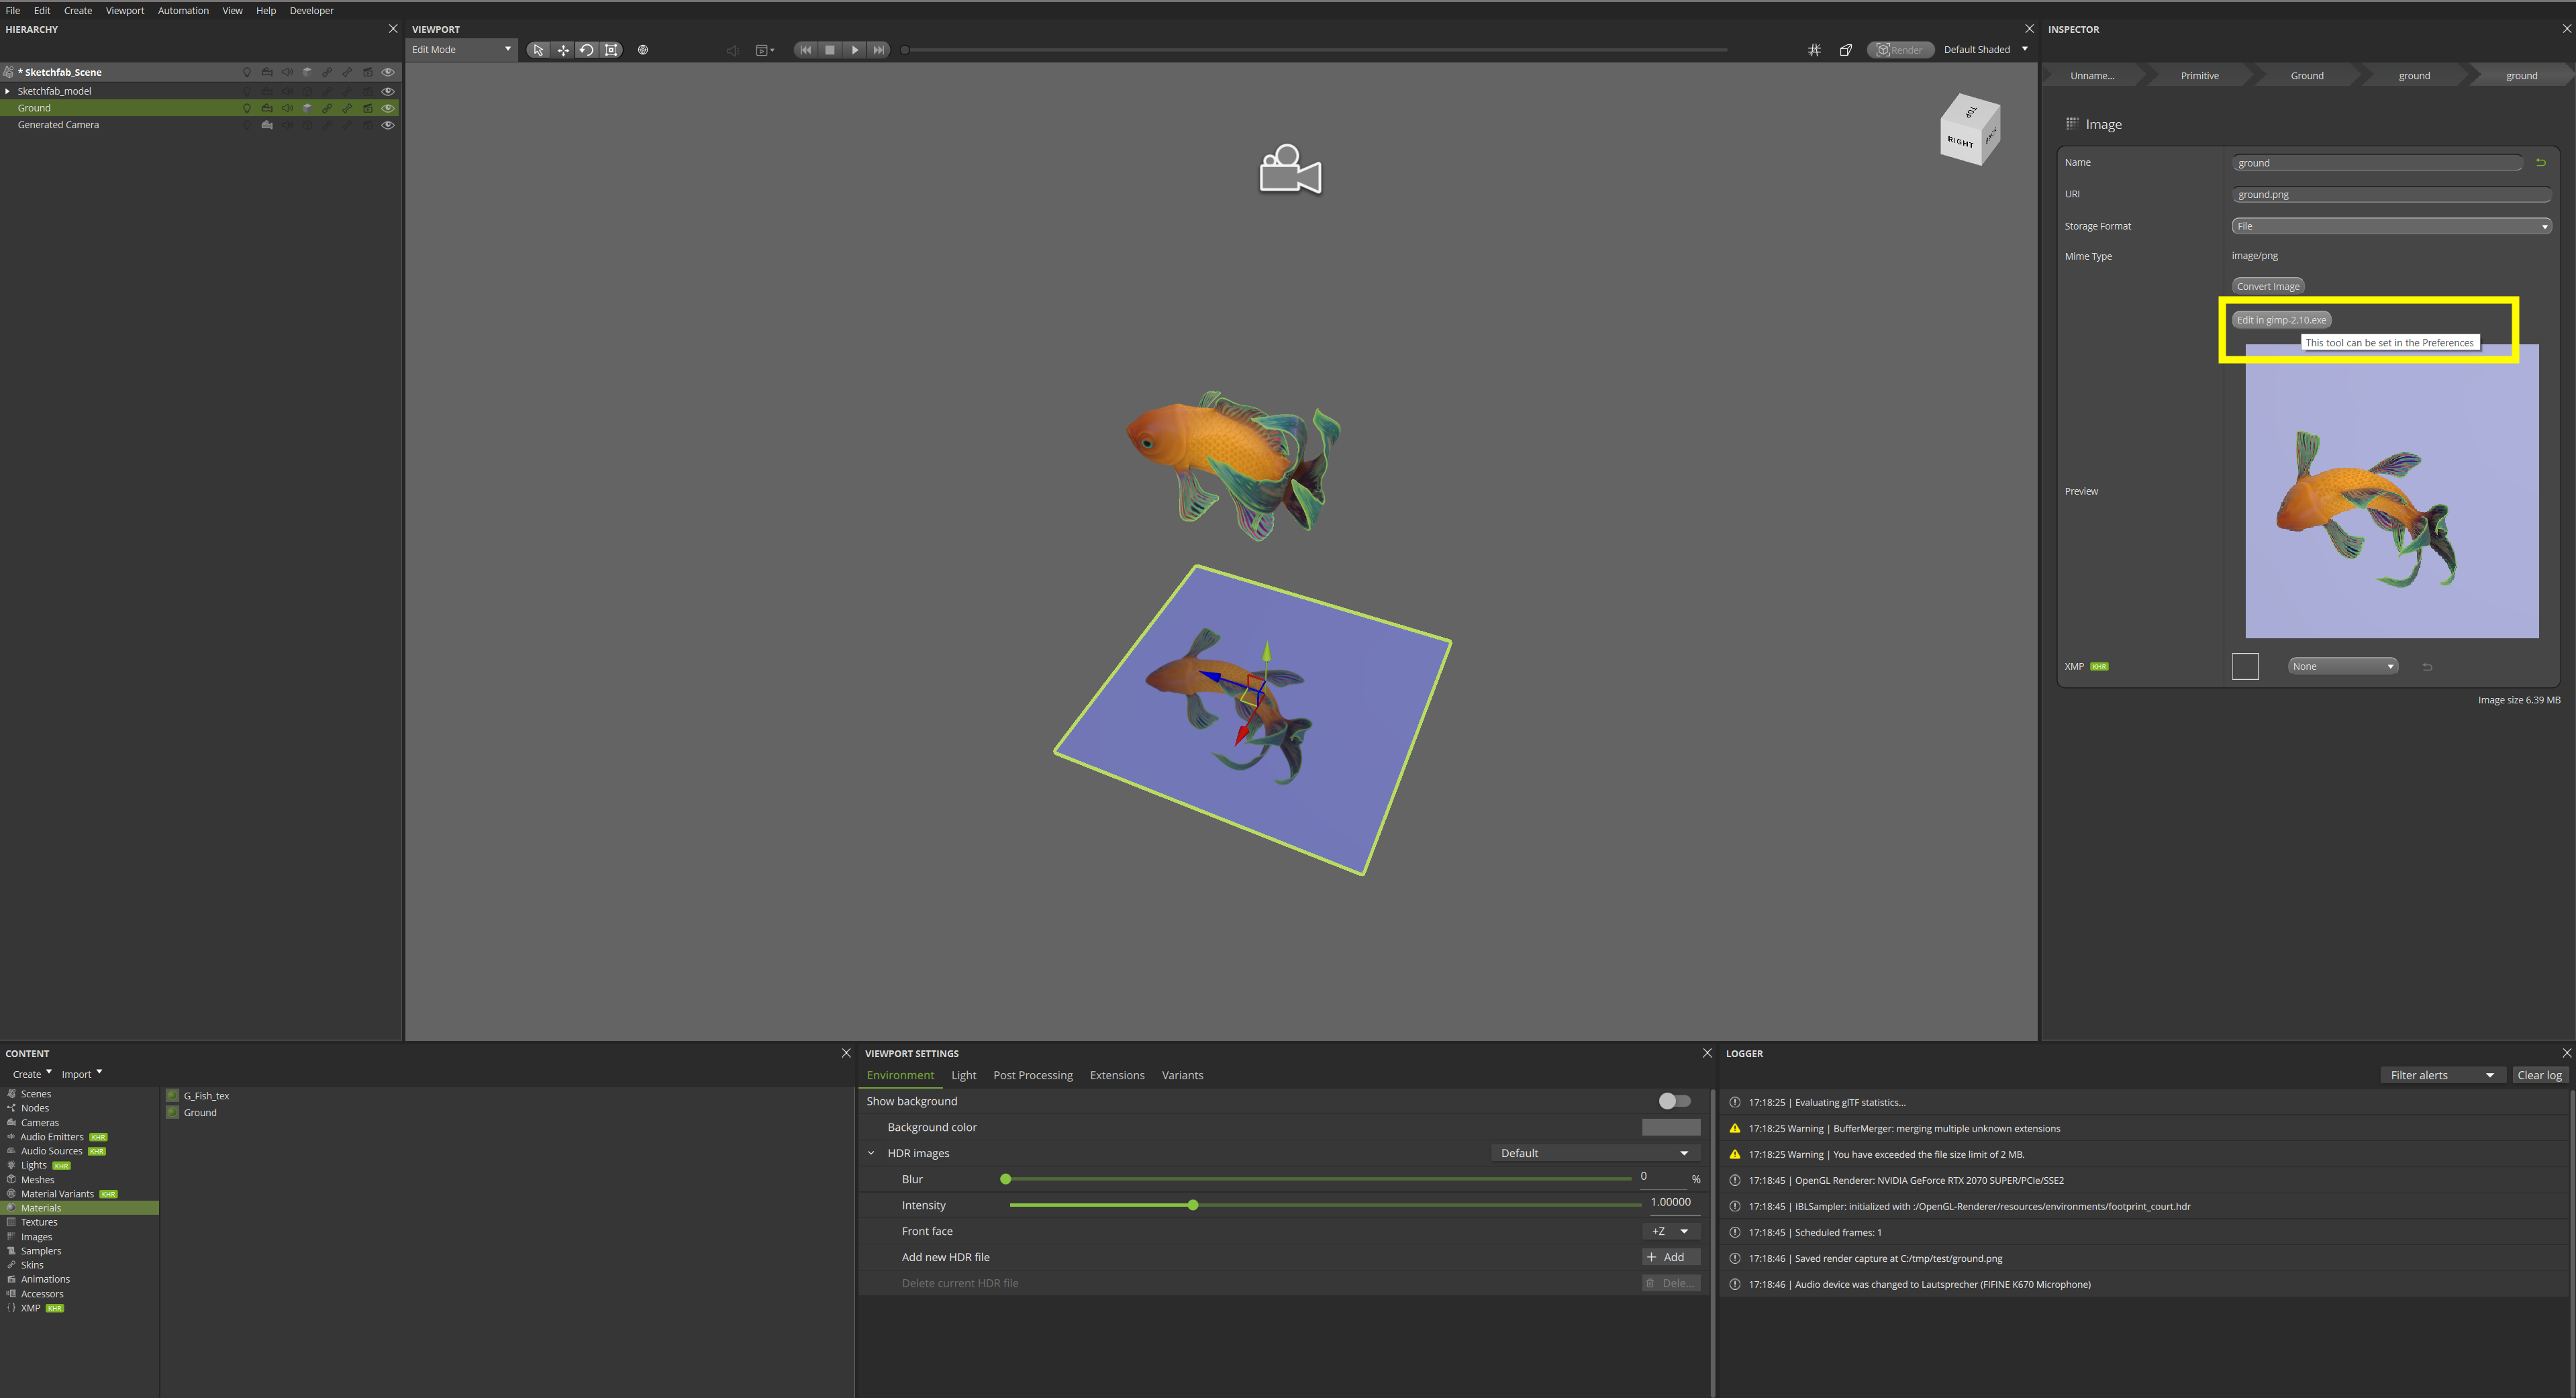
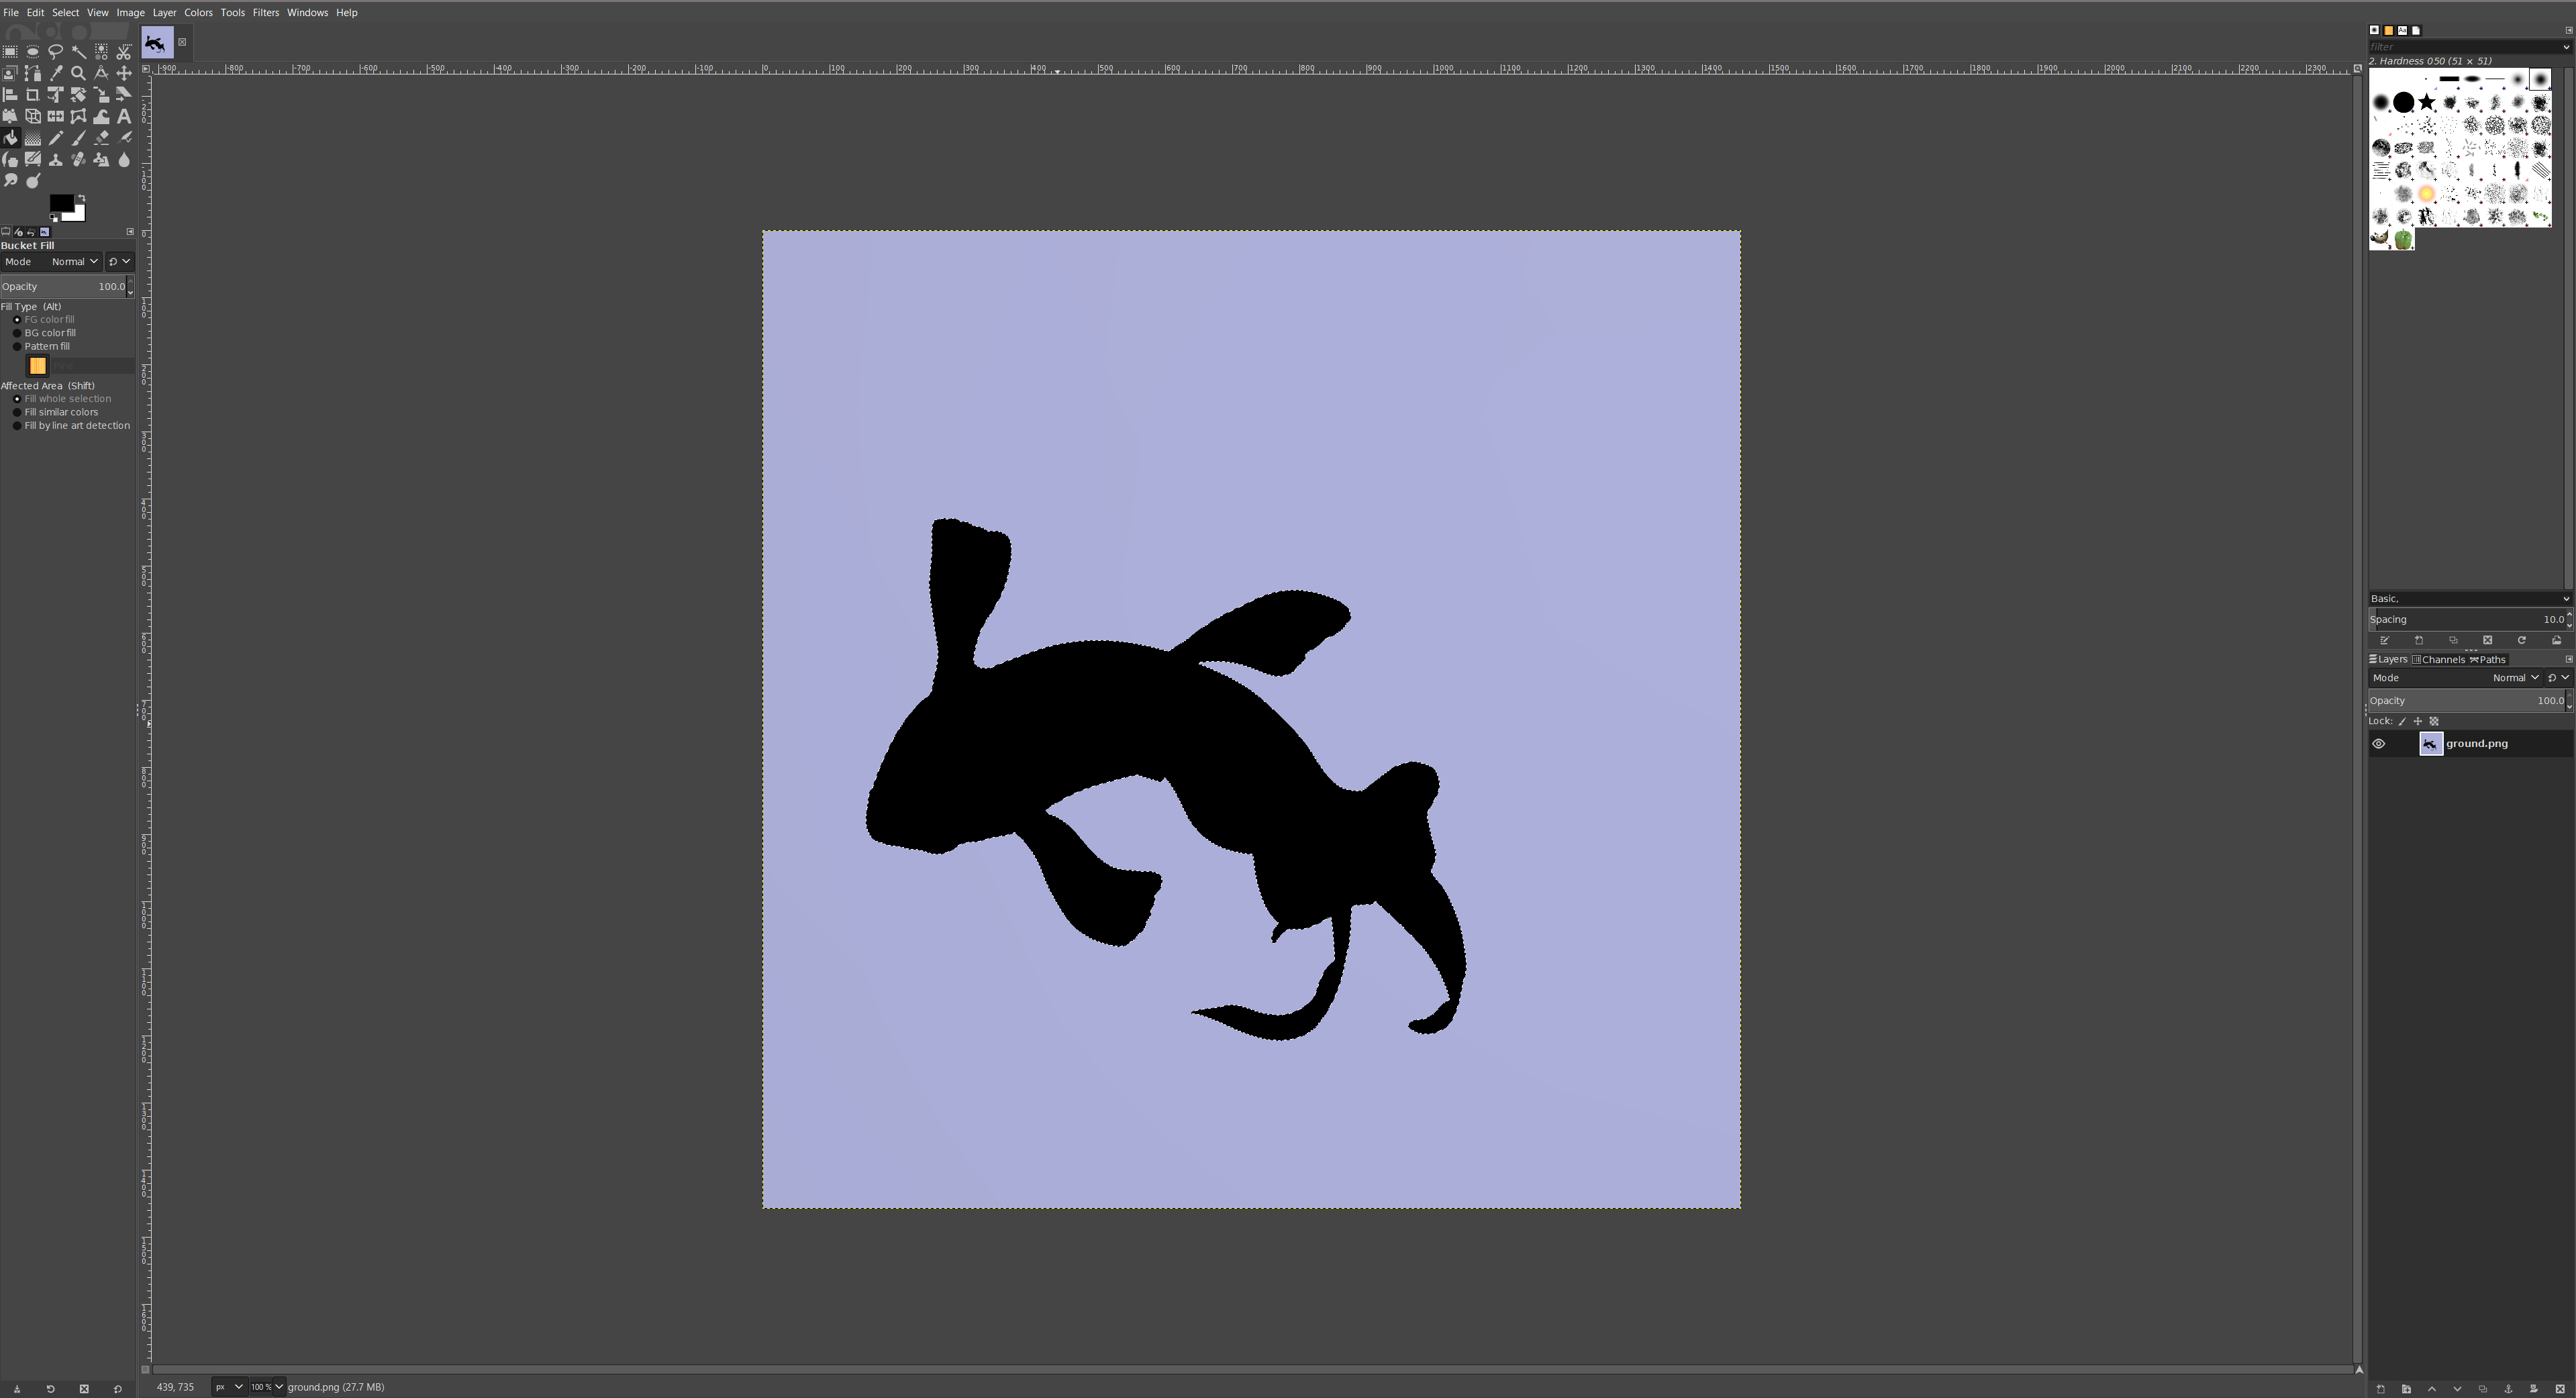
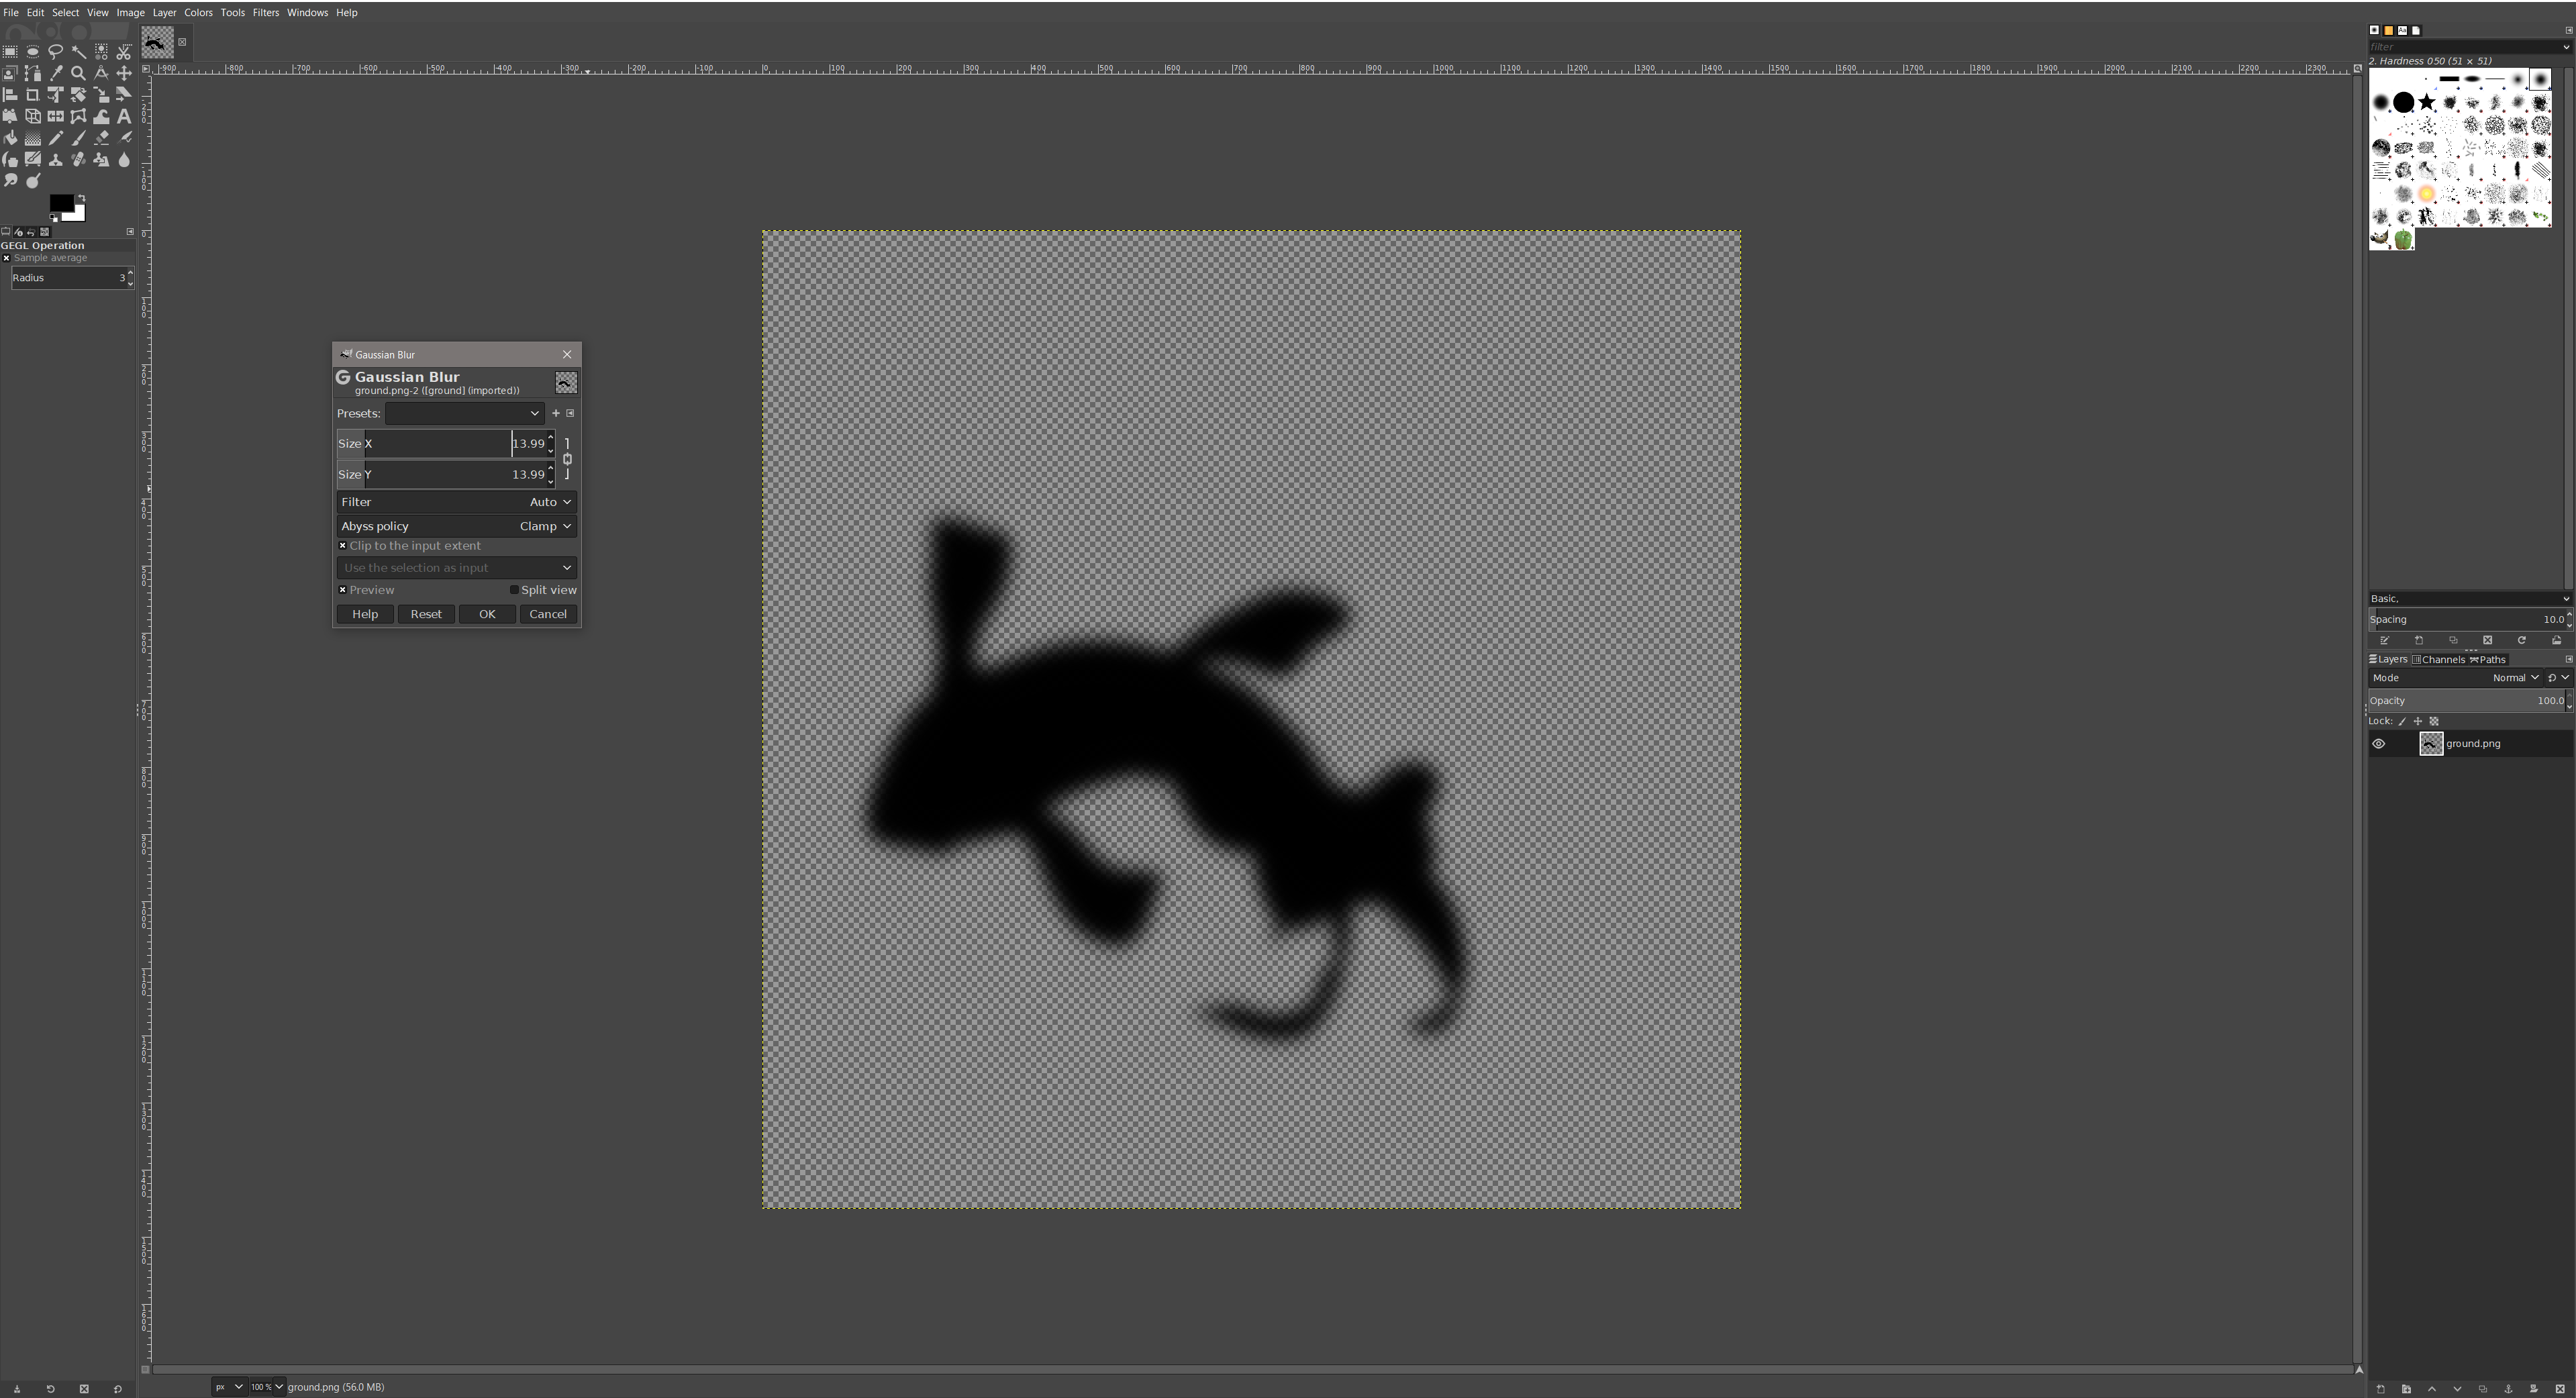
Use the application to remove the background, assign a shadow color to the shape of the fish, add an alpha channel and use gaussian blur to create a soft shadow.
See also
More information about how to edit image, can be found in the quick tutorial.
Before
After
Set the Alpha mode to ‘blend’ using the option in the material inspector.
Adjust the created drop shadow accordingly using the translation Gizmo.
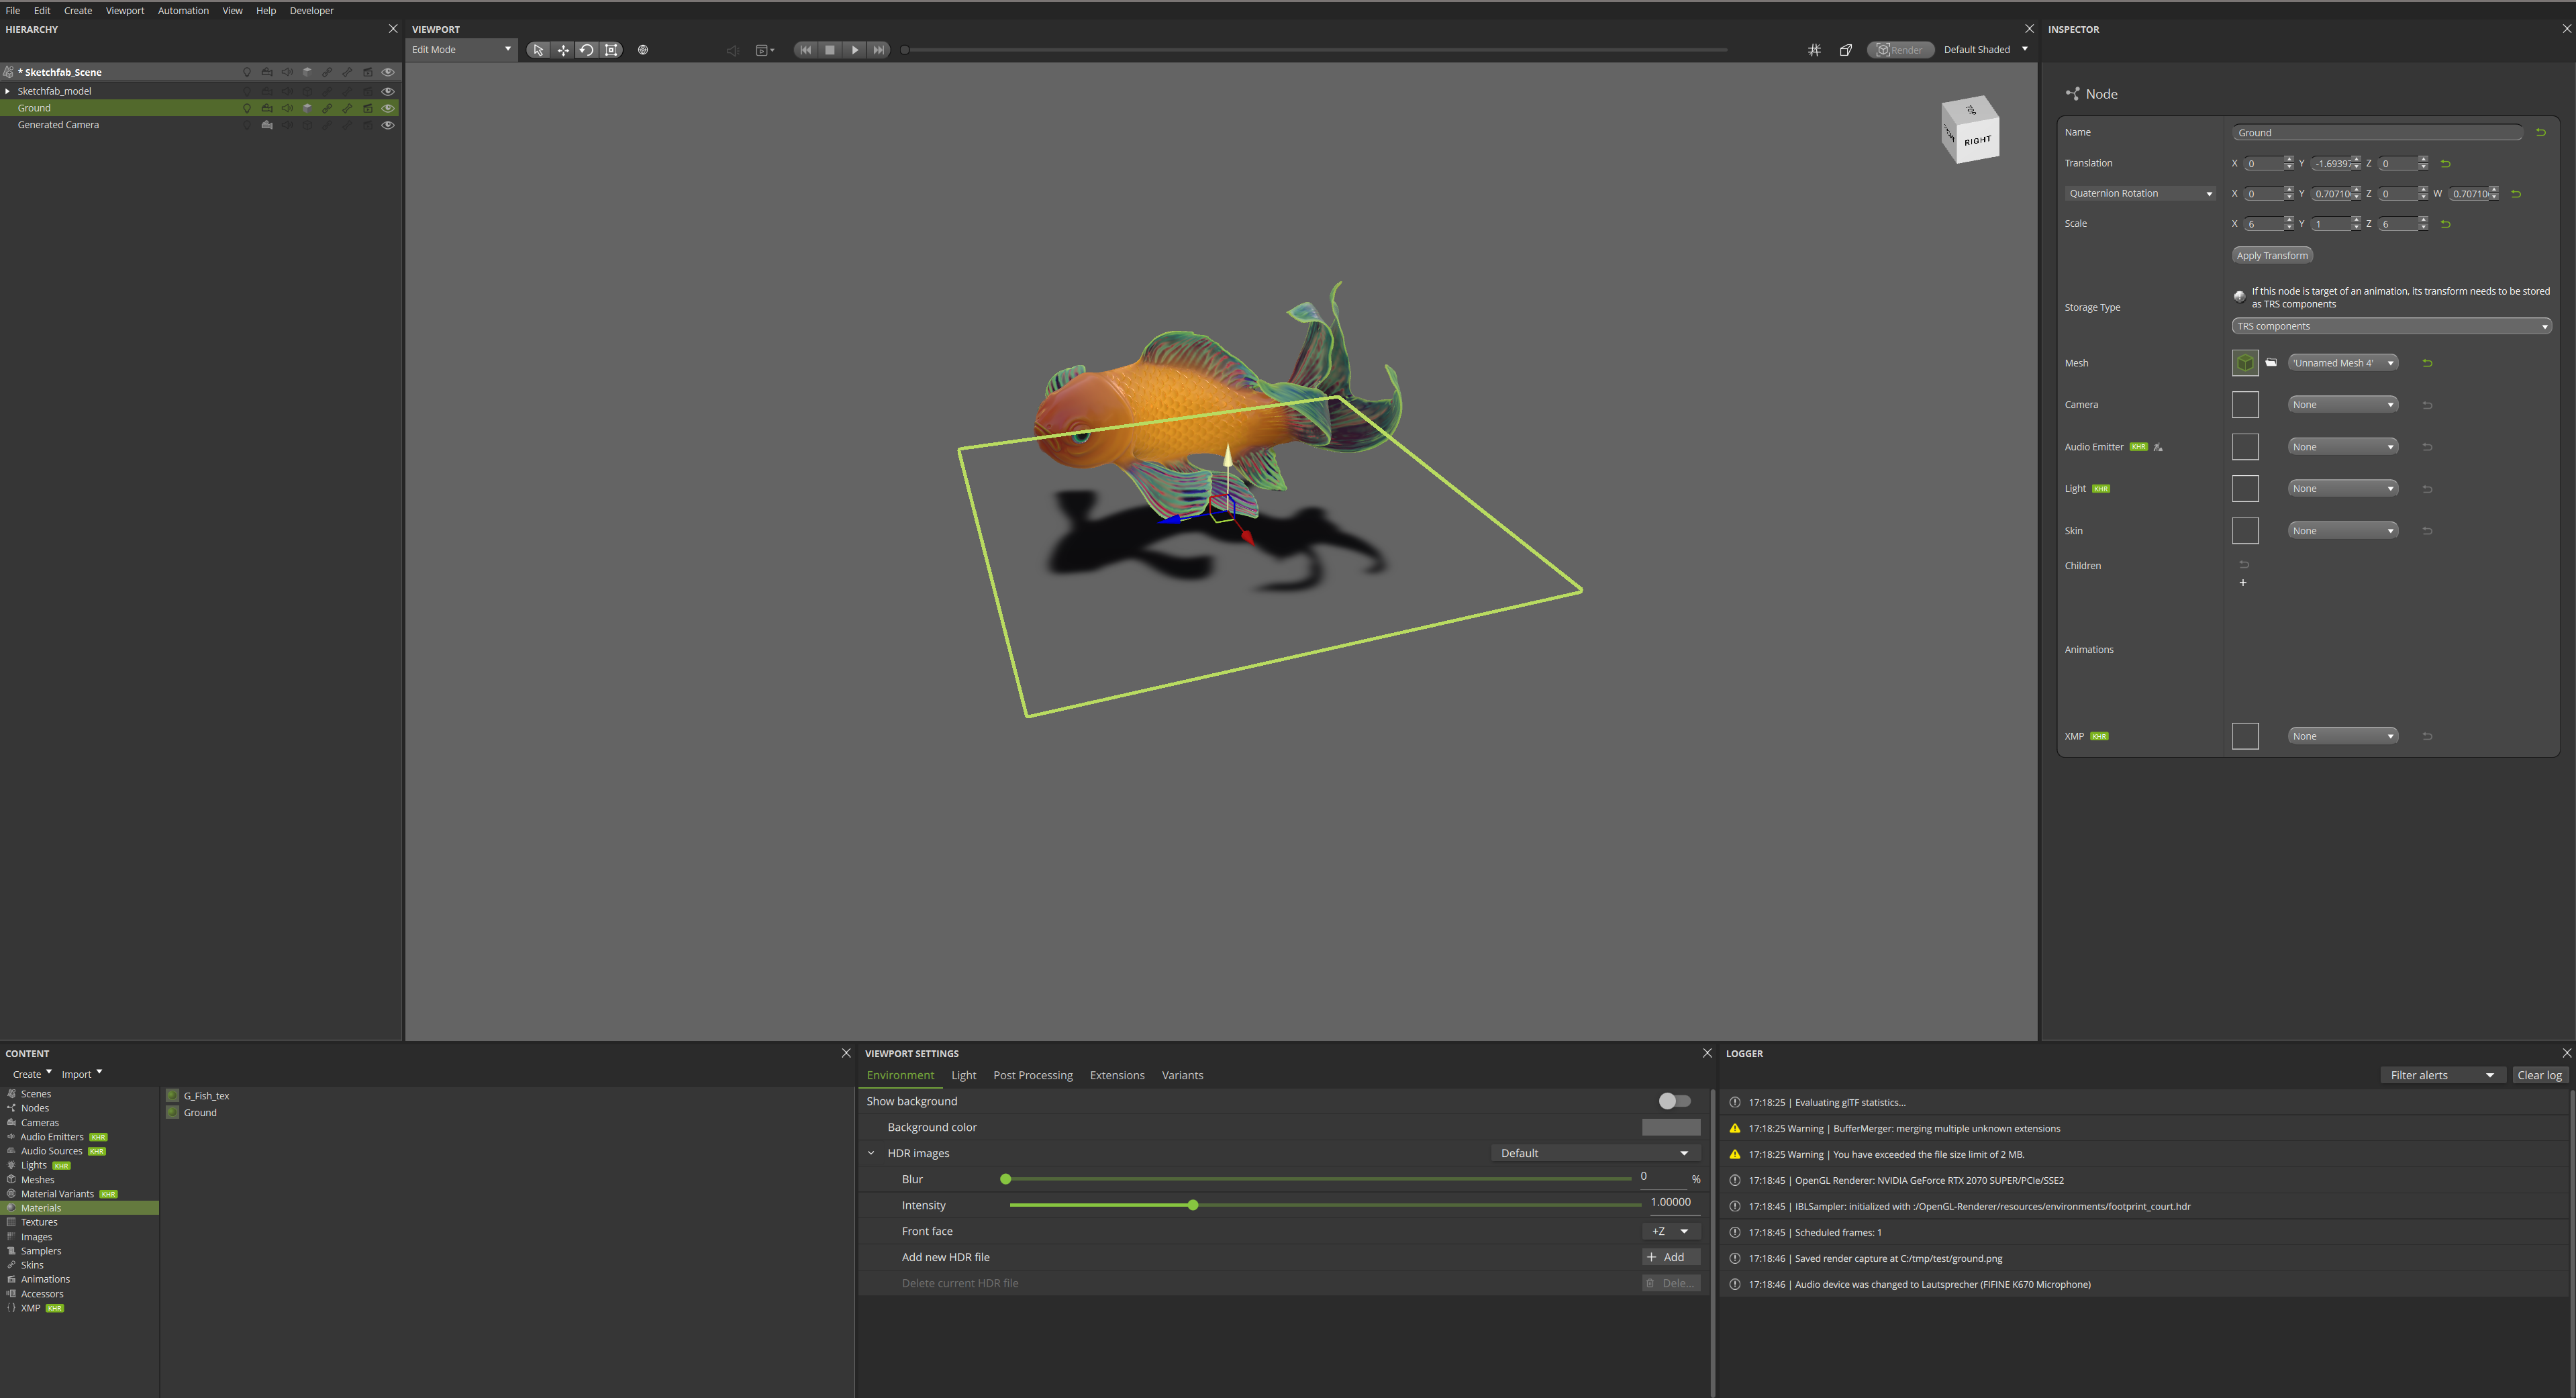
Final output: depending on the asset and the background, you can reduce the shadow opacity by adjusting the alpha value in the material inspector to blend the created shadow with the background.