… Create a Movie Clip via the Command Line Interface and Blender#
You already have learned how to create a single image via the command line interface.
E.g., with .\Gestaltor.exe -i "C:\Fox.glb" -o "C:\output\image.png" -x 800 -y 600 you get an image of the Fox.glb asset.
This file also includes three animations which can be rendered as an image sequence.
To do so, one needs to know the index of the animation that should be used. In the following, we identify the index of the animation using Gestaltor:
Open the animation widget by clicking on the icon in the toolbar
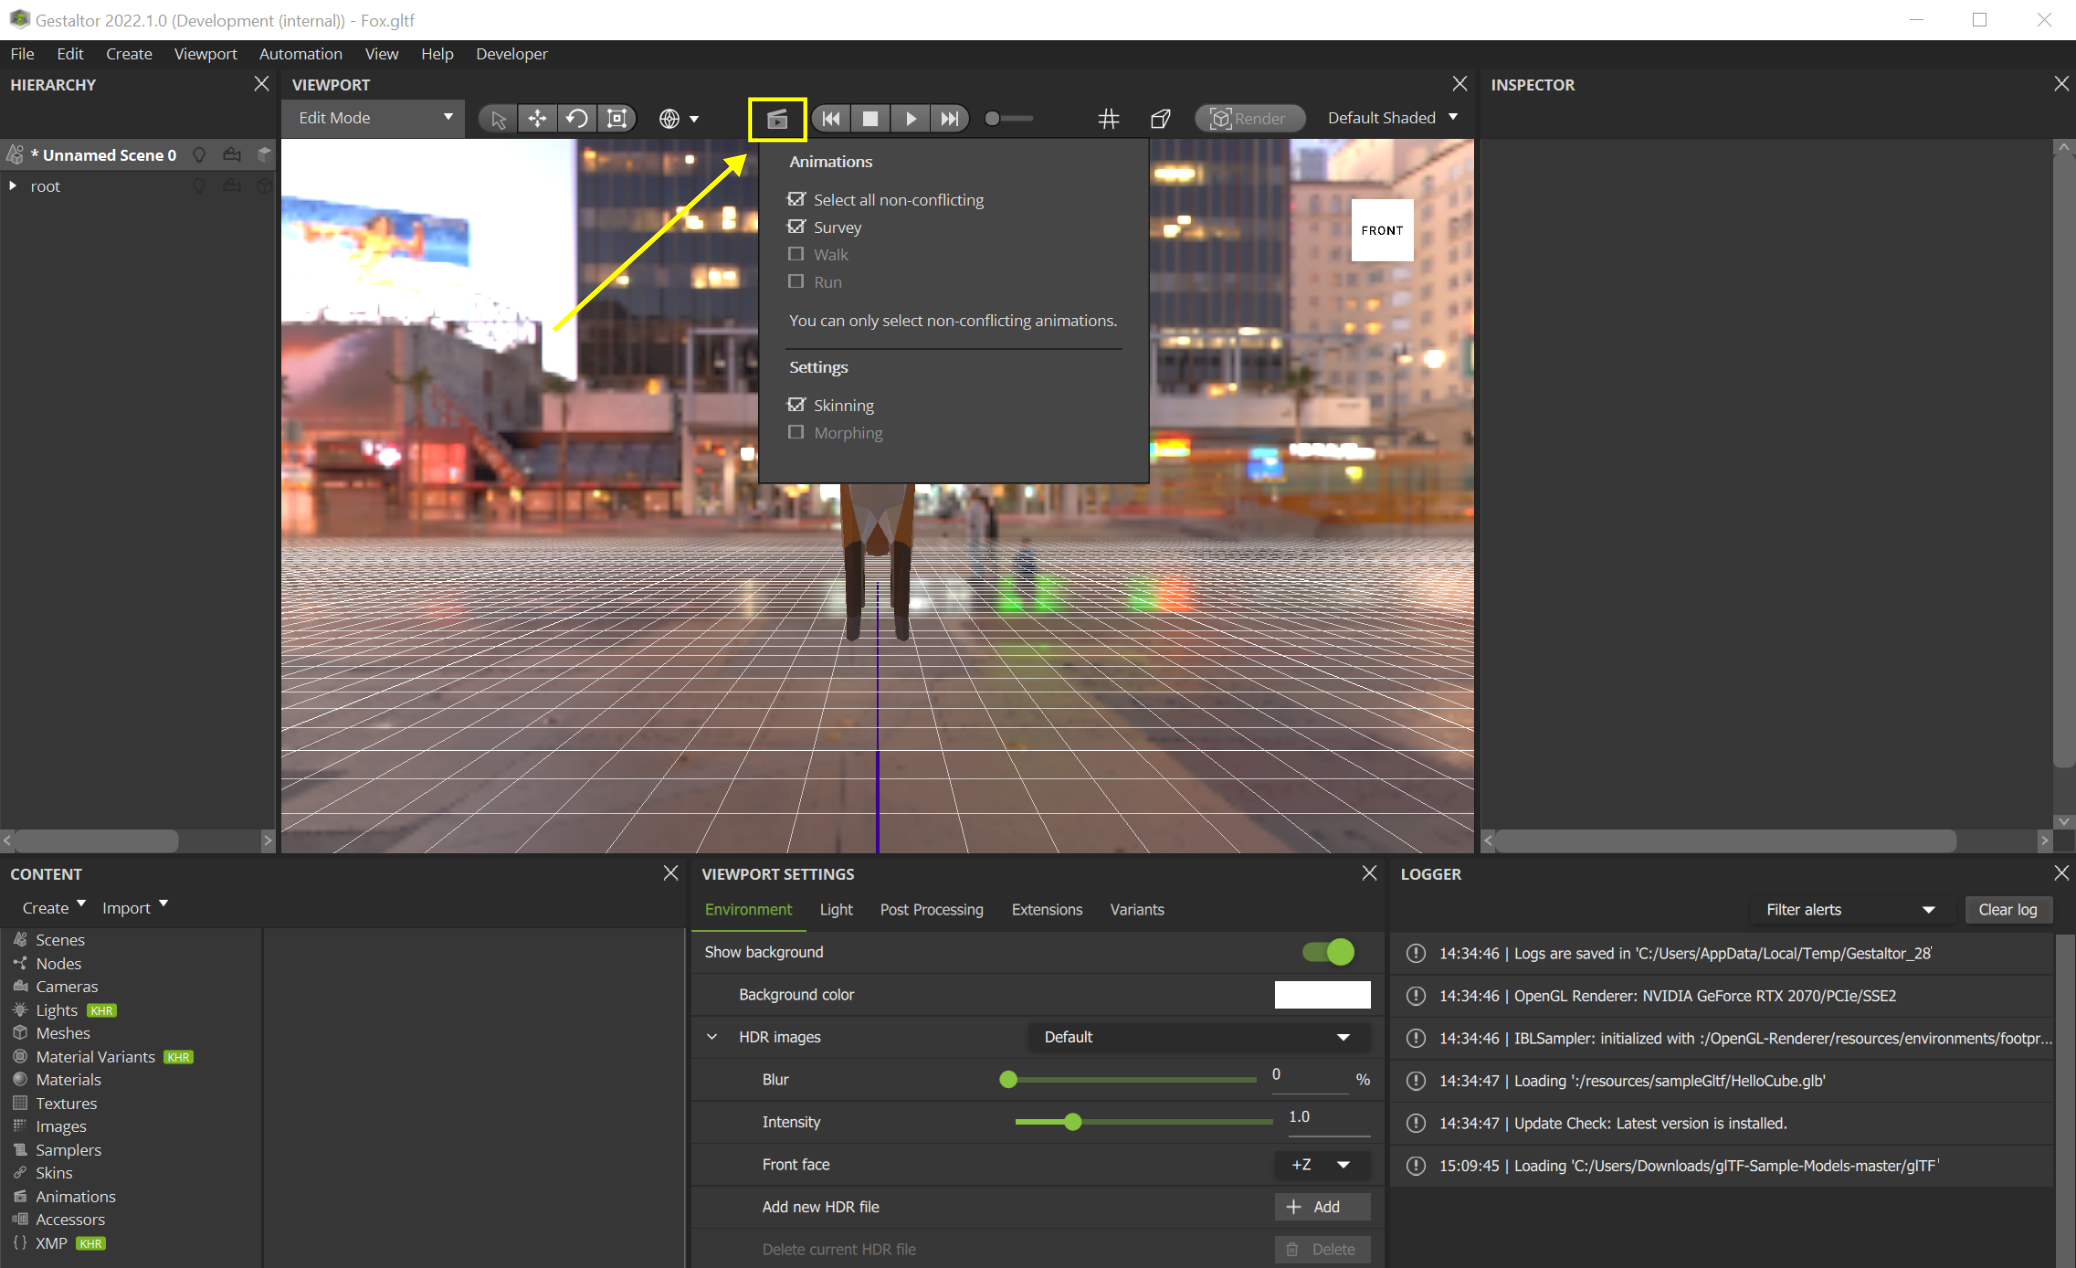
Identify the animation you want to use and memorize the index. (Important: this index starts with 0, i.e., if you want to render the “Survey” animation, we need index 0)
Switch back to the terminal and add the option
--animations 0to get a set of images resembling the animation:
.\Gestaltor.exe -i "C:\Fox.glb" -o "C:\output\image.png" -x 800 -y 600 --animations 0
Names of the images are automatically complemented by a progressive index.
By default, the number of frames per second is set to 60. To reduce the number of frames per second, add the option
--framerate 30:
.\Gestaltor.exe -i "C:\Fox.glb" -o "C:\output\image.png" -x 800 -y 600 --animations 0 --framerate 30
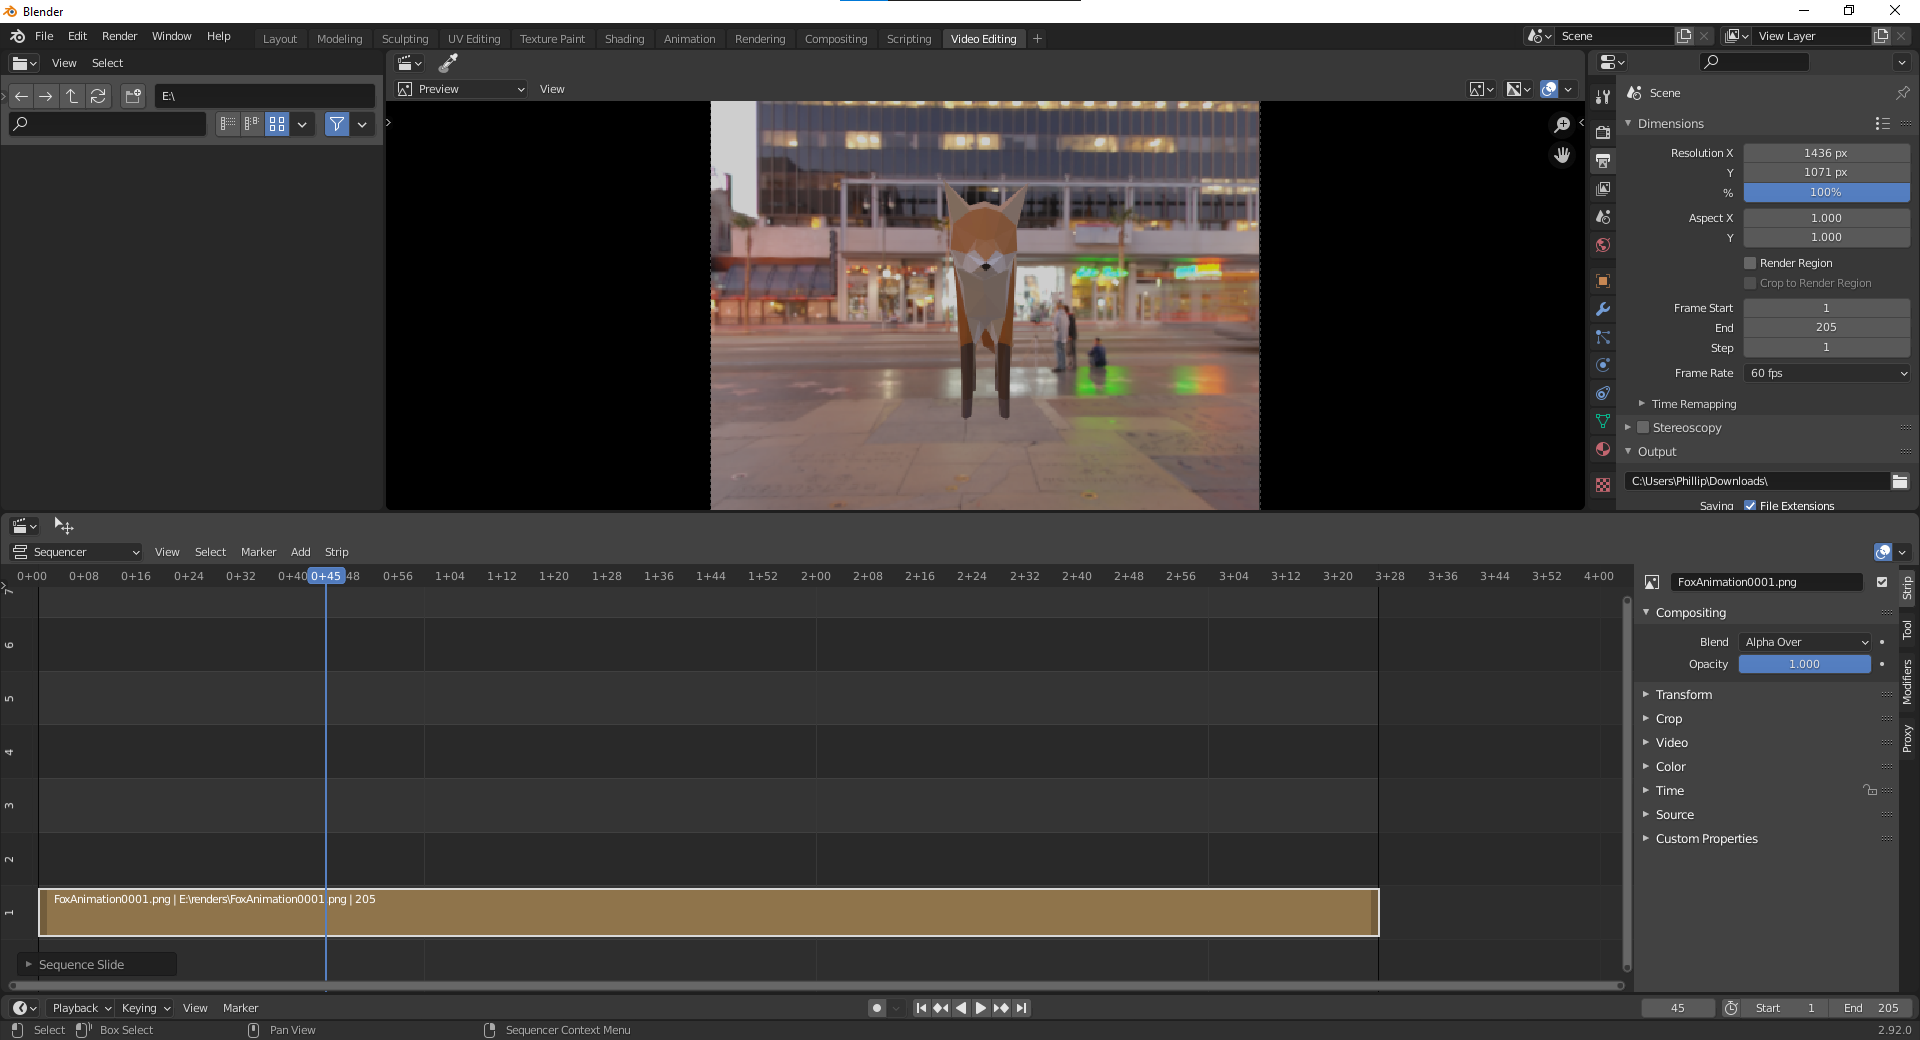
To convert the image sequence into a movie file format, you can use, e.g. Blender:
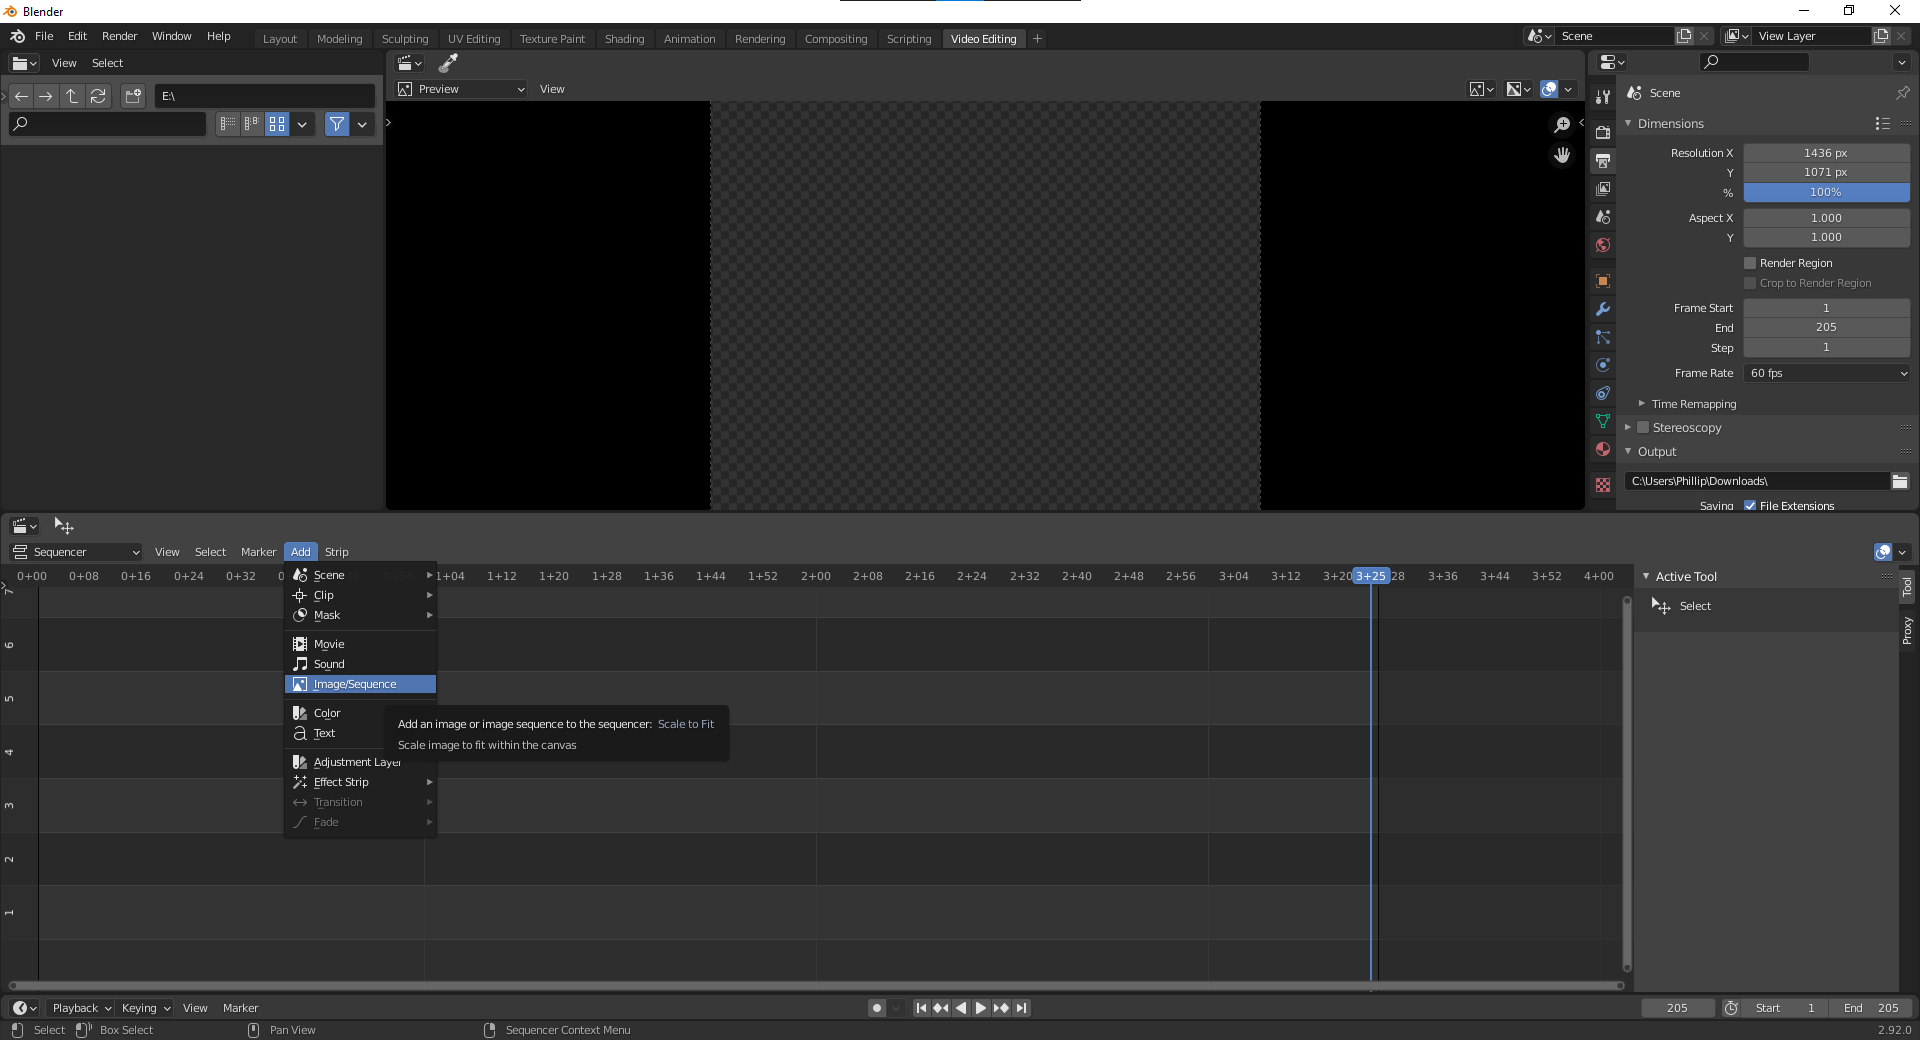
Go to Blender and open the Video Editing panel.

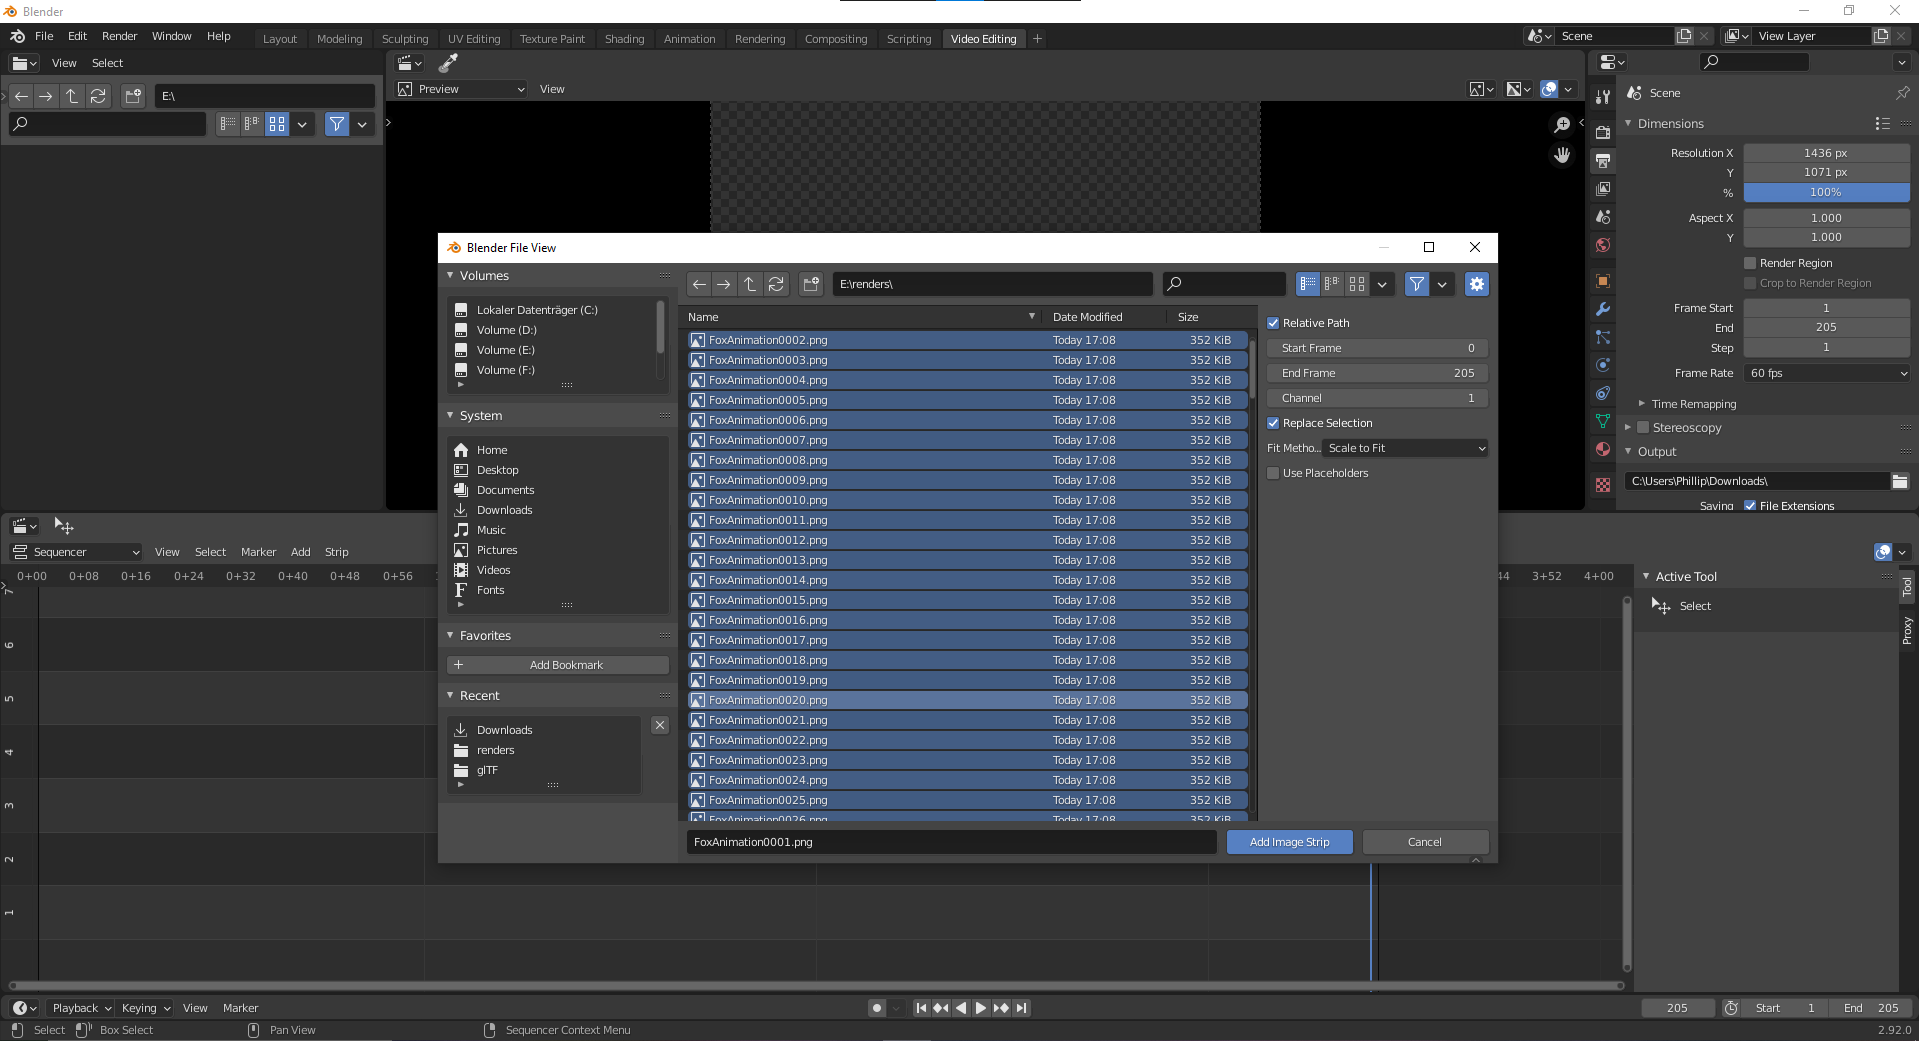
Go to Add > Image/Sequence in the Video Editing panel.
Select all generated images and click Add Image Strip
Now, you have the movie clip in Blender